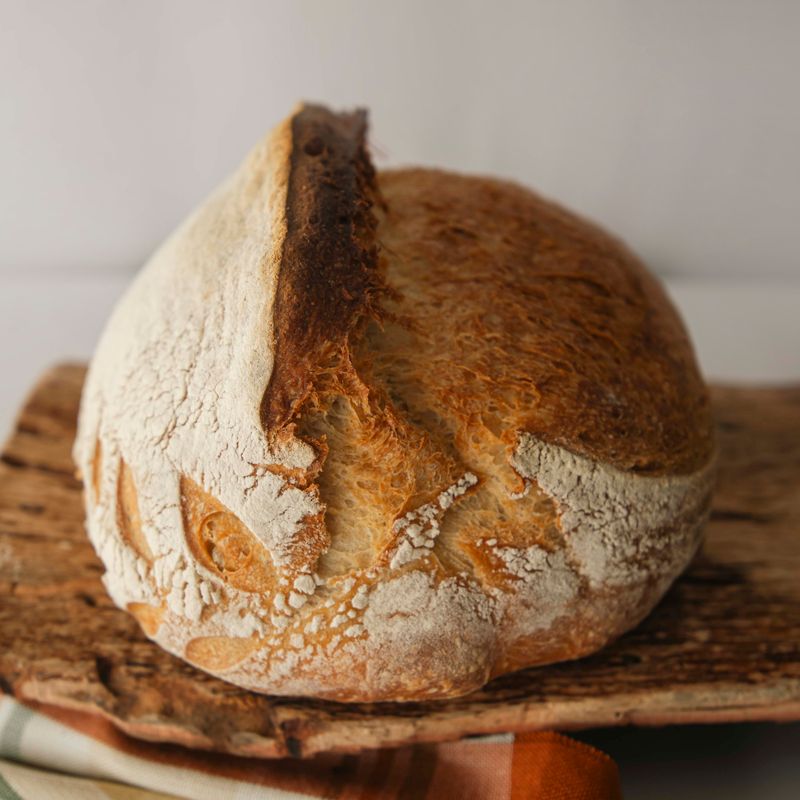
Sourdough Simple Everyday Artisan Loaf
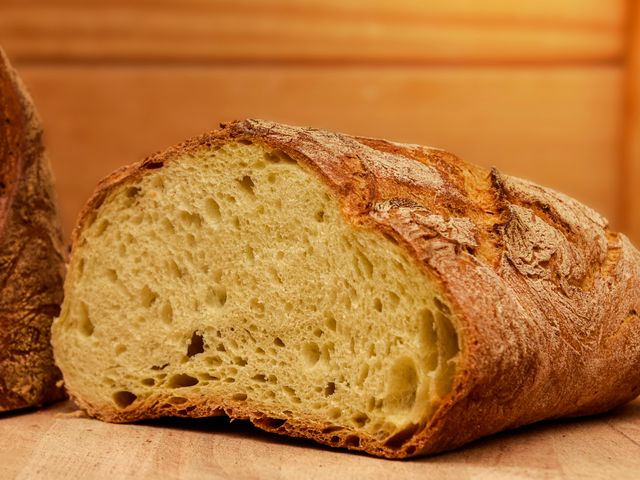
A rustic, no-fuss sourdough loaf with an open crumb and tangy flavor. This recipe uses bulk fermentation and relies on a healthy, active sourdough starter. The dough develops flavor over 12–16 hours at room temperature, then gets scored and baked until golden with a crispy crust and tender interior. Perfect for sandwiches, toast, or eating plain.
- Prep
- 20 min
- Cook
- 35 min
- Wait
- 12 hr
- Total
- 12 hr 55 min
- Makes
- 1 loaf (about 10–12 slices)
Steps
Before you start
- Feed your sourdough starter 4–8 hours ahead so it's bubbly and at peak (doubled in volume, with a dome on top or just starting to recede)
- Clear a calm workspace and gather all ingredients and equipment
- If your kitchen is cool (below 70°F / 21°C), plan for longer fermentation or use a proofing box
- Have a Dutch oven or covered baking vessel ready and preheat your oven 30 minutes before baking
Mix dough and autolyse
- In a large bowl, combine 500 g bread flour and 350 ml room-temperature water.
- Stir with your hands or a wooden spoon until all flour is hydrated and you have a shaggy, wet dough with no dry pockets.
- Cover the bowl with a damp kitchen towel and let it rest for 30–60 minutes at room temperature.
- This rest (called an autolyse) helps the flour absorb water and builds strength without gluten development.
+ Show details− Hide details
Ready when: All flour is fully wet; dough appears cohesive but loose
Tip: Autolyse is optional but highly recommended—it makes mixing easier and improves texture.
Add starter and salt
- After the autolyse, gently pull the dough up and fold it over itself 2–3 times to build initial tension.
- Sprinkle 100 g of active sourdough starter over the dough and pinch it into the surface.
- Fold and incorporate the starter until no white streaks remain.
- Then sprinkle 10 g fine sea salt over the dough and fold it in the same way until evenly distributed.
- The dough will feel dense and a bit sticky at this stage.
+ Show details− Hide details
Ready when: Starter and salt are fully incorporated; no white streaks visible
Tip: Folding the dough strengthens it gradually without aggressive kneading. If you knead hard, you risk overworking it.
Bulk fermentation and stretch-and-folds
- Cover the bowl loosely with a damp towel.
- Let the dough rest at room temperature (70–75°F / 21–24°C) for 30 minutes.
- Then, over the next 2–3 hours, perform 4 sets of stretch-and-folds: wet your hand, reach under the dough, pull it up and over itself from one direction, rotate the bowl a quarter turn, and repeat from all four sides.
- Each set takes 1–2 minutes.
- Rest 30 minutes between sets.
- After the final stretch-and-fold, let the dough rise undisturbed for 3–5 hours until it increases by 50–75% in volume, looks billowy, and feels airy when you gently jiggle the bowl.
- The dough should still hold its shape but feel light.
+ Show details− Hide details
Ready when: Dough increases 50–75% in volume; surface is billowy and porous when observed closely
Tip: If your kitchen is cool, bulk fermentation may take 4–5 hours. Colder dough ferments slower but develops more flavor. Don't rush it—watch the dough, not the clock.
Pre-shape and rest
- Lightly flour your work surface.
- Turn the dough out gently (it will be sticky and full of gas—handle it loosely).
- Using a bench scraper, fold the dough in half, then in half again, to create a rough round.
- Let it rest uncovered on the floured surface for 20–30 minutes.
- During this time, surface tension relaxes and the dough becomes easier to shape.
+ Show details− Hide details
Ready when: Dough feels less tight; it doesn't spring back immediately when pressed
Tip: Don't press or compress the dough; let gravity and time do the work. Over-handling releases precious gas bubbles.
Final shape
- Lightly flour a banneton proofing basket or a small bowl lined with a floured kitchen towel.
- Turn the pre-shaped dough seam-side up (the side that was on the work surface).
- Pick it up gently and, using your hands and the tension of the dough against the work surface, pull the far edge of the dough toward you and fold it into the center.
- Rotate the dough slightly and repeat, spiraling inward, until the dough forms a taut, round boule with a seam running around the bottom.
- Transfer it seam-side up to the banneton.
+ Show details− Hide details
Ready when: Dough is round and taut with a sealed seam on the bottom
Tip: Tension in the final shape helps the loaf rise tall and evenly, preventing a flat or sprawling loaf.
Cold proof overnight
- Cover the banneton with a plastic bag or shower cap and refrigerate for 12–16 hours at 38–40°F (3–4°C).
- Cold fermentation slows yeast activity and allows the dough to develop sour flavor while making it easier to score.
- You can also do a room-temperature final proof for 2–4 hours if you prefer a quicker turnaround, but the cold proof is easier and gives better flavor.
+ Show details− Hide details
Ready when: Dough is cold to the touch; it springs back slowly when poked (cold proofing is complete when dough is fully chilled)
Tip: Cold dough is stiff and easier to score cleanly. If you skip the fridge, let the dough proof at room temperature, but watch carefully—it may be ready in 2–3 hours.
Preheat oven and prepare to bakeOven 500°F / 260°C
- Remove the dough from the refrigerator.
- Preheat your oven to 500°F (260°C) with a Dutch oven inside for 30–45 minutes.
- The pot should be screaming hot.
- This trapped steam mimics a professional steam-injected oven, giving you a crispy, blistered crust.
+ Show details− Hide details
Ready when: Oven reaches 500°F (260°C); Dutch oven is extremely hot to the touch
Tip: A screaming-hot Dutch oven is essential. If your pot isn't hot enough, the crust won't brown and crisp properly.
Score and loadOven 500°F / 260°C
- Carefully remove the hot Dutch oven from the oven (use thick oven mitts).
- Turn the proofed dough out onto a piece of parchment paper so the seam is now on top.
- Using a bread lame or very sharp serrated knife, make a confident single slash about ¼ inch (6 mm) deep at a 45-degree angle across the top.
- You can also make an "ear" by angling the blade slightly.
- Immediately transfer the parchment and dough into the hot Dutch oven.
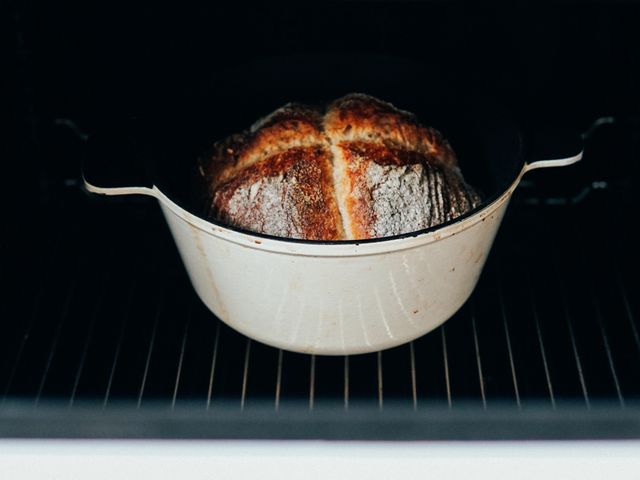
- Cover with the lid.
+ Show details− Hide details
Ready when: Dough is scored; it sits in the hot pot with the lid on
Tip: A hesitant score produces a flat, uninspiring loaf. Be bold and confident. If the blade isn't sharp, it drags and tears the dough.
Bake coveredOven 500°F / 260°C
- Bake covered at 500°F (260°C) for 20 minutes.
- The pot traps steam, which keeps the crust flexible so the loaf can expand fully (called "oven spring").
- You should hear the dough sizzle when it goes in.
- Do not open the lid during this time.
+ Show details− Hide details
Ready when: Loaf is mostly set; you can smell bread aroma; color is beginning to deepen (peek if curious, but minimize opening)
Tip: Steam is your friend. Resist the urge to open the lid and peek—each opening releases precious moisture.
Bake uncovered until goldenOven 450°F / 230°C
- Remove the lid carefully (watch for steam).
- Reduce the oven temperature to 450°F (232°C) and bake uncovered for 15 more minutes, or until the crust is deep golden brown and the loaf sounds hollow when you tap the bottom.
- The internal temperature should reach 205–210°F (96–99°C) at the center when measured with an instant-read thermometer.
+ Show details− Hide details
Ready when: Crust is deep golden brown; bottom of loaf sounds hollow when tapped; internal temp 205–210°F (96–99°C)
Tip: A dark crust = better flavor and crispy texture. Don't fear caramelization; some dark spots are good.
Cool completely
- Remove the loaf from the oven and transfer it to a wire cooling rack (or simply set it on the counter).
- Let it cool for at least 1 hour before slicing.
- The interior continues to cook and set during cooling.
- Cutting too early releases steam and leaves the crumb gummy.
+ Show details− Hide details
Ready when: Loaf is cool to the touch; bottom is crispy; interior is set
Tip: Patience here pays off. A fully cooled loaf slices cleanly and has the best texture and flavor.
Slice and store
- Once cool, use a serrated bread knife to slice the loaf.
- Eat it fresh, or store it wrapped in a kitchen towel (not plastic, which traps moisture) at room temperature for up to 3 days.
- For longer storage, freeze slices in a freezer bag for up to 3 months.
+ Show details− Hide details
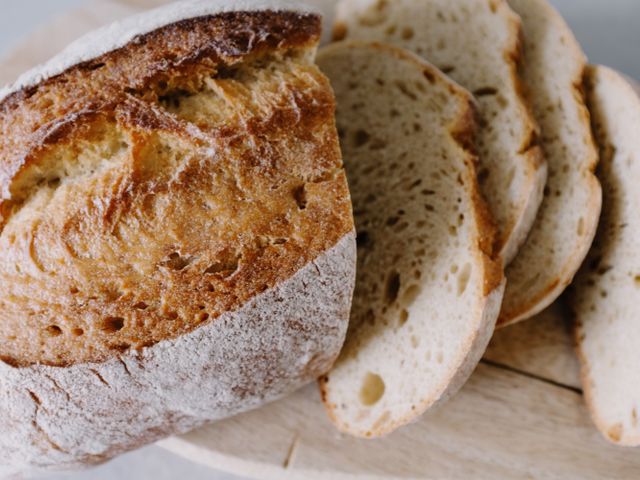
Ready when: Loaf is sliced; crumb is open and tender with a crispy crust
Tip: A serrated knife and a gentle sawing motion (not pressing down hard) produce clean, even slices without crushing the crumb.
Good to know
Tips
- Your sourdough starter is the heart of this recipe. It should double in volume within 4–8 hours of feeding and smell pleasantly sour and yeasty. If it's sluggish, feed it once daily for 5–7 days until it becomes vigorous.
- Temperature matters: fermentation happens fastest at 75–78°F (24–26°C). If your kitchen is 65°F (18°C), bulk fermentation may take 6–8 hours instead of 3–4. Conversely, at 78°F (26°C), it might be done in 2–3 hours. Watch the dough, not the clock.
- Stretch-and-fold motions build gluten strength without kneading. Wet your hand so the dough doesn't stick, and fold gently from all four sides. This creates a strong structure that holds gas and gives you an open crumb.
- If the dough is too sticky to handle at any step, refrigerate it for 30 minutes to make it stiffer, then continue. Cold dough is always easier to work with than warm, slack dough.
Make ahead
This recipe is built around a slow fermentation schedule. You can do the bulk fermentation and cold proof in stages: mix the dough in the evening, refrigerate it after shaping, and bake it the next morning. Or stretch it further by doing a single long bulk fermentation and skipping the fridge (2–4 hours at room temperature instead of overnight cold proof), though you'll get less sour flavor.
Storage & reheating
Room temperature: Store in a kitchen towel or linen bag (not plastic) for up to 3 days. Crust will soften over time. Refrigerator: Wrapped well, keeps for 1 week, but crust becomes soft; to recrisp, warm unwrapped loaf in a 375°F (190°C) oven for 10 minutes. Freezer: Wrap tightly in plastic wrap, then foil, or slice first and freeze in a freezer bag for up to 3 months. Thaw at room temperature (2–3 hours for a whole loaf, 30 minutes for slices) or toast directly from frozen.
Substitutions
- bread flour → all-purpose flour (or a 50/50 blend of bread and all-purpose). All-purpose flour has less protein and will develop slightly less gluten, resulting in a more tender crumb and less oven spring. Increase water by 5–10 ml if the dough feels dry, as all-purpose absorbs water differently.
- water, room temperature (70–75°F / 21–24°C) → filtered or bottled water if your tap water is heavily chlorinated. Heavy chlorine can slow fermentation. Use filtered water if you suspect this is an issue in your area.
- sourdough starter, active and bubbly → ripe (active and bubbly) starter at a higher percentage: use 120 g if your starter is less vigorous, or 80 g if it's extremely strong and fast-fermenting. A stronger starter speeds up fermentation; a weaker one slows it. Adjust fermentation time accordingly—watch the dough, not the clock.
- fine sea salt → kosher salt (Diamond Crystal or similar), using the same 10 g weight. Kosher salt is less dense than fine sea salt. By weight, 10 g is correct; by volume, you'd use a different amount. Always measure salt by weight for consistency.
More sourdough
See all →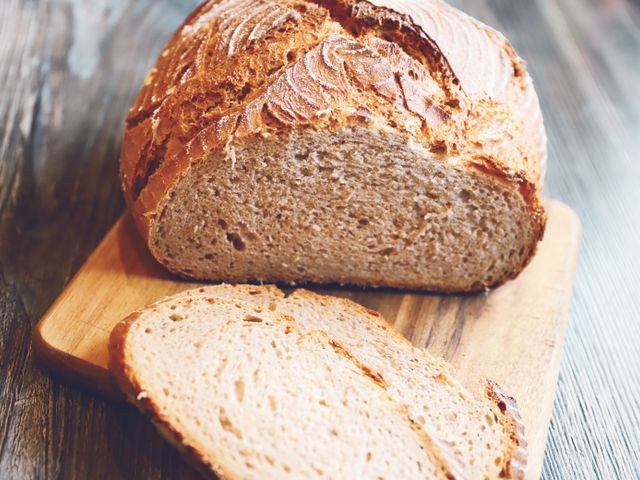

Find more like this
- Meal
- Breakfast
- Method
- Oven
- Quick & Easy
- 5 Ingredients or Less