
Sourdough No-Knead Overnight Loaf
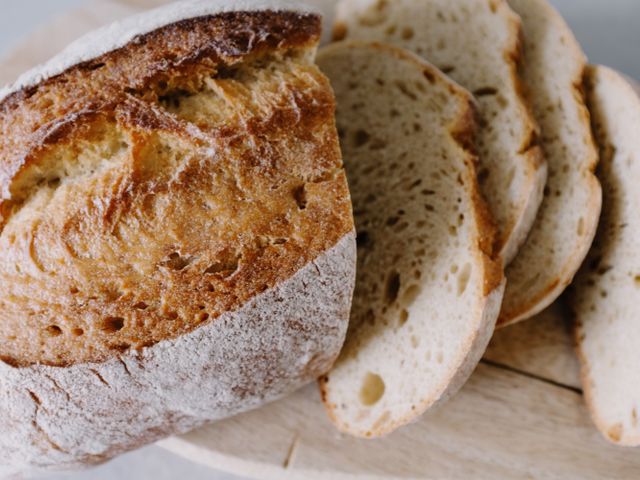
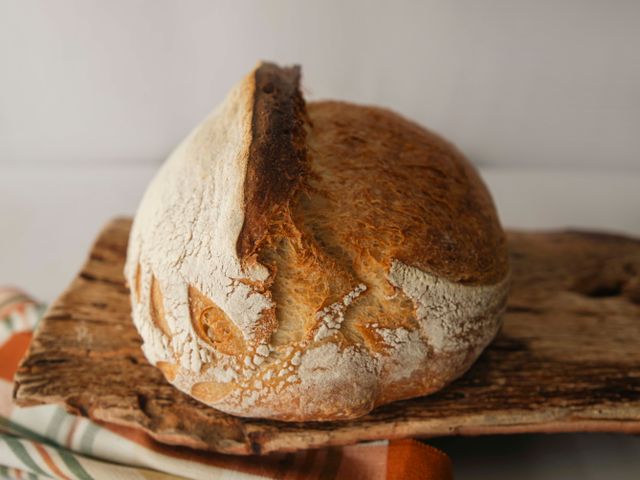
A rustic sourdough loaf made with just four ingredients and minimal kneading. Mix in the morning, let the dough ferment overnight at room temperature, shape briefly, proof in the afternoon, and bake in a preheated Dutch oven for a crackling crust and open crumb structure. Perfect for home bakers who want artisan bread without the complexity.
- Prep
- 15 min
- Cook
- 40 min
- Wait
- 14 hr 40 min
- Total
- 15 hr 35 min
- Makes
- 1 loaf (about 10 slices)
Steps
Before you start
- Make sure your sourdough starter is fed and active 4–8 hours before mixing (it should be bubbly and roughly doubled)
- Position one oven rack to the lower-middle position; you need room for a Dutch oven
- Have a Dutch oven (or covered baking vessel) large enough to fit a 9-inch round loaf; it must be oven-safe
Mix dough
- In a large bowl, combine the flour, water, active sourdough starter, and salt.
- Stir with a wooden spoon or dough whisk until all the flour is hydrated and no dry bits remain.
- The dough will be shaggy and quite sticky—this is normal.
- Let the dough rest uncovered at room temperature for 30 minutes.
+ Show details− Hide details
Ready when: All flour is wet and no dry streaks remain
Tip: Do not knead. The long fermentation will develop gluten naturally.
Perform stretch and fold
- Wet your hand to prevent sticking.
- Using one hand, grab a section of dough from the edge, stretch it up and fold it over itself toward the center.
- Rotate the bowl and repeat 4–6 times, working your way around.
- This is not kneading; you're simply building tension.
- The dough should feel slightly firmer than before.
+ Show details− Hide details
Ready when: Dough is more cohesive and holds together better
Tip: Wet hands keep you from tearing the dough; avoid adding flour.
First bulk fermentation
- Cover the bowl loosely with plastic wrap or a damp towel.
- Let the dough rest at room temperature (68–72°F / 20–22°C) for 12 hours or overnight.
- During this time, the dough will gently bubble and rise 50–75%.
- You may see a few visible bubbles at the surface or sides.
- There is no need to fold again during this phase.
+ Show details− Hide details
Ready when: Dough is visibly puffy with small bubbles at the surface; it jiggles slightly when the bowl is gently shaken
Tip: Cooler room temperatures (65–68°F / 18–20°C) will produce slower fermentation and deeper flavor. If your kitchen is warm (75°F / 24°C+), reduce the fermentation time by 2–3 hours.
Shape the loaf
- Lightly flour a work surface.
- Turn the dough out onto the surface (it will deflate slightly; that is okay).
- Using a bench scraper or your fingers, gently pre-shape the dough into a loose round by pulling the edges toward the center 4–5 times.
- Let it rest for 20 minutes.
- Then, working gently to avoid degassing, shape it into a taut boule by rolling the dough away from you, rotating slightly after each roll, and tucking the seam underneath.
- Place the loaf seam-side-up in a floured banneton or a bowl lined with a flour-dusted towel.
+ Show details− Hide details
Ready when: Loaf is a compact round with surface tension; the seam is tucked underneath
Tip: Tension during shaping helps the bread rise upward rather than spreading. Do not overwork the dough or you will lose the air bubbles.
Cold retard (optional but recommended)
- Cover the banneton loosely with plastic wrap and place it in the refrigerator for 8–16 hours.
- This develops flavor and makes scoring easier.
- Alternatively, proof at room temperature for 4–6 hours until the dough springs back slowly when poked (leaving a slight indent that doesn't fully disappear).
+ Show details− Hide details
Ready when: Dough is cold and firm; room-temperature proof shows a dough that springs back slowly and is slightly jiggly
Tip: A cold retard produces exceptional flavor and tang. Scoring is much easier on cold dough as well.
Preheat Dutch ovenOven 500°F / 260°C
- Remove the dough from the refrigerator (if cold-retarded) or let it finish its room-temperature proof.
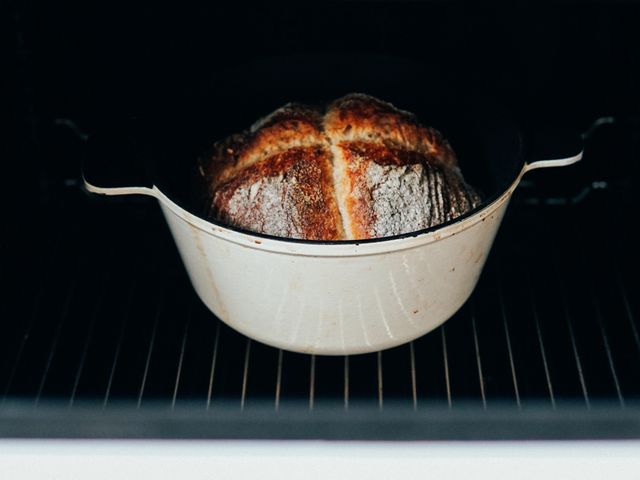
- Place your Dutch oven, uncovered, on the lower-middle rack of the oven and preheat to 500°F (260°C) for 45 minutes.
- The pot and lid must be completely hot when the dough goes in.
+ Show details− Hide details
Ready when: Oven and Dutch oven are fully preheated (you may see a light shimmer of heat)
Tip: A properly preheated Dutch oven is crucial for oven spring and crust development. Do not skip this step.
Score and bakeOven 500°F / 260°C
- Carefully remove the hot Dutch oven from the oven.
- Place the loaf on parchment paper.
- Using a bread lame, sharp knife, or razor blade, score the top of the loaf with a single slash at a 30° angle, about ¼ inch deep.
- Slide the loaf (on parchment) into the hot Dutch oven.
- Cover with the lid and return to the oven.
- Bake at 500°F (260°C) for 20 minutes covered to trap steam.
+ Show details− Hide details
Ready when: Loaf is visibly expanded; steam fills the pot
Tip: Score decisively in one motion; hesitation produces a ragged slit. Use parchment to prevent sticking and allow easy removal.
Finish baking uncoveredOven 450°F / 230°C
- Remove the Dutch oven lid carefully (be cautious of the hot steam).
- Reduce the oven temperature to 450°F (232°C) and continue baking, uncovered, for 18–22 minutes, until the loaf is deep golden brown on all sides.
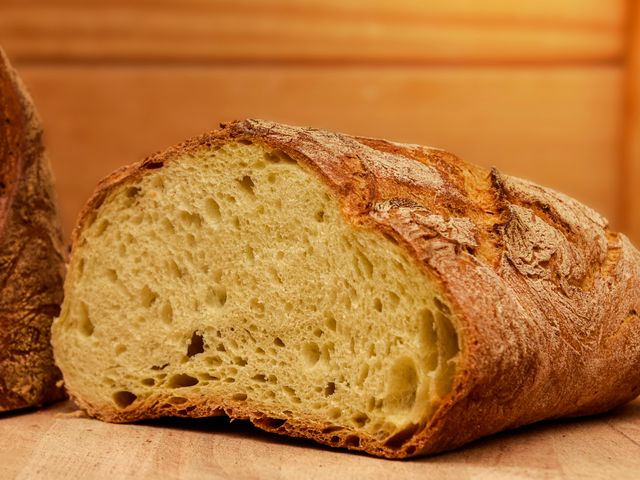
- The crust should crackle audibly when tapped with a wooden spoon, and the loaf should sound hollow when tapped on the bottom.
+ Show details− Hide details
Ready when: Crust is deep golden brown; loaf sounds hollow when tapped on the bottom; internal temperature reaches 205–210°F (96–99°C)
Tip: If the crust is darkening too quickly, reduce the temperature to 425°F (218°C). Every oven is different, so watch the loaf during the last 5 minutes.
Cool
- Remove the loaf from the Dutch oven and place it on a wire rack.
- Let it cool for at least 1 hour at room temperature before slicing.
- The interior will continue to set during cooling.
- Do not slice a warm loaf, as the crumb is still steaming and will appear gummy.
+ Show details− Hide details
Ready when: Loaf is cool to the touch and no longer releases steam
Tip: Patience now ensures a perfect slice. Cutting too early will compress the crumb and make the loaf appear dense.
Good to know
Tips
- Starter readiness is crucial. Your starter should be at peak (roughly doubled and full of bubbles) 4–8 hours after feeding. A sluggish or unfed starter will result in slow fermentation and dense bread.
- Room temperature matters. If your kitchen is cool (below 65°F / 18°C), extend the bulk fermentation to 14–16 hours. If warm (above 75°F / 24°C), reduce it to 10 hours to avoid over-fermentation.
- The poke test: After shaping, poke the dough gently with a floured finger. If it springs back immediately, it needs more time. If the indent stays and doesn't spring back, it is over-proofed and may spread instead of rise. You want it to spring back slowly, leaving a slight indent.
- A Dutch oven is essential for home oven bread. The trapped steam creates the crackling crust and dramatic oven spring that makes artisan bread special. Cast iron or enameled cast iron works best.
Make ahead
The dough can be mixed and left to bulk-ferment for 12 hours, or cold-retarded in the refrigerator for up to 24 hours before shaping and final proofing. This actually improves flavor and makes the recipe more flexible for busy schedules.
Storage & reheating
At room temperature: Keep in a bread box or wrapped loosely in a linen towel for up to 3 days; the crust will soften. In the refrigerator: Wrap tightly in plastic wrap for up to 5 days; reheat in a 375°F (190°C) oven for 10–15 minutes to restore crispness. In the freezer: Wrap in plastic wrap and foil for up to 2 months; thaw at room temperature, then reheat as above. Do not refrigerate unwrapped, as the bread will stale faster.
Substitutions
- all-purpose flour → bread flour. Bread flour (13–14% protein) will produce a chewier crumb and slightly stronger gluten development. Use the same weight (390 g) but expect slightly tighter crumb structure and even more dramatic oven spring.
- fine sea salt or kosher salt → kosher salt (Diamond Crystal brand). Diamond Crystal kosher salt is lighter and less dense than fine sea salt. Use 2 teaspoons (about 6 g) by volume to match the flavor intensity.
- active sourdough starter (fed and bubbly) → whole wheat or rye sourdough starter. A whole wheat or rye starter will produce a slightly earthier, nuttier loaf. Use the same amount (120 g), but expect a slightly darker color and more pronounced sour flavor. The fermentation time may be slightly faster due to higher enzyme activity.
- water, room temperature → filtered or bottled water. If your tap water is heavily chlorinated, use filtered or bottled water. Chlorine can inhibit fermentation. The hydration percentage remains the same at about 77%.
More sourdough
See all →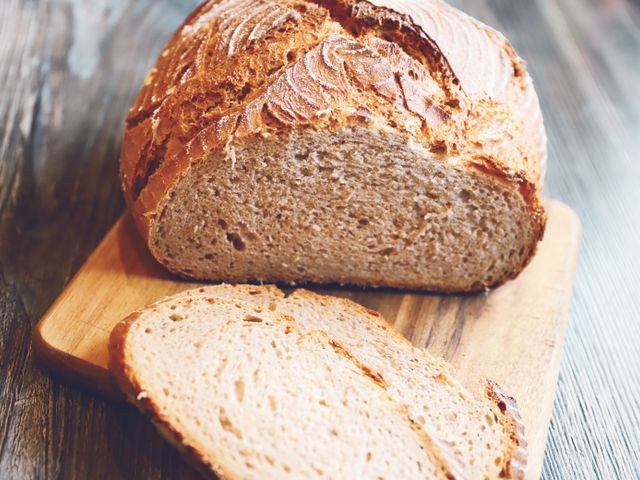
.jpg)
Find more like this
- Meal
- Breakfast
- Method
- Oven
- Quick & Easy
- 5 Ingredients or LessEasyMake Ahead