Sourdough Rustic No-Knead White Loaf
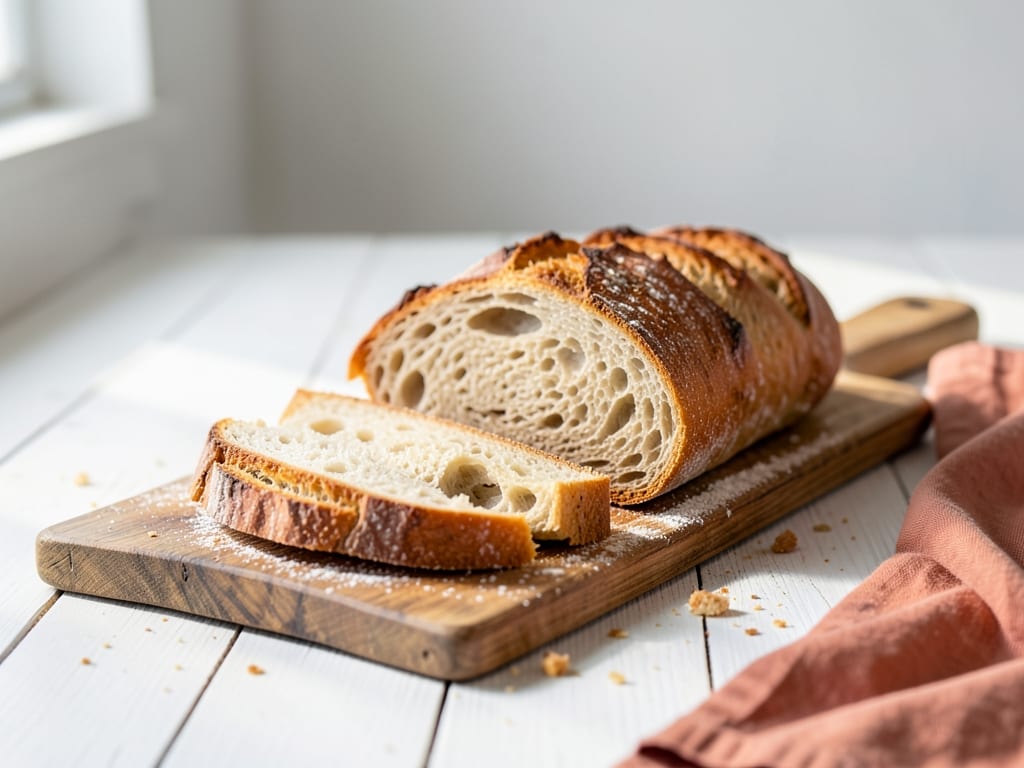
A simple, forgiving sourdough loaf with an open crumb and deep, tangy flavor. The dough is mixed once, folded gently during bulk fermentation, shaped, and baked in a Dutch oven to trap steam for a crispy crust. Perfect for beginners learning sourdough basics and experienced bakers seeking reliable results. Long fermentation (8–16 hours) develops complexity while requiring minimal hands-on time.
- Prep
- 15 min
- Cook
- 50 min
- Wait
- 14 hr 50 min
- Total
- 15 hr 55 min
- Makes
- 1 loaf (8–10 slices)
Steps
Before you start
- Feed your sourdough starter 4–8 hours before mixing; it should be at peak fermentation (bubbly, recently doubled, or showing a dome).
- Ensure your kitchen is ideally 68–72°F (20–22°C) for predictable fermentation timing.
- Have a 5-quart Dutch oven ready; you'll preheat it 30–45 minutes before baking.
- Read the timeline: total time is 14–18 hours (includes overnight cold fermentation and cooling).
Mix dough and autolyse
- In a large bowl, combine 3½ cups (450 g) all-purpose flour, ½ cup (100 g) active sourdough starter, and 1¼ cups (300 ml) lukewarm water (75–80°F / 24–27°C).
- Using a dough whisk or wet hand, stir until no dry flour remains and a shaggy, cohesive dough forms, about 2–3 minutes.
- Cover the bowl loosely with a damp towel or plastic wrap.
- Let rest at room temperature (68–72°F / 20–22°C) for 30 minutes.
- This autolyse rest allows the flour to fully hydrate and gluten to develop slightly without kneading.
+ Show details− Hide details
Ready when: Shaggy dough with no visible dry flour; slightly more cohesive than immediately after mixing
Tip: Don't skip the autolyse; it develops gluten naturally and improves the final crumb structure without kneading.
Add salt and fold
- After the autolyse rest, sprinkle 1½ tsp (9 g) kosher salt evenly over the dough.
- Wet your hand (or use a wet dough scraper) and fold the dough over itself 4–6 times, rotating the bowl a quarter turn between each fold, until the salt is incorporated and the dough feels slightly stronger.
- The dough should be slightly tighter but still loose and sticky.
- Cover and let rest for 45–60 minutes at room temperature (68–72°F / 20–22°C).
+ Show details− Hide details
Ready when: Dough feels tighter; surface may show a few small bubbles
Tip: Wet your hand to prevent sticking; fold gently to avoid degassing the dough.
Bulk fermentation with folds
- Perform another set of 4–6 folds (wet hand, fold dough, rotate bowl).
- Cover and rest 45–60 minutes.
- Repeat this fold-and-rest cycle 2–3 more times over the next 3–4 hours, for a total of 4 fold sets.
- Watch for visual cues rather than strictly following time: the dough should increase 50–75% in volume, the surface should be puffy with visible bubbles, and the interior should jiggle slightly when you shake the bowl.
- The bulk fermentation is complete when the dough holds its shape loosely and the top is domed.
+ Show details− Hide details
Ready when: Dough has increased 50–75% in volume; surface is bubbly and slightly domed; dough jiggles when bowl is shaken; interior shows visible air pockets
Tip: Room temperature affects timing: 72°F kitchens ferment faster than 68°F ones. Warmer dough = shorter bulk time. Err on the side of less rise; under-fermented dough has better oven spring than over-fermented.
Pre-shape and bench rest
- Lightly dust a work surface with flour.
- Turn the dough out of the bowl onto the surface (it will come out seam-side up).
- Using a dough scraper or your hand, gently pre-shape into a round: fold the bottom edge toward the center, then fold the sides toward the center, rotating the dough slightly as you work.
- The dough should hold a loose round shape without being too tight.
- Let rest, uncovered or loosely covered, for 20–30 minutes.
- The dough will relax and expand slightly.
+ Show details− Hide details
Ready when: Dough is gently rounded; gluten has relaxed enough that it doesn't spring back immediately when pressed
Tip: Pre-shaping prevents the dough from tearing during final shaping. Handle gently to preserve the air bubbles you worked so hard to build.
Final shape and banneton
- Lightly flour the top of the pre-shaped dough and your work surface.
- Fold the bottom third of the round up to the center and seal by pressing with the heel of your hand.
- Fold the top third down to the center and seal.
- Fold the left and right thirds to the center, sealing each.
- Finally, roll the dough tightly toward you, sealing the seam completely with your thumb.
- The result should be a taut, round boule.
- Place seam-side up in a floured banneton or bowl lined with a floured kitchen towel.
- Cover tightly with plastic wrap or a plastic bag to prevent the surface from drying.
+ Show details− Hide details
Ready when: Shaped loaf is taut with a fully sealed seam at the bottom; no loose folds or wrinkles on the surface
Tip: Tension on the surface is critical for good oven spring and a beautiful ear. Roll firmly and seal the seam completely.
Final rise (cold or room temperature)
- Choose your method: (A) Cold rise (recommended): Place the banneton in a plastic bag and refrigerate at 38–40°F (3–4°C) for 8–16 hours.
- The dough will rise slowly and develop deep, complex flavor.
- (B) Room temperature rise: Cover loosely and let rise at room temperature (68–72°F / 20–22°C) for 2–4 hours.
- Use the poke test: gently press your finger into the dough; it should spring back slowly, about ¾ of the way.
- If using cold fermentation, remove the banneton from the fridge 20–30 minutes before baking but do not let it warm to room temperature.
+ Show details− Hide details
Ready when: Room temp: dough springs back slowly when poked. Cold rise: dough may look only slightly puffy; this is normal and actually ideal—the real rise happens in the oven.
Tip: A slightly under-fermented dough will spring more in the oven than an over-fermented one. Trust the poke test more than the clock.
Preheat Dutch oven and ovenOven 450°F / 230°C
- Place your Dutch oven (with the lid on) in the center of your oven.
- Preheat to 450°F (232°C) for 30–45 minutes.
- The Dutch oven must be very hot; this traps steam around the loaf, allowing the crust to stay flexible and the dough to expand fully.
- After 30 minutes, you can carefully open the oven and feel the heat near the Dutch oven to confirm it's hot (don't touch the pot itself).
+ Show details− Hide details
Ready when: Oven is fully preheated; you can feel intense heat radiating from the Dutch oven when you open the door
Tip: A hot Dutch oven is essential for oven spring and crust development. Don't rush this step.
Score and bake coveredOven 450°F / 230°C
- Carefully remove the hot Dutch oven from the oven.
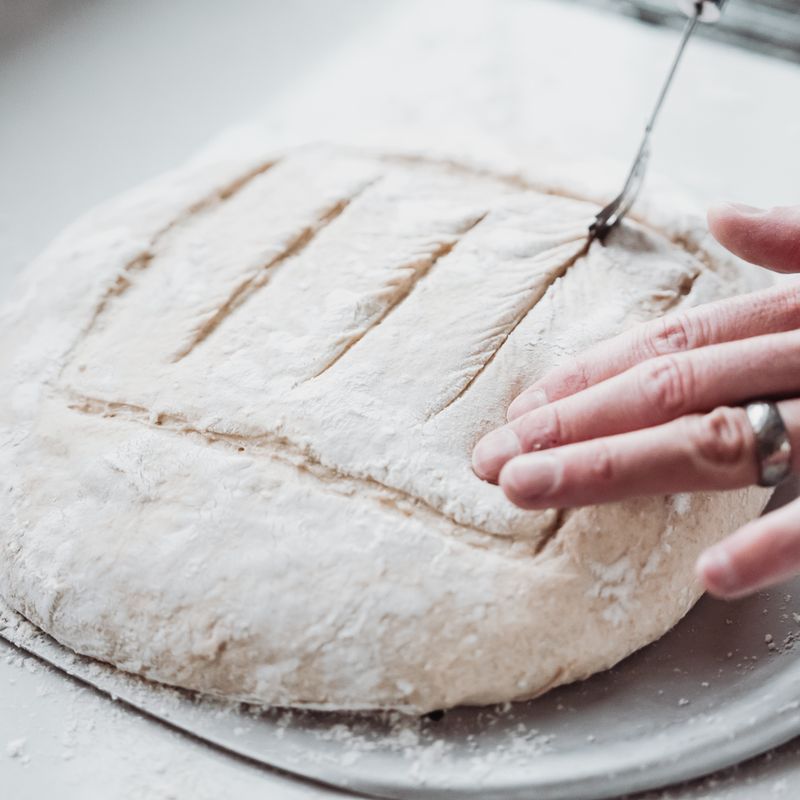
- Using a lame (bread scoring tool) or a very sharp knife held at a 30–45-degree angle, score the top of the dough with a bold, decisive cut about ½ inch (1 cm) deep.
- You can make one slash, an "X", a cross, or any pattern; the score controls where the dough expands during baking.
- Place a sheet of parchment paper on your work surface and invert the banneton onto it, turning the dough seam-side down.
- Carefully slide the parchment and dough into the hot Dutch oven.
- (If parchment edges stick out, fold them inward to prevent burning.) Replace the lid.
- Bake at 450°F (232°C) for 20–25 minutes with the lid on, trapping steam.
+ Show details− Hide details
Ready when: Loaf is puffed and visibly expanded from the dough stage; steam is trapped (visible as condensation on the lid)
Tip: Work quickly to minimize oven temperature loss when transferring the dough. Use the parchment as handles for safety.
Bake uncovered until goldenOven 450°F / 230°C
- Carefully remove the lid (watch for steam—it's very hot).
- Continue baking at 450°F (232°C) for 20–30 minutes, until the loaf is deep golden to dark brown on top and bottom.
- You can rotate the Dutch oven halfway through for even browning.
- The crust should be set and the loaf should sound hollow when tapped on the bottom (using a towel to handle it).
- Check the internal temperature with an instant-read thermometer inserted into the center of the loaf; it should read 205–210°F (96–99°C).
+ Show details− Hide details
Ready when: Crust is deep golden to dark brown; internal temperature is 205–210°F (96–99°C); loaf sounds hollow when tapped
Tip: If the crust is browning too fast, loosely tent the loaf with foil in the last 5–10 minutes.
Cool on rack
- Using tongs or a large spatula, transfer the loaf to a wire cooling rack.
- Let cool for at least 30–60 minutes before slicing.
- The crumb continues to set as the loaf cools; cutting too early will collapse the interior.
- Once completely cool, slice with a bread knife using a gentle sawing motion.
+ Show details− Hide details
Ready when: Loaf is warm to the touch but not hot; a skewer inserted comes out clean and doesn't stick
Tip: Patience here pays off. Slice too early and you'll have gummy, collapsed crumb. Let it cool completely before cutting.
Good to know
Tips
- Starter readiness is critical: Use your starter at peak fermentation (bubbly, recently fed and noticeably doubled). A weak or declining starter will result in a dense loaf with poor oven spring.
- The poke test is your best fermentation guide: A gently poked, properly fermented dough springs back about ¾ of the way. This accounts for temperature, starter strength, and room conditions better than any timer.
- Steam traps oven spring: Don't open the Dutch oven lid during the first 20–25 minutes of baking. Escaping steam will prevent the dough from expanding fully and weaken your crust.
- Cold fermentation is your friend: An overnight rise (8–16 hours in the fridge) improves both flavor and structure and fits most home bakers' schedules. The loaf actually rises in the oven, not in the fridge.
Make ahead
Yes. After shaping (step 5), place the banneton in the refrigerator for 8–16 hours. Cold fermentation deepens flavor and improves crumb structure. Bake directly from the fridge without letting the dough warm to room temperature. Remove only 20–30 minutes before baking.
Storage & reheating
Room temperature (in a paper bag or cloth, never plastic): 2–3 days. Refrigerator (in a plastic bag): 5–7 days; slice before storing for easier reheating. Freezer (whole loaf or sliced, in a freezer-safe bag): up to 3 months. To reheat: thaw at room temperature if frozen. Wrap in foil and warm in a 325°F (163°C) oven for 10–15 minutes until the crust crackles and the interior is warm.
Substitutions
- all-purpose flour → Bread flour. Use 460 g (3.6 cups) bread flour. It absorbs slightly more water, resulting in a chewier, more complex texture. The dough may feel tighter; add an extra 1–2 tablespoons water if needed.
- all-purpose flour → Whole wheat or rye flour. Replace up to 20% of the all-purpose flour (e.g., 90 g whole wheat + 360 g all-purpose). Add 1–2 tablespoons extra water to compensate for increased absorption. This adds nuttiness and subtle tartness.
- lukewarm water → Higher hydration. Add an extra 30–50 ml of water (total 330–350 ml). This creates an even more open crumb but makes the dough stickier; handle with wet hands. The final shape will be less defined, but the bread will be airier.
- active sourdough starter → Extended or cooler bulk fermentation. Extend bulk fermentation to 5–6 hours at room temperature or perform an overnight cold bulk in the fridge after step 2 (12–18 hours). This develops deeper flavor but requires more planning.
More yeast breads
See all →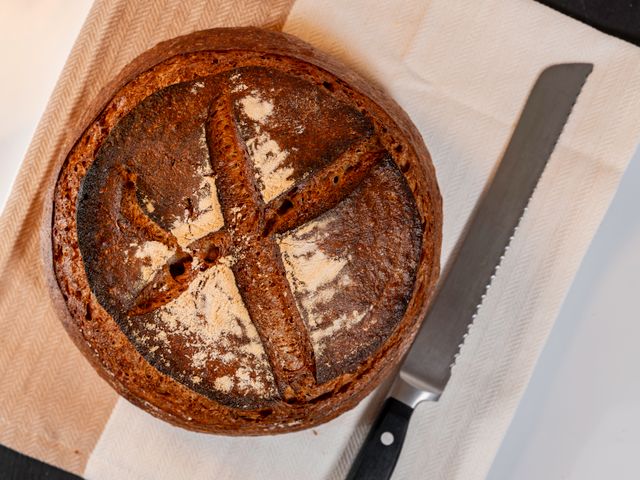


Find more like this
- Meal
- Breakfast
- Method
- Oven
- Quick & Easy
- 5 Ingredients or LessMake Ahead