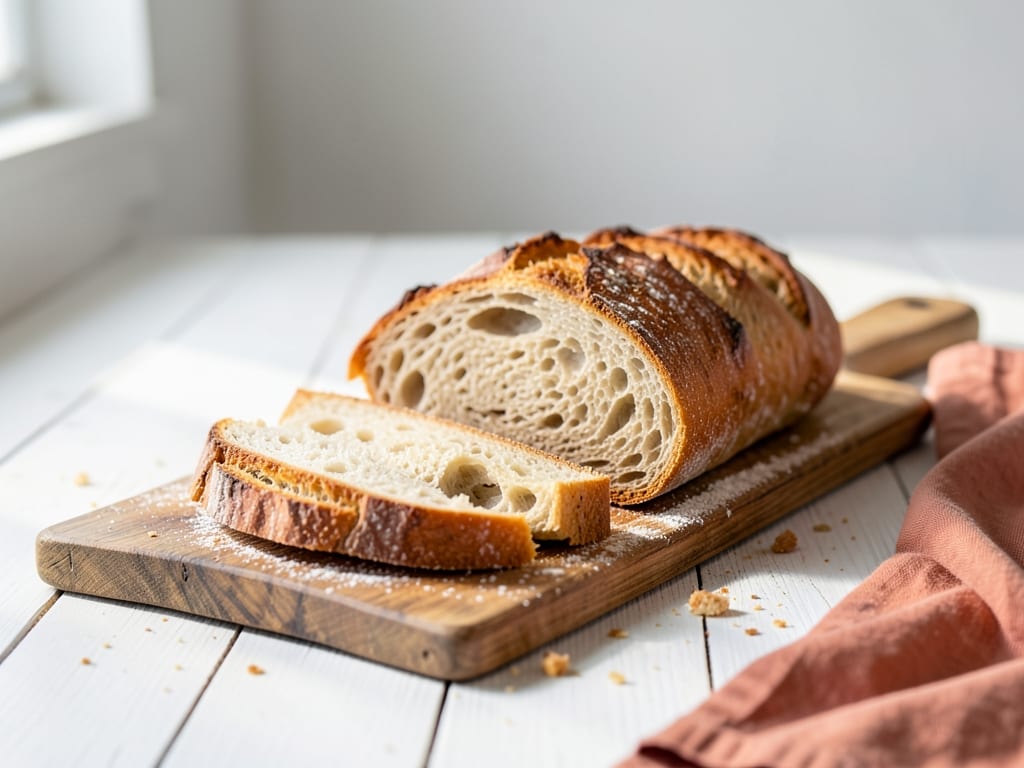
Sourdough Baguette
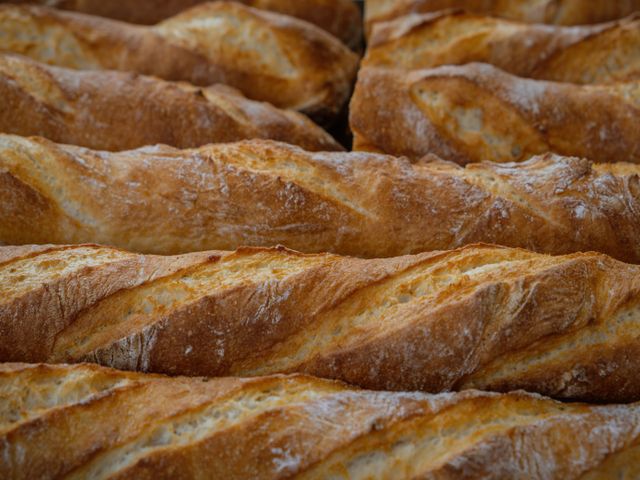
Classic French-style baguettes made with active sourdough starter, featuring a crispy, shattered crust and an open, airy crumb. Long, cool fermentation develops deep flavor and superior crust structure. Naturally leavened with no commercial yeast. Make-ahead friendly with overnight cold fermentation.
- Prep
- 23 min
- Cook
- 1 hr 13 min
- Wait
- 8 hr 55 min
- Total
- 10 hr 31 min
- Makes
- 2 baguettes (about 400g each; roughly 10 slices per baguette)
Steps
Before you start
- Your sourdough starter must be active and recently fed (4–8 hours ago), showing visible bubbles and risen noticeably above its starting level
- Preheat the oven and Dutch oven together for 45 minutes before baking—this is essential for oven spring and crust development
- Use a kitchen scale for accuracy; sourdough relies on precise hydration (baker's percentages) for consistent results
- Plan your timeline: bulk fermentation takes 4–6 hours at room temperature, or you can do overnight cold proof for better flavor
Combine and autolyse
- In a large bowl, combine 500g (3.5 cups) bread flour, 350ml (1.5 cups) lukewarm water (70–75°F / 21–24°C), and 100g (0.5 cup) active sourdough starter that is bubbly and recently fed.
- Mix by hand or with a wooden spoon until all flour is hydrated and there are no dry bits remaining.
- The dough will be shaggy and sticky.
- Cover the bowl loosely with a damp towel or plastic wrap and let rest at room temperature for 30 minutes.
- This autolyse period allows the flour to fully absorb water and begins developing gluten structure without salt, which will be added next.
+ Show details− Hide details
Ready when: Dough is shaggy but uniform; all dry flour is incorporated
Tip: Mix by hand or with a wooden spoon; avoid a stand mixer or food processor at this stage, which can overwork the dough
Add salt and mix
- Sprinkle 10g (1.5 tsp) kosher salt evenly over the dough.
- With wet hands, mix and knead the salt thoroughly into the dough for 2–3 minutes until no visible salt remains.
- The dough will feel noticeably firmer and smoother.
- Cover and let rest for 5 minutes before starting stretch and folds.
+ Show details− Hide details
Ready when: Salt is no longer visible; dough feels firmer and develops more structure
Tip: Wet your hands thoroughly before mixing to prevent sticking; thorough, even mixing ensures even fermentation
Stretch, fold, and bulk ferment
- Over the next 2 hours, perform 4 sets of stretch and folds at 30-minute intervals.
- For each fold: wet one hand, grab the dough from one side of the bowl, stretch it upward, and fold it over the center.
- Rotate the bowl 90° and repeat 3 more times (4 folds per set).
- Each set takes 1–2 minutes.
- After completing all 4 sets of folds (at the 2-hour mark), cover the bowl and let the dough rise undisturbed at room temperature (70–75°F / 21–24°C) for another 2–3 hours until it has increased by 50–75% in volume.
- You should see visible bubbles at the surface and sides, and the dough should jiggle slightly when you gently shake the bowl.
+ Show details− Hide details
Ready when: Dough has increased by 50–75% in volume and shows visible bubbles throughout
Tip: Room temperature affects fermentation speed: cooler rooms (65°F / 18°C) may take 6 hours; warmer rooms (75°F / 24°C) as few as 4 hours
Divide and pre-shape
- Turn the bulk-fermented dough out onto a lightly floured work surface.
- Using a bench scraper, divide the dough into 2 equal pieces (roughly 480g each).
- Pre-shape each piece into a loose round by gently pulling the edges toward the center and flipping seam-side down.
- Roll gently into a smooth ball without pressing too hard.
- Cover both pieces with a damp towel or plastic wrap and let rest for 20 minutes at room temperature.
- This bench rest allows the gluten network to relax, making the final shaping much easier and more successful.
+ Show details− Hide details
Ready when: Pieces have relaxed slightly and feel soft but still maintain their rounded shape
Tip: Use a bench scraper gently to handle the dough and minimize degassing—avoid folding or pressing
Shape into baguettes
- Working with one pre-shaped piece at a time, place it seam-side up on your work surface.
- Gently press out any excess gas with your fingers, leaving some air pockets intact.
- Fold the top third of the dough down and seal with your palm, then fold the dough in half lengthwise and press the seam firmly closed with the heel of your hand.
- Roll the sealed dough firmly toward you with both hands, using light pressure and creating tension on the surface.
- Roll until the baguette is approximately 12 inches (30 cm) long and tapers smoothly at both ends.
- Place seam-side up in a floured banneton proofing basket (or in a bowl lined with a well-floured kitchen towel).
- Repeat with the second piece.
- Cover the bannetons with plastic wrap or place inside plastic bags.
+ Show details− Hide details
Ready when: Two cylindrical loaves positioned seam-side up in bannetons, roughly 12 inches (30 cm) long with tapered ends
Tip: Gentle tension on the dough during rolling creates better oven spring; don't overwork or you'll expel all the valuable air pockets
Proof shaped baguettes
- Proof the shaped baguettes at room temperature for 3 hours (for same-day baking) or overnight in the refrigerator for 8–12 hours (recommended for better flavor development and easier handling).
- To test readiness, use the poke test: gently poke the dough with your finger; the indent should spring back slowly and not collapse completely.
- If proofing overnight, remove the baguettes from the fridge 30 minutes before baking to allow the dough to warm slightly; this helps with oven spring and prevents the crust from cracking unevenly.
+ Show details− Hide details
Ready when: Poke test: indent springs back slowly about halfway and doesn't collapse; dough feels light and airy
Tip: Overnight cold fermentation develops superior flavor, creates a more open crumb, and makes dough easier to score; cold dough is less sticky and more manageable
Preheat oven with Dutch ovenOven 500°F / 260°C
- Position the oven rack to the center or lower third.
- Place a 5–6-quart (5–6-liter) Dutch oven (with lid) in the oven and preheat to 500°F (260°C) for at least 45 minutes.
- The Dutch oven traps steam during baking, which is essential for developing a crispy, well-shattered crust and maximizing oven spring.
- If you don't have a Dutch oven, you can use a baking stone on the rack and spray the oven walls with water for steam instead.
+ Show details− Hide details
Ready when: Dutch oven is very hot; you may hear it crackle slightly when wet dough enters
Tip: Proper preheating is crucial for oven spring and crust development; don't skip or rush this step
Score and bake with steamOven 500°F / 260°C
- Carefully turn one proofed baguette seam-side down onto parchment paper or a bread peel.
- Using a sharp bread lame or serrated knife, score the top with 4–5 diagonal slashes at a 30–45° angle, about ¼ inch (6 mm) deep and spaced 2–3 inches (5–7 cm) apart.
- Do not hesitate or saw back and forth; make each cut in one confident, fluid motion for the cleanest score.
- Carefully lower the scored baguette (on parchment) into the preheated Dutch oven.
- Cover with the lid and bake at 500°F (260°C) for 20 minutes.
- The enclosed steam develops the crust and creates that distinctive crispy exterior.
- After 20 minutes, remove the lid (steam will escape—be careful), reduce the oven temperature to 450°F (232°C), and bake uncovered for 8–12 minutes until the crust is deep golden brown.
- Tap the bottom of the baguette; it should sound hollow and feel light.
- An instant-read thermometer inserted into the center should read 205–210°F (96–99°C).
- Transfer to a wire rack to cool for at least 30 minutes before slicing.
- The crumb will continue to set as it cools.
- Repeat with the second baguette, or bake both simultaneously if you have two Dutch ovens.
+ Show details− Hide details
Ready when: Deep golden-brown crust, sounds hollow when tapped on the bottom, internal temperature 205–210°F (96–99°C), baguette feels light
Tip: Score with confidence and authority—a sharp lame or knife at a 30–45° angle creates maximum oven spring and a crispy, shattered ear
Good to know
Tips
- Score your baguettes at a 30–45° angle with a single confident cut for maximum oven spring and a crispy, shattered ear; hesitation or sawing ruins the score
- Cold fermentation overnight (8–12 hours in the fridge) develops superior flavor, increases yeast and bacterial activity for better fermentation, and makes the dough less sticky and easier to handle
- Tap the bottom of your finished baguette; it should sound hollow and feel very light, indicating the interior is fully cooked through and not gummy or dense
- Keep your sourdough starter fed and active with regular feedings; use it within 4–8 hours of feeding for the most predictable rise and best flavor results
Make ahead
After shaping (Step 5), place the baguettes seam-side up in floured bannetons, cover tightly with plastic wrap, and refrigerate for 8–12 hours or up to 24 hours. Remove from the fridge, let come to room temperature for 30 minutes, then score and bake as directed. Cold fermentation develops superior flavor, a stronger, more flavorful crust, and a more open crumb structure.
Storage & reheating
Room temperature (wrapped loosely in cloth or paper): 1 day for best crispness; crust softens after 24 hours. Refrigerator (sealed in a plastic bag): up to 3 days; reheat wrapped in foil at 350°F (175°C) for 15 minutes to restore crispness. Freezer (whole or sliced, in a freezer bag): up to 1 month; thaw at room temperature 2–3 hours, then reheat wrapped in foil at 350°F (175°C) for 10–15 minutes.
Substitutions
- active sourdough starter, bubbly and recently fed → ¼ teaspoon (0.3g) instant yeast. Replace starter with yeast and reduce water to 325ml (1⅜ cups). This makes a yeasted baguette; skip the long bulk fermentation and do only one brief rise of 2 hours total. Flavor will be less complex and fermentation faster.
- bread flour → all-purpose flour (bleached or unbleached). Bread flour contains 12–13% protein for superior gluten development; AP flour has 10–12%. AP flour will work but may produce slightly less dramatic oven spring and a softer crust.
- lukewarm water (70–75°F / 21–24°C) → ice-cold water (40–50°F / 4–10°C). Cold water slows fermentation, allowing flavor development over 12–16 hours instead of 4–6 hours at room temperature. Adjust bulk fermentation time accordingly and watch the dough closely.
More yeast breads
See all →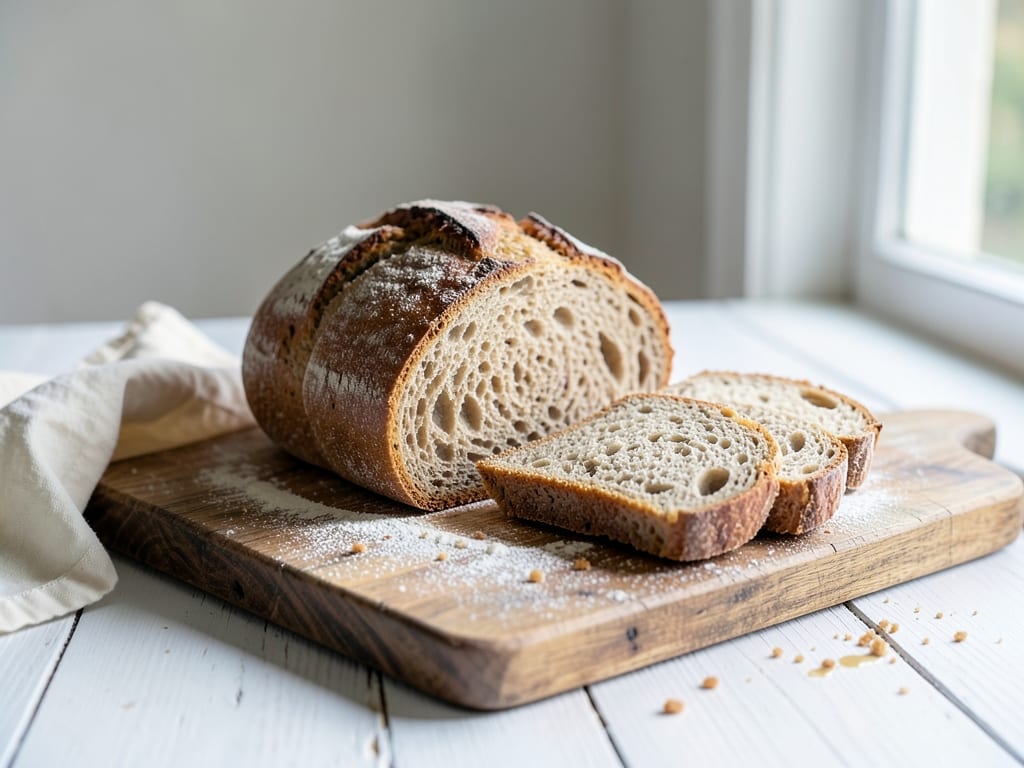
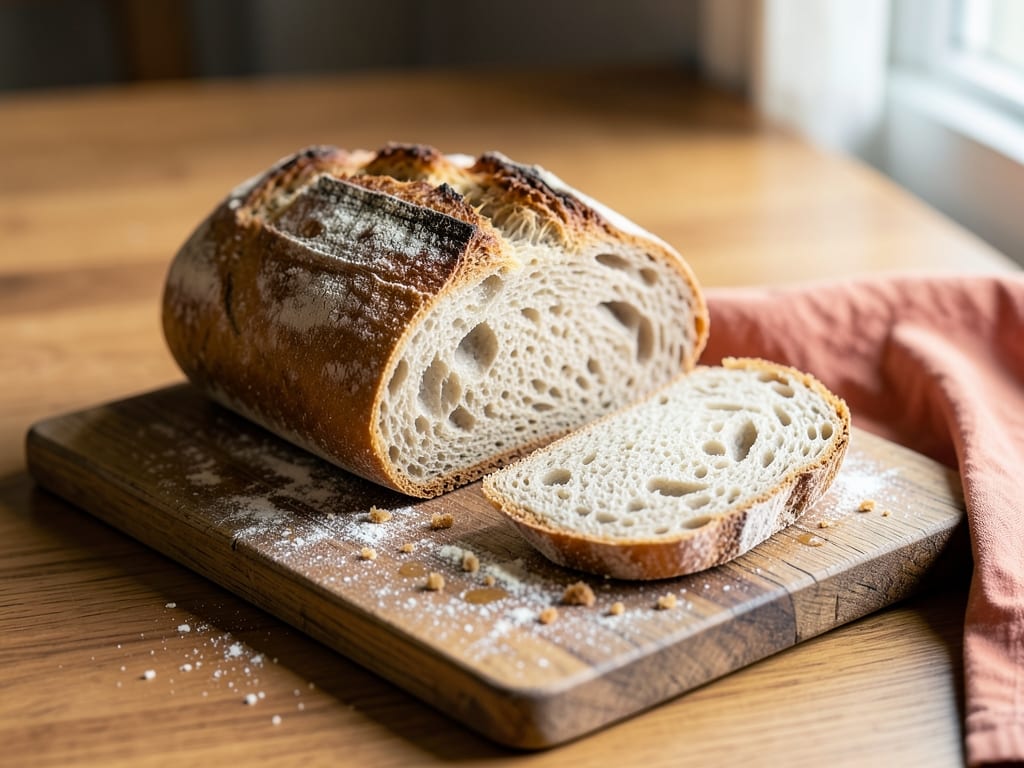
Find more like this
- Meal
- Lunch
- Cuisine
- French
- Method
- Oven
- Quick & Easy
- 5 Ingredients or LessMake Ahead