Sourdough Provençal Herb Boule
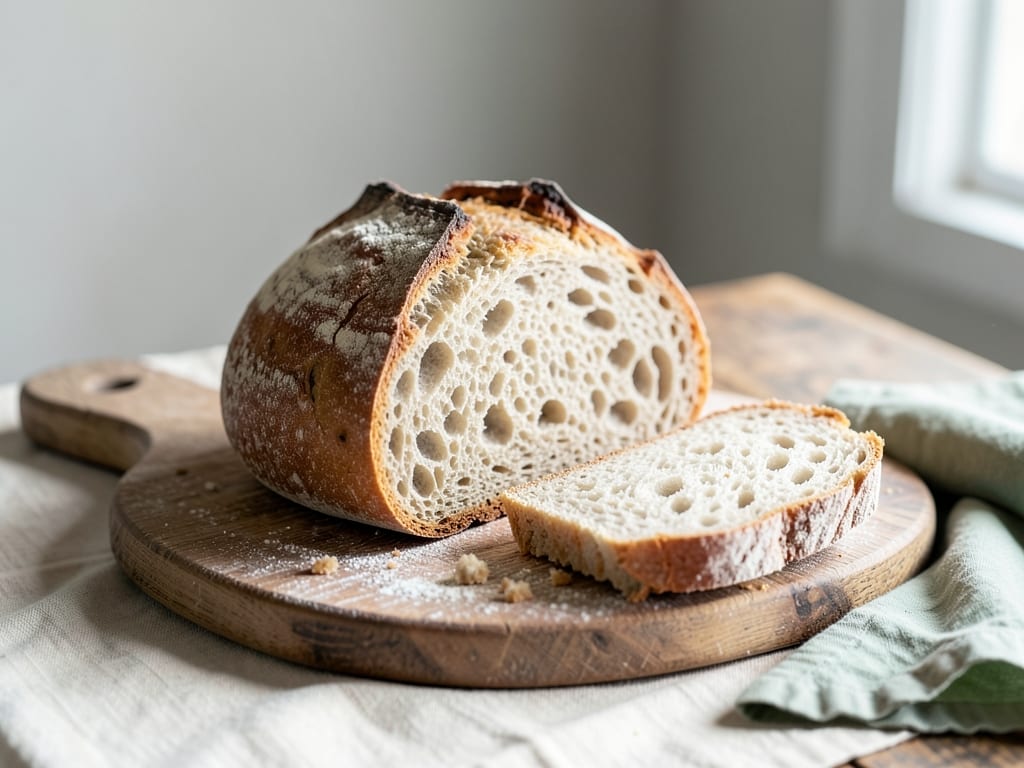
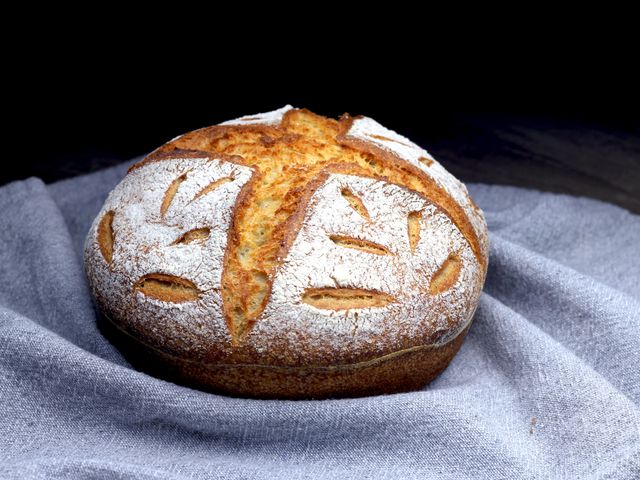
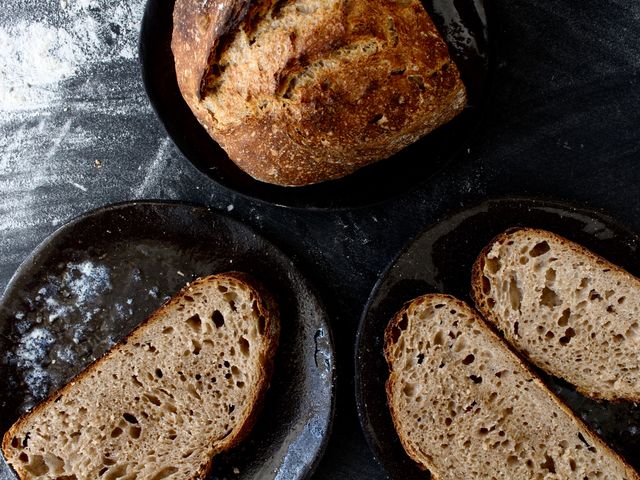
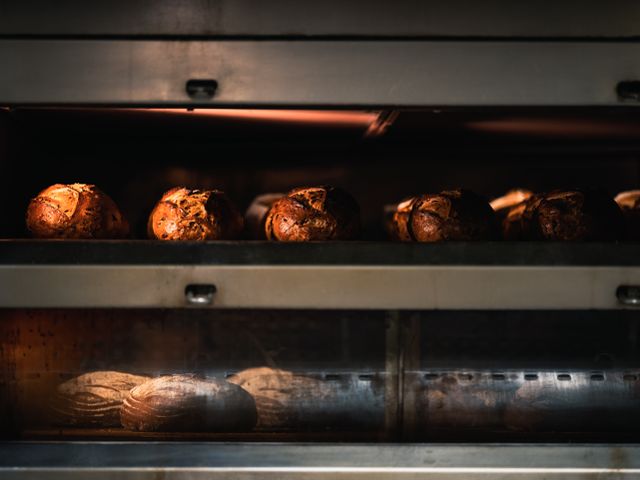
A rustic round sourdough loaf studded with rosemary, thyme, and marjoram—the aromatic herbs of Provence. The long, cool fermentation develops complex flavor while the high-moisture dough creates an open crumb and crackling crust. This is an excellent introduction to naturally leavened baking.
- Prep
- 20 min
- Cook
- 35 min
- Wait
- 11 hr 25 min
- Total
- 12 hr 20 min
- Makes
- 1 boule (serves 8–10 as a bread course)
Steps
Before you start
- Your sourdough starter should be active and bubbly (fed 4–8 hours prior, at peak rise)
- Measure ingredients by weight if possible for consistency
- Set aside 2–3 hours for the bulk fermentation and 12–16 hours for the cold final proof
Mix dough
- In a large 3-quart (3 L) mixing bowl, combine 150 g active sourdough starter, 330 ml room-temperature water, and 450 g bread flour.
- Stir with a wet hand or wooden spoon until all flour is hydrated and no dry bits remain, about 2 minutes.
- The dough will be shaggy and very soft.
- Cover the bowl with a damp towel or plastic wrap.
+ Show details− Hide details
Ready when: all flour hydrated, no dry bits visible
Tip: High hydration dough requires patience and a wet hand—use water, not flour, to prevent sticking.
Autolyse rest
- Let the dough rest, uncovered, at room temperature (68–72°F/20–22°C) for 30 minutes.
- This allows the flour to fully absorb water and develops gluten naturally before fermentation begins.
+ Show details− Hide details
Ready when: dough is visibly more cohesive and slightly less sticky
Add salt and herbs
- Sprinkle 10 g fine sea salt over the dough, then scatter the chopped rosemary leaves (3 g), thyme leaves (2.5 g), and marjoram leaves (1.5 g) evenly over the surface.
- Drizzle with 15 ml olive oil.
- With a wet hand, gently squeeze and fold the dough on itself, incorporating salt and herbs fully, about 3–4 minutes.
- The dough should feel smooth and slightly elastic.
+ Show details− Hide details
Ready when: salt and herbs are evenly distributed, dough feels cohesive
Tip: Wet your hand frequently—this prevents sticking and ensures even incorporation without adding more flour.
First fold sequence
- Over the next 2 hours, perform 4 sets of 4-fold stretches at 30-minute intervals.
- Wet your hand, grab the edge of the dough facing you, gently stretch it up and fold it toward the center, then rotate the bowl 90° and repeat on all four sides.
- Each stretch strengthens gluten without kneading.
- After each set of 4 folds, cover and rest for 30 minutes.
+ Show details− Hide details
Ready when: dough is noticeably firmer, holds its shape when folded, and springs back slowly
Tip: Perform folds on a schedule: at 30, 60, 90, and 120 minutes. Skipping this step results in a dense, gummy crumb.
Bulk fermentation
- After the final fold set, let the dough rest undisturbed in the covered bowl at room temperature for 45 minutes to 1 hour.
- The dough should increase by 30–40% in volume, feel airy and pillowy, and jiggle slightly when the bowl is tapped.
- You should see visible bubbles beneath the surface when you peek.
+ Show details− Hide details
Ready when: dough is 30–40% larger, jiggles when bowl is tapped, bubbles visible beneath surface
Tip: If your kitchen is cooler (under 68°F/20°C), bulk fermentation may take 75–90 minutes. Watch the dough, not the clock.
Pre-shape and rest
- Turn the dough out gently onto a very lightly floured work surface (use minimal flour to prevent sealing the dough).
- Without overworking, gently pre-shape into a loose round: fold the edges toward the center, rotating the dough slightly.
- Flip seam-side down, and using your hands, drag it toward you slightly to create surface tension.
- Let it rest for 20–25 minutes, uncovered, so it relaxes and maintains its round shape.
+ Show details− Hide details
Ready when: dough feels slightly less sticky and holds a taut round shape
Tip: Minimal flour prevents a gummy crust; if sticking occurs, use a bench scraper instead of adding flour.
Final shape
- Place the round seam-side up into a flour-dusted 9-inch (23 cm) banneton or bowl lined with a well-floured cloth.
- If shaping into the banneton, gently flip the pre-shaped dough seam-side up and nestle it into the basket.
- If using a bowl, place a cloth inside, dust generously with flour, and set the dough in seam-side up.
- The seam-side up orientation ensures a beautiful scored top when baked.
+ Show details− Hide details
Ready when: dough sits nestled in banneton without wrinkles, seam-side up
Tip: Flour your banneton or cloth well to prevent sticking during the cold proof.
Cold final proof
- Cover the banneton loosely with plastic wrap or a plastic shopping bag, and place it in the refrigerator at 38–40°F (3–4°C) for 12–16 hours (overnight is ideal).
- The cold slows fermentation, deepening flavor and making the dough easier to score.
- The dough will expand slightly but not dramatically; this is normal.
+ Show details− Hide details
Ready when: dough is chilled firm and has expanded slightly; poke test shows slow spring-back (2–3 seconds)
Tip: A longer cold proof is better than a shorter one—it won't over-proof in the fridge. If proofing only 8–10 hours, the final proof may be slightly faster in the oven.
Preheat oven and Dutch ovenOven 500°F / 260°C
- Place a 5–6 quart (5–6 L) Dutch oven (with lid) in the oven and preheat to 500°F (260°C) for at least 45 minutes.
- The vessel should be smoking hot; this mimics a professional steam-injected oven, trapping steam around the dough to maximize oven spring and create a crispy, blistered crust.
+ Show details− Hide details
Ready when: Dutch oven is very hot (carefully feel near the rim), interior is dry
Tip: A cold Dutch oven will cause the dough to stick and will not create proper oven spring. Plan to preheat as you remove the dough from the fridge.
Score and load dough
- Remove the dough from the refrigerator and flip the banneton onto a piece of parchment paper so the boule sits seam-side down (the beautiful scored surface now faces up).
- Using a sharp lame or bread knife, score the dough with a single confident slash about ½ inch (1.3 cm) deep, angled at 30° from horizontal.
- The score should be 4–5 inches (10–13 cm) long.
- Carefully place the parchment with the dough into the preheated Dutch oven (the parchment helps with removal later).
+ Show details− Hide details
Ready when: dough is scored cleanly, parchment fits inside Dutch oven with room around edges
Tip: Score decisively in one motion—hesitation causes dragging and uneven opening. A cold dough from the fridge makes scoring much easier.
Bake coveredOven 500°F / 260°C
- Replace the Dutch oven lid and bake at 500°F (260°C) for 20 minutes.
- The dough will puff dramatically as steam is trapped inside.
- Do not open the oven door during this stage.
+ Show details− Hide details
Ready when: steam visible when lid is carefully cracked (do not remove lid yet)
Tip: The lid is essential—it holds steam that promotes oven spring. Skipping this step will yield a pale, dense loaf.
Bake uncoveredOven 450°F / 230°C
- Carefully remove the Dutch oven lid (steam will be very hot; wear oven mitts and tilt the lid away from your face).
- Reduce oven temperature to 450°F (232°C) and bake uncovered for 15 minutes.
- The dough should be a deep golden-brown color, and the crust should sound hollow when tapped on the bottom (carefully tip the loaf with a small folded towel to check).
+ Show details− Hide details
Ready when: crust is deep golden brown with some blistered spots, loaf sounds hollow when tapped on bottom, internal temperature is 205–210°F (96–99°C)
Tip: If the top is browning too fast, tent loosely with parchment or foil. The bottom should sound very hollow—this indicates proper crust development.
Cool completely
- Remove the Dutch oven from the oven and use a kitchen towel to carefully lift the loaf out (the parchment comes with it).
- Set it on a wire rack to cool completely, about 1.5 to 2 hours, before slicing.
- Cutting too early traps steam inside, yielding a gummy interior.
+ Show details− Hide details
Ready when: loaf is completely cool to the touch, bottom crust is very hard and hollow-sounding
Tip: Patience here is critical—the bread continues to cook from internal heat. Slicing a warm loaf destroys the open crumb structure.
Good to know
Tips
- A Dutch oven is essential for this recipe. The trapped steam creates oven spring and a proper crust; without it, the loaf will be dense and pale.
- Your sourdough starter is the key to flavor. If your starter is weak (less than 2–3× rise in 4–8 hours after feeding), the dough will ferment slowly and lack tang. Strengthen it with daily feedings for a few days before attempting this recipe.
- Watch your dough, not the clock. Fermentation times depend on kitchen temperature. Warmer kitchens ferment faster; cooler ones take longer. The poke test (gently pressing the dough with a floured finger) is more reliable than the timer: the indent should slowly spring back about halfway.
- Fresh herbs make a noticeable difference. If you must use dried, reduce the quantities by two-thirds to avoid harsh, medicinal flavors. Herbes de Provence is a convenient substitute if fresh Provençal herbs are unavailable.
Make ahead
The bulk of this recipe is designed to be made ahead. You can prepare the dough up to the cold final proof (Step 8) 1–2 days in advance, then bake directly from the fridge. For maximum flavor, proof overnight (12–16 hours); shorter proofs (8–10 hours) are acceptable but may require closer monitoring during the oven stage.
Storage & reheating
Store the cooled loaf wrapped in parchment or a clean kitchen towel at room temperature for up to 3 days (the crust softens slightly as it ages—this is normal and delicious). For longer storage, wrap tightly in plastic wrap and freeze for up to 1 month. To refresh a day-old loaf, warm it unwrapped in a 350°F (175°C) oven for 10–12 minutes until the crust is crisp. Thawed frozen loaves may be refreshed the same way. Do not refrigerate, as cold temperatures accelerate staling.
Substitutions
- fresh rosemary → 1 tsp (1 g) dried rosemary, or 2 tsp (2 g) if using fresh from the grocery store with larger leaves. Dried herbs are more concentrated. Use about one-third the amount. Add them at the salt stage. The loaf will be slightly less aromatic but still delicious.
- fresh thyme → 1 tsp (0.7 g) dried thyme. Dried thyme can substitute dried rosemary if you do not have fresh. Use the same dried quantity.
- fresh marjoram → 1 tsp (0.5 g) dried oregano or herbes de Provence. Oregano is more pungent than marjoram; use slightly less. Herbes de Provence is a pre-mixed blend that works well here.
- extra-virgin olive oil → 1 tbsp (15 ml) neutral oil (vegetable or canola) or melted butter. Olive oil adds a slight fruity note. Neutral oil or butter works, though you lose the olive flavor. Butter will brown slightly during bulk fermentation (this is fine).