Sourdough Ionian Lemon Oregano Bread
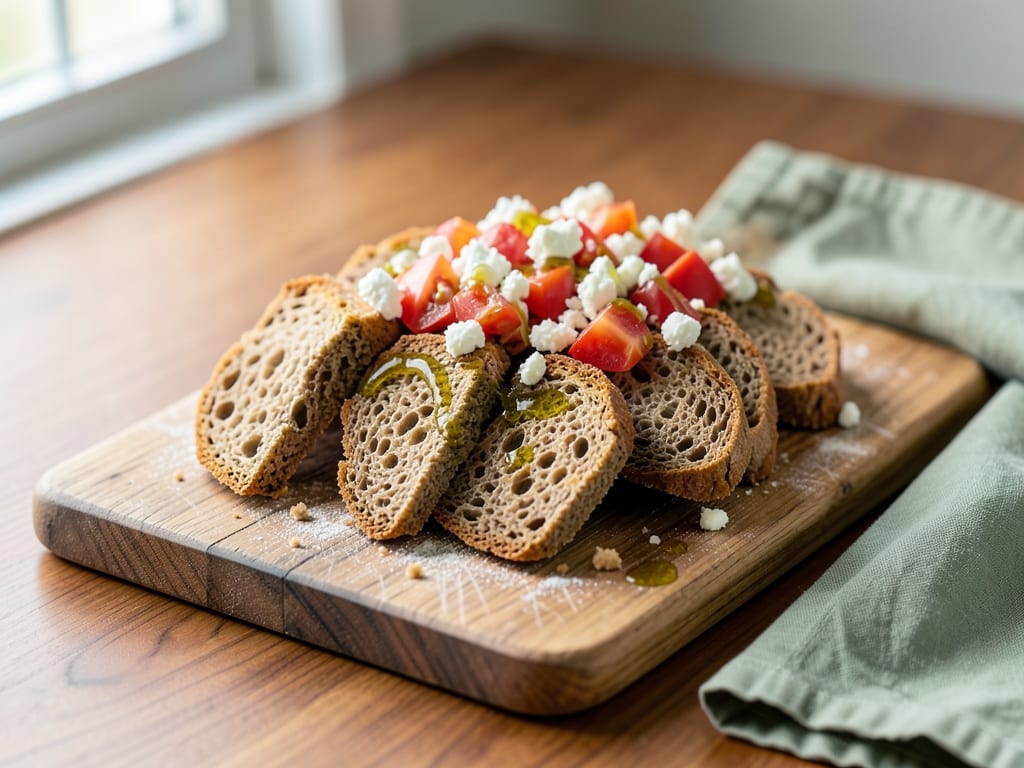
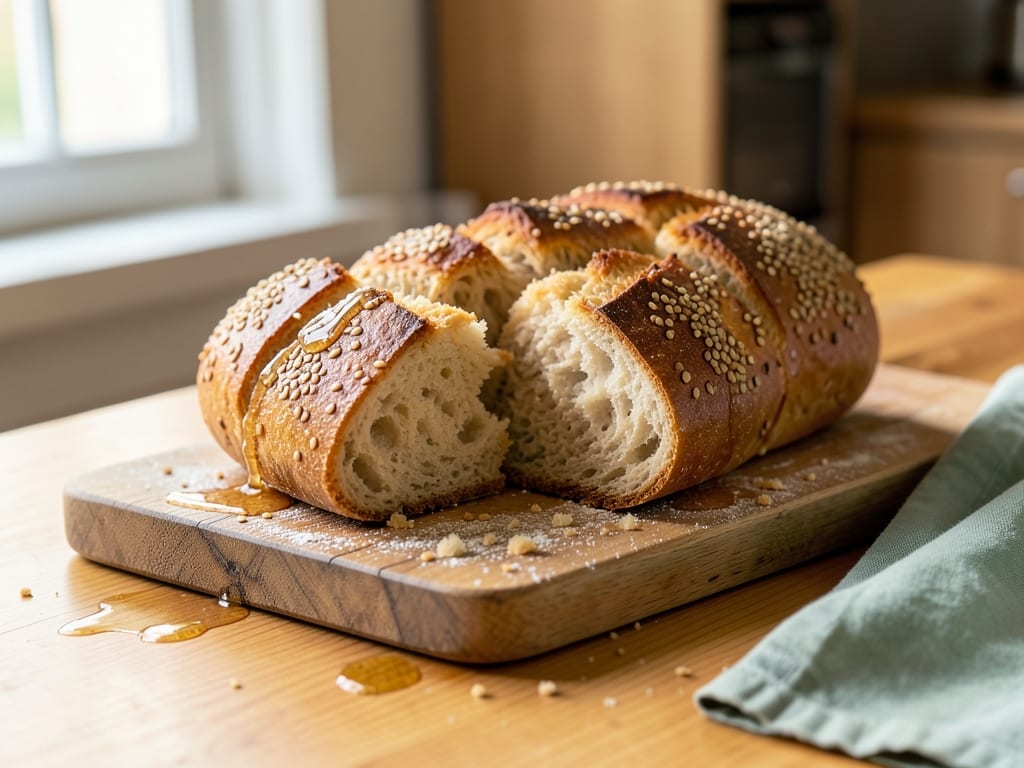
A rustic Greek-inspired sourdough loaf infused with fresh lemon zest and dried oregano. The tang of the sourdough starter balances beautifully with bright citrus and earthy Mediterranean herbs, creating a complex, aromatic bread perfect for dipping in olive oil or serving alongside cheese and olives.
- Prep
- 30 min
- Cook
- 40 min
- Wait
- 7 hr
- Total
- 8 hr 10 min
- Makes
- 1 loaf (10–12 slices)
Steps
Before you start
- Your sourdough starter must be fed and active (bubbly and at peak rise) 4–6 hours before mixing
- Use bread flour for better gluten development and a more open crumb
- Have a Dutch oven or covered baking vessel ready
- Read through the fermentation timeline; bulk fermentation takes 4–6 hours total
Mix the dough
- In a large bowl, combine the active sourdough starter (150 g), room-temperature water (320 ml), and bread flour (500 g).
- Stir with a dough whisk or your hand until all flour is hydrated and a shaggy dough forms, about 2 minutes.
- The dough will be slightly wet and loose.
- Cover the bowl with plastic wrap or a damp kitchen towel and let rest for 30 minutes at room temperature (70–75°F / 21–24°C).
- This autolyse period develops gluten naturally and improves dough extensibility.
+ Show details− Hide details
Ready when: All flour is incorporated and dough is shaggy and cohesive
Tip: If your kitchen is cool (below 68°F / 20°C), extend the rest to 45 minutes to allow the dough to fully hydrate
Add salt, zest, and oregano
- After the 30-minute rest, sprinkle the fine sea salt (10 g), crumbled dried oregano (4 g), and finely grated lemon zest (18 g) over the dough.
- Using a pincer grasp with your fingers, fold and squeeze the dough against the side of the bowl, incorporating the salt, herbs, and zest evenly.
- Work for about 3–4 minutes until the ingredients are distributed throughout and the dough becomes slightly firmer and more cohesive.
- The dough should feel silky and supple, not sticky.
- If it feels very sticky, lightly wet your hand rather than adding flour.
+ Show details− Hide details
Ready when: Salt, herbs, and zest are evenly distributed; dough is smooth and slightly firmer
Tip: Avoid using table salt, which can ferment differently; fine sea salt is ideal for slow fermentation
First set of stretches and folds
- Starting from this point, perform four sets of stretches and folds over 2 hours, spaced 30 minutes apart.
- For each set: wet your hand lightly and grab the dough at the bottom edge of the bowl, stretch it up and fold it over itself toward the center.
- Rotate the bowl 90 degrees and repeat three more times (four folds per set), working gently to build tension without tearing.
- Each set should take 1–2 minutes.
- Between sets, leave the dough undisturbed and covered.
+ Show details− Hide details
Ready when: After four sets, dough feels firmer, holds tension, and visibly rises
Tip: Stretches and folds replace traditional kneading, building gluten strength while preserving the open crumb you want in sourdough
Bulk fermentation rest
- After completing all four sets of stretches and folds, fold in the extra-virgin olive oil (22 ml) using a few gentle turns.
- The dough should feel soft and slightly silky.
- Cover the bowl and let the dough bulk ferment at room temperature (70–75°F / 21–24°C) for 2–3 hours.
- The bulk fermentation is complete when the dough has increased in volume by 50–75%, feels airy and light, and shows visible bubbles at the surface and sides.
- The dough should jiggle slightly when the bowl is shaken gently.
- Do not wait for it to double—you want it still slightly firm for shaping.
+ Show details− Hide details
Ready when: Dough is 50–75% larger, feels airy, shows surface bubbles, and jiggles when bowl is shaken
Tip: Fermentation time varies with room temperature; warmer kitchens may complete bulk fermentation in 90 minutes, while cooler ones may take 3 hours
Pre-shape the dough
- Turn the dough out onto a lightly floured (or dampened) work surface.
- Gently shape it into a round by folding the edges toward the center and then carefully turning it seam-side down.
- Using your hands in a circular motion, gently drag the dough toward you to create surface tension, rotating as you go.
- The pre-shape should be a loose, airy round, about 8 inches (20 cm) in diameter.
- Let it rest on the floured surface, uncovered or loosely covered with a kitchen towel, for 20–30 minutes.
- This rest (called the bench rest) relaxes the gluten and makes final shaping easier.
+ Show details− Hide details
Ready when: Dough is relaxed but still holds light tension; it springs back slowly when poked
Tip: If you poke the dough and it springs back immediately, let it rest longer; if the indent stays, it may be overproofed
Final shape
- Using the same circular dragging motion as the pre-shape, gently create surface tension on the dough a second time, rotating it to form a taut boule (round loaf).
- The goal is a smooth, tight round that will score well and rise evenly in the oven.
- Place the shaped dough seam-side up into a floured banneton proofing basket (or a bowl lined with a well-floured kitchen towel).
- If you do not have a banneton, a 4–5 quart bowl works fine.
- Cover the basket or bowl with plastic wrap or place it in a plastic bag.
+ Show details− Hide details
Ready when: Dough is shaped into a smooth, tight round with visible surface tension
Tip: A well-shaped boule bakes evenly and develops an attractive pattern when scored
Cold retard (overnight fermentation)
- Place the covered basket into the refrigerator (38–40°F / 3–4°C) for 8–16 hours.
- This slow, cold fermentation develops flavor and makes the dough easier to score.
- Overnight is ideal.
- The dough will rise slowly in the fridge and be ready to bake straight from the cold, or you can allow it to come to room temperature for 30–60 minutes before baking (which will give a slightly more open crumb).
+ Show details− Hide details
Ready when: Dough has risen slightly in the refrigerator; when poked gently, the indent springs back slowly or holds partially
Tip: Overnight fermentation is nearly forgiving—you can leave it in the fridge for up to 18 hours if needed
Preheat the oven and Dutch ovenOven 500°F / 260°C
- About 45 minutes before you plan to bake, place your Dutch oven (or covered baking vessel) in the middle rack of your oven.
- Preheat to 500°F (260°C).
- The Dutch oven should be extremely hot.
- This creates steam, which is essential for proper oven spring and crust development in sourdough.
- Most sourdoughs bake best at 500–475°F (260–245°C) for the first 20 minutes (covered), then 450–475°F (232–245°C) for the remaining time (uncovered).
+ Show details− Hide details
Ready when: Dutch oven is extremely hot; carefully remove from oven
Tip: A screaming-hot Dutch oven is critical for a good crust; do not skip the preheat time
Score and bake (covered)Oven 500°F / 260°C
- Carefully remove the hot Dutch oven from the oven (use oven mitts—the handle will be extremely hot).
- Gently turn the proofed dough out onto parchment paper (seam-side down) or directly into the hot Dutch oven.
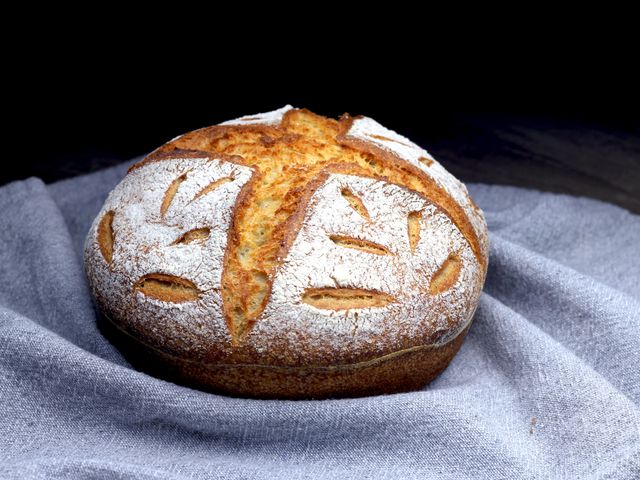
- Using a bread lame, sharp knife, or razorblade, score the top of the dough with one or two decisive cuts, about ¼ inch (6 mm) deep and at a 30–45 degree angle.
- A single long slash or an X pattern works well.
- Immediately place the Dutch oven lid on (or cover tightly with foil) and return to the oven.
- Bake at 500°F (260°C) covered for 20 minutes.
- The dough will burst open along the score line with oven spring.
+ Show details− Hide details
Ready when: Bread has visibly risen and is light golden under the lid (peek carefully)
Tip: Score decisively with confidence—hesitant scoring leads to weak ears; the dough will bloom along your cut
Bake uncovered until goldenOven 450°F / 230°C
- Remove the lid from the Dutch oven (careful: steam will rush out and is extremely hot).
- Reduce the oven temperature to 450°F (232°C) and continue baking uncovered for 18–22 minutes, until the loaf is deeply golden brown on all sides.
- Rotate the Dutch oven halfway through the uncovered baking if one side seems to be browning faster than the other.
- The internal temperature should reach 205–210°F (96–99°C) when measured with an instant-read thermometer inserted into the thickest part of the loaf (not touching the sides).
+ Show details− Hide details
Ready when: Loaf is deeply golden brown all over; internal temperature is 205–210°F (96–99°C); bottom sounds hollow when tapped
Tip: Do not overbake—sourdough is done at 205–210°F, not hotter; overheating dries the crumb
Cool completely
- Transfer the baked loaf to a wire cooling rack (or you can place it directly on a clean kitchen towel).
- Let it cool completely at room temperature for at least 1 hour, and ideally 2 hours.
- This cooling period is crucial: the crumb sets and continues to cook gently as it cools.
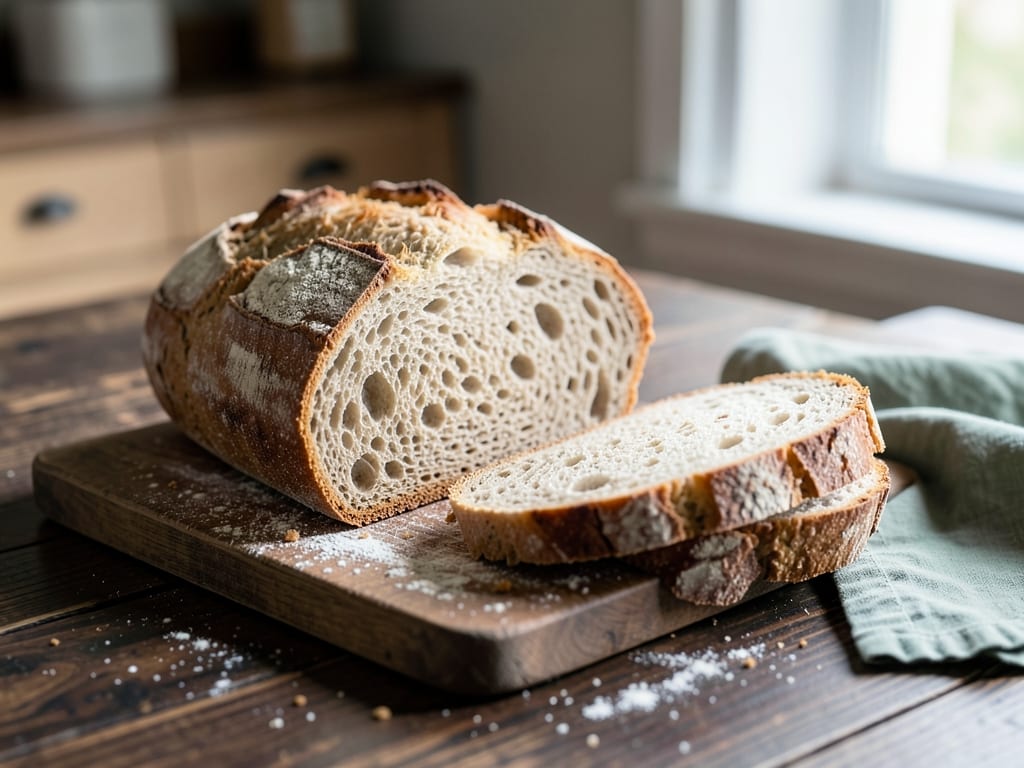
- Slicing into a warm loaf will result in a gummy texture; patience here ensures you get the beautiful, open crumb structure you've worked for.
- Once completely cool, you can slice, wrap, and store.
+ Show details− Hide details
Ready when: Loaf is cool to the touch and the crust has hardened; it sounds hollow when tapped on the bottom
Tip: Resist the urge to slice into a warm loaf; the payoff for waiting is a perfectly set crumb
Good to know
Tips
- Active sourdough starter is essential—it must be bubbly and at peak rise (doubled from its fed state) before you mix the dough. A weak or dormant starter will not ferment the dough properly and the bread will be dense and sour. Feed your starter 4–6 hours before mixing and watch for peak rise.
- Fermentation time is temperature dependent. If your kitchen is 72°F (22°C), bulk fermentation will take about 4 hours. If it's 68°F (20°C), add 30–60 minutes. Cold kitchens produce slower fermentation and deeper flavor; warm kitchens speed things up. Aim for 50–75% rise during bulk fermentation, not a full double.
- Do not skip the Dutch oven or covered baking vessel—trapped steam is what creates the crispy, golden crust and allows dramatic oven spring. Without steam, the crust will be pale and dense, and the crumb will not open properly.
- Lemon zest can be bitter if exposed to high heat for too long, so add it after the autolyse (not before) so it ferments with the dough rather than baking in the oven for extended time. The brightness of the lemon will shine through in the finished loaf.
Make ahead
The dough can be shaped and placed in the refrigerator for up to 18 hours. This overnight (or longer) cold fermentation is actually ideal for sourdough, as it develops deeper flavor and makes scoring easier. You can bake directly from the cold, or let it come to room temperature for 30–60 minutes first for a more open crumb.
Storage & reheating
At room temperature in a paper bag or on a cutting board, uncovered, for up to 3 days (the crust will soften). For longer storage, wrap tightly in plastic wrap and refrigerate for up to 5 days, or freeze (wrapped well) for up to 3 months. To reheat, wrap in foil and warm in a 350°F (175°C) oven for 10–15 minutes if refrigerated, or 20–25 minutes if frozen, until the crust crisps and the interior is warm.
Substitutions
- bread flour → All-purpose flour (3% of total flour weight, so 515 g total). All-purpose flour has slightly lower protein and will produce a slightly less open crumb, but the loaf will still be excellent. You may need to reduce water by 15–20 ml, as all-purpose flour absorbs slightly less.
- dried oregano → 2 tsp (2 g) fresh oregano leaves, finely chopped, or 1.5 tsp (1.5 g) dried Mediterranean herb blend. Fresh oregano will be brighter and slightly more delicate; dried oregano (especially Greek or Sicilian) is more concentrated and earthy. Herb blends offer complexity but may dominate the lemon flavor.
- fresh lemon zest → 2 tbsp (12 g) orange zest, or 2 tbsp lemon zest + 1 tbsp orange zest for a more citrus-forward flavor. Orange zest will produce a sweeter, less sharp bread; a blend of lemon and orange creates a more complex citrus profile while still keeping the brighter lemon character.
- extra-virgin olive oil → 1.5 tbsp (22 ml) neutral oil (grapeseed, sunflower, or light olive oil). Neutral oil will not add any fruity or peppery notes; the bread will have a cleaner flavor. Extra-virgin olive oil adds subtle fruitiness and is worth the extra cost for this recipe.