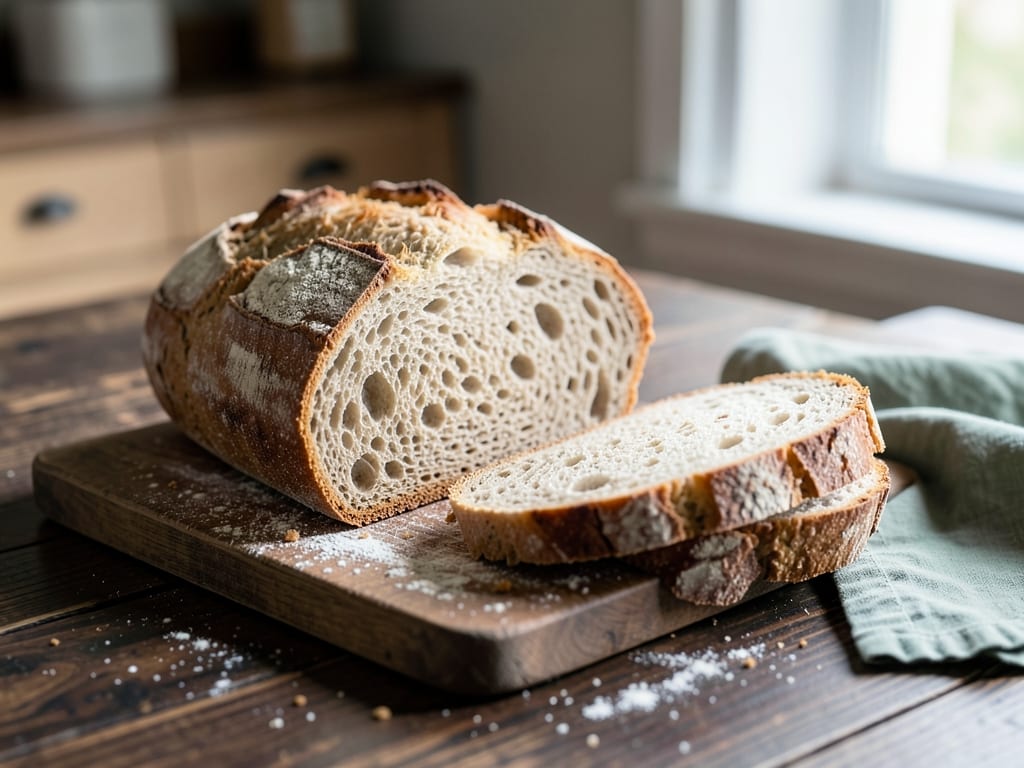
Sourdough Horiatiko Psomi (Greek Village Bread)
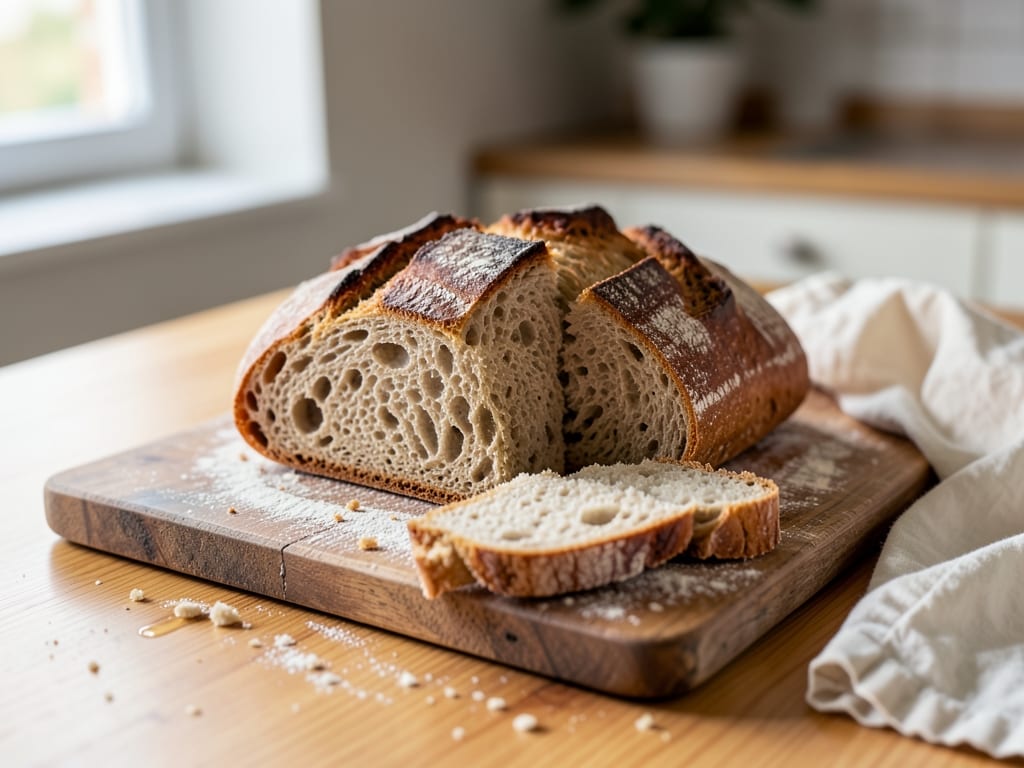
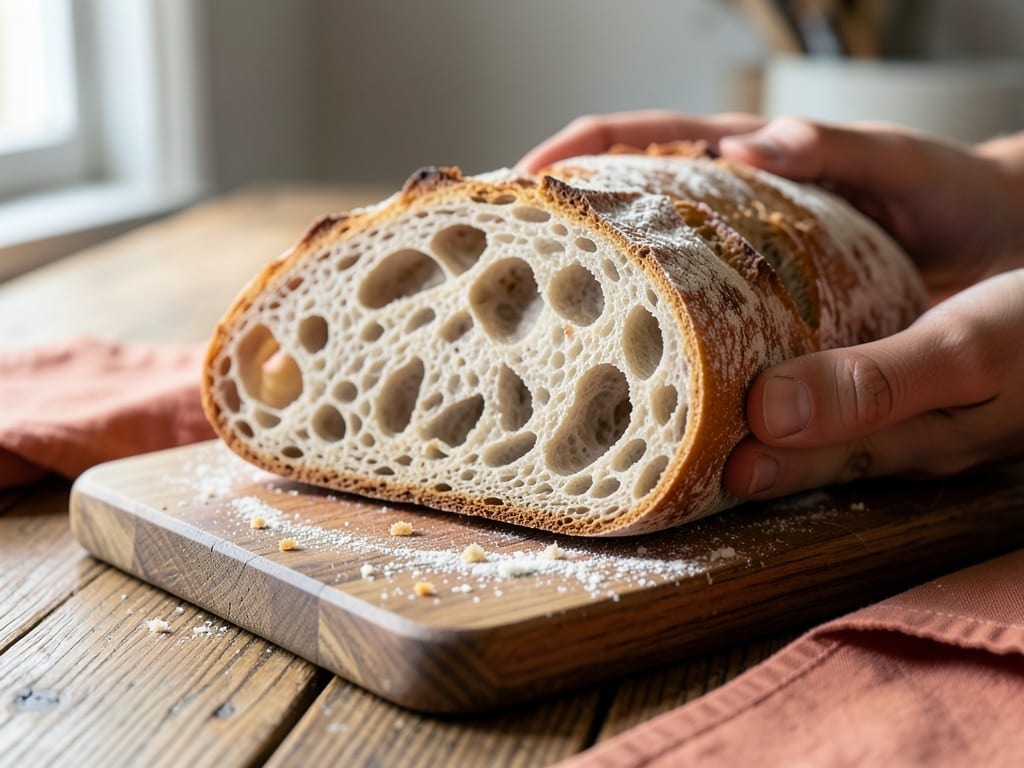
Horiatiko psomi is the traditional village bread of Greece, known for its crackling crust, open crumb, and deep, tangy flavor. This naturally leavened sourdough is made with just four simple ingredients—flour, water, salt, and an active sourdough starter—letting time and proper technique create a rustic loaf reminiscent of bread from Greek village bakeries. The bulk of the recipe is passive fermentation, so actual hands-on time is minimal, making it approachable for home bakers willing to plan ahead and trust the dough.
- Prep
- 40 min
- Cook
- 45 min
- Wait
- 18 hr
- Total
- 19 hr 25 min
- Makes
- 1 large round loaf (12 slices)
Steps
Before you start
- Your sourdough starter must be active and bubbly at room temperature (ideally fed 4-8 hours before using)
- Plan ahead: total clock time including fermentation is about 19-20 hours spread over one or two days
- Gather equipment: banneton or towel-lined bowl, Dutch oven, bread lame or sharp knife, instant-read thermometer, and wire rack
- Note your kitchen temperature (65-75°F is ideal); warmer kitchens will shorten fermentation, cooler kitchens will lengthen it
Mix the dough
- Combine the active sourdough starter and warm water in a large mixing bowl, stirring until fully incorporated.
- Add all the bread flour and mix vigorously with your hands or a wooden spoon until there are no dry pockets of flour and the shaggy dough comes together.
- Don't worry about smoothness at this stage—you're simply combining all ingredients evenly.
+ Show details− Hide details
Ready when: All flour is hydrated and no dry patches remain; dough is shaggy but holds together
Rest for autolyse
- Cover the bowl with a damp kitchen towel or plastic wrap and let the dough rest for 30 to 60 minutes at room temperature.
- This autolyse period allows flour to fully absorb water and develops gluten naturally without mechanical work.
- The dough will look slightly smoother and feel more cohesive after this rest.
+ Show details− Hide details
Tip: Autolyse is transformative for open crumb and extensibility; don't skip it
Incorporate salt with folds
- After the autolyse rest, sprinkle 10g fine sea salt and 7g olive oil over the dough.
- Wet one hand with water (this prevents sticking) and use a pinching and folding motion to incorporate the salt and oil, working your way around the bowl.
- Perform about 20-25 folds, pinching from the side and folding dough over itself each time.
- The dough will feel stickier now—this is normal and indicates gluten is developing.
- Work with confidence and don't fear the tackiness.
+ Show details− Hide details
Ready when: Salt is fully incorporated and dough is noticeably smoother and stronger-feeling
Tip: Wet hands prevent sticking better than flouring; work confidently to build gluten structure
Bulk ferment with folds
- Cover the bowl and let the dough rest at room temperature for 30 minutes.
- After resting, perform the first set of stretch and folds: wet your hand, reach to the bottom edge of the dough, stretch it gently upward, and fold it over itself in the center.
- Rotate the bowl 90 degrees and repeat from each of the four sides (this complete cycle = one set).
- Repeat this stretch-and-fold process every 30 minutes for the next 3 hours (completing 4 sets total from the first one).
- You'll notice the dough becoming visibly stronger and smoother with each set.
- After the final set of folds (about 3 hours from when the bowl was first covered), leave the dough undisturbed to bulk ferment for another 8-12 hours at room temperature.
- The dough is ready when it has increased in volume by about 50%, shows visible bubbles on the surface (especially near the edges), and jiggles slightly when you move the bowl.
- If your kitchen is warmer (75-80°F), check at 8 hours; if cooler (65-70°F), wait closer to 12 hours.
+ Show details− Hide details
Ready when: Dough has increased by about 50%, shows visible bubbles throughout, jiggles when bowl is moved, and has a slightly domed surface
Tip: Temperature matters: cooler kitchens extend fermentation to 14-16 hours; warmer kitchens finish in 8-10 hours. Listen to your dough, not just the clock
Pre-shape into round
- Dust your work surface lightly with bread flour.
- Turn the fully fermented dough out onto the floured surface without aggressively deflating it.
- Gently pull the outer edges of the dough toward the center, working your way around in a circular motion, creating surface tension.
- You're forming the dough into a loose round—don't compress it.
- This pre-shaping step builds surface tension while preserving the gas bubbles you've worked to develop.
+ Show details− Hide details
Ready when: Dough is shaped into a relatively taut round with gentle tension on the surface
Tip: A bench scraper helps gently move dough without deflating it; use light, confident touches
Shape into tight round
- Lightly flour a banneton basket or a 9-inch bowl lined with a damp, flour-dusted kitchen towel.
- Flip the pre-shaped dough so the seam-side is facing up.
- Starting from the top edge, fold it down toward you about one-third of the way, pressing gently to seal.
- Fold the top edge down again about one-third and press to seal.
- Now roll the dough toward you in a firm, controlled motion, sealing the seam as you go, until you've formed a snug, compact round.
- Place the shaped dough into the banneton with the seam-side facing up.
+ Show details− Hide details
Ready when: Dough is shaped into a tight round with a sealed seam at the bottom and smooth, slightly taut surface
Tip: Firm shaping creates surface tension for good oven spring; confident motions preserve gas structure
Final proof
- Cover the banneton with plastic wrap or place it inside a plastic grocery bag to prevent the surface from drying.
- Let the shaped dough proof at room temperature for 2-4 hours.
- It's ready when it springs back slowly (about halfway) when gently poked with a floured finger—it should feel puffy but still retain some resistance.
- Alternatively, for better flavor and easier scoring, refrigerate for 8-16 hours (see make-ahead section).
- Both methods produce excellent bread.
+ Show details− Hide details
Ready when: Dough springs back halfway when poked; surface is puffy; gentle jiggle suggests good gas structure
Tip: Cold fermentation in the refrigerator is recommended if your schedule allows—easier to score and better flavor
Score and bakeOven 475°F / 245°C
- Position a rack in the middle of your oven and place a Dutch oven (with its lid) inside.
- Preheat to 475°F (245°C) for at least 45 minutes.
- The oven and pot must be very hot to create oven spring and develop the crust properly.
- If your dough was chilled, remove it 15-20 minutes before baking.
- Place a piece of parchment paper on your work surface and turn the banneton over onto it so the dough is now seam-side down.
- Using a bread lame or very sharp knife, score the top of the loaf with a decisive, confident cut—a ¼-inch-deep slash, cross pattern, or decorative design.
- Carefully pull the hot Dutch oven from the oven and place the dough (on parchment) inside.
- Cover with the hot lid and bake for 20 minutes without opening the oven—this steaming phase allows maximum oven spring.
- After 20 minutes, carefully remove the lid (watch for escaping steam) and bake for another 20-25 minutes until the crust is deep golden brown.
- The loaf is done when the internal temperature reaches 205-210°F (96-99°C) when measured with an instant-read thermometer inserted into the thickest part (insert from the bottom).
- The loaf should also sound hollow when tapped on the bottom.
+ Show details− Hide details
Ready when: Crust is deep golden brown; internal temperature reaches 205-210°F (96-99°C); loaf sounds hollow when tapped on bottom
Tip: Do not open the oven during the first 20 minutes; steam is essential. If crust browns too fast, reduce heat to 450°F but avoid opening the door
Cool on rack
- Remove the hot Dutch oven from the oven and carefully lift the hot bread out using tongs or a thick kitchen towel.
- Place it on a wire cooling rack and let it cool at room temperature for at least 1-2 hours before slicing.
- The interior crumb continues to set as the bread cools; cutting into warm bread releases steam and causes the interior to become gummy and fall apart.
- You can press the side of the loaf occasionally—when fully cool, it should feel mostly hollow and sound slightly crispy when you tap the crust.
- Patience here is key to the final texture.
+ Show details− Hide details
Ready when: Loaf is cool to the touch; crust is fully hardened; sounds hollow when tapped on bottom
Tip: Don't slice until fully cool—you'll compromise the crumb structure. Make coffee and let the bread rest
Good to know
Tips
- Cold overnight fermentation in the refrigerator after shaping (instead of room-temperature proof) develops much deeper, more complex flavor and makes scoring easier due to firmer dough. Highly recommended if your schedule allows.
- Weigh your ingredients for the best and most consistent results. Volume measurements can vary significantly depending on how flour is scooped and settled in the cup.
- The dough should feel slightly tacky but not sticky and difficult to handle. If it's extremely sticky, your room may be too warm or your starter too active. Slight stickiness is normal and actually desirable for open crumb.
- Resist the urge to add flour if the dough feels sticky; instead, adjust your handling technique. Wet hands rather than flouring will make handling much easier and prevent unintentional flour additions that throw off hydration.
Make ahead
You can extend fermentation for deeper flavor by cold-proofing: after shaping (step 6), cover the banneton and refrigerate for 8-16 hours or even up to 24 hours instead of proofing at room temperature. Bake directly from cold without bringing to room temperature. The dough will bake perfectly and develop superior flavor. Alternatively, prepare your dough the night before, allow bulk fermentation overnight in the fridge (14-18 hours), and proceed with shaping and baking the next day.
Storage & reheating
Room temperature (2-3 days): Wrap the cooled loaf in a clean kitchen towel or place in a bread box seam-side down. Avoid plastic wrap, which traps steam and softens the crust. Refrigerator (up to 5 days): Wrap in plastic wrap or a plastic bag. Warm briefly in a 350°F (175°C) oven for 5-10 minutes before serving to restore crispness. Freezer (up to 3 months): Wrap tightly in plastic wrap, then foil. Thaw at room temperature for 2-3 hours, then optionally warm in a 350°F oven for 10 minutes. To refresh day-old bread: Sprinkle lightly with water and warm in a 350°F oven for 10-15 minutes until the crust is crispy again.
Substitutions
- bread flour → all-purpose flour. All-purpose flour has less protein, so the dough may be slightly less extensible and oven spring slightly reduced. Reduce water by 10-15g to compensate for different absorption.
- extra virgin olive oil → Omit entirely. Olive oil adds richness and a slightly fruity note, but traditional Greek village bread is often made without it. The bread will be equally good.
- active sourdough starter, at room temperature → Whole wheat sourdough starter or rye starter. These will add different flavor notes and may require the same weight, but monitor hydration. The bread may be slightly darker and more flavorful.
- bread flour → 70% bread flour + 30% whole wheat or spelt flour. Increases flavor complexity and nutrition. Increase water by 15-20g as whole grains absorb more water. May extend fermentation slightly.
More sourdough
See all →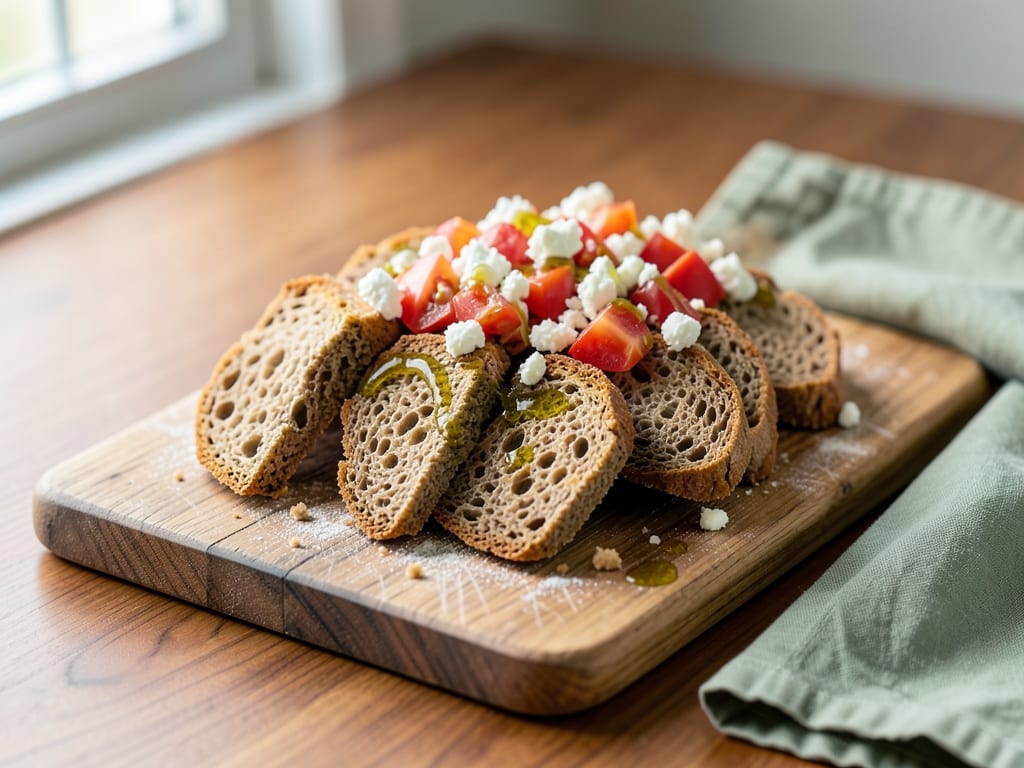
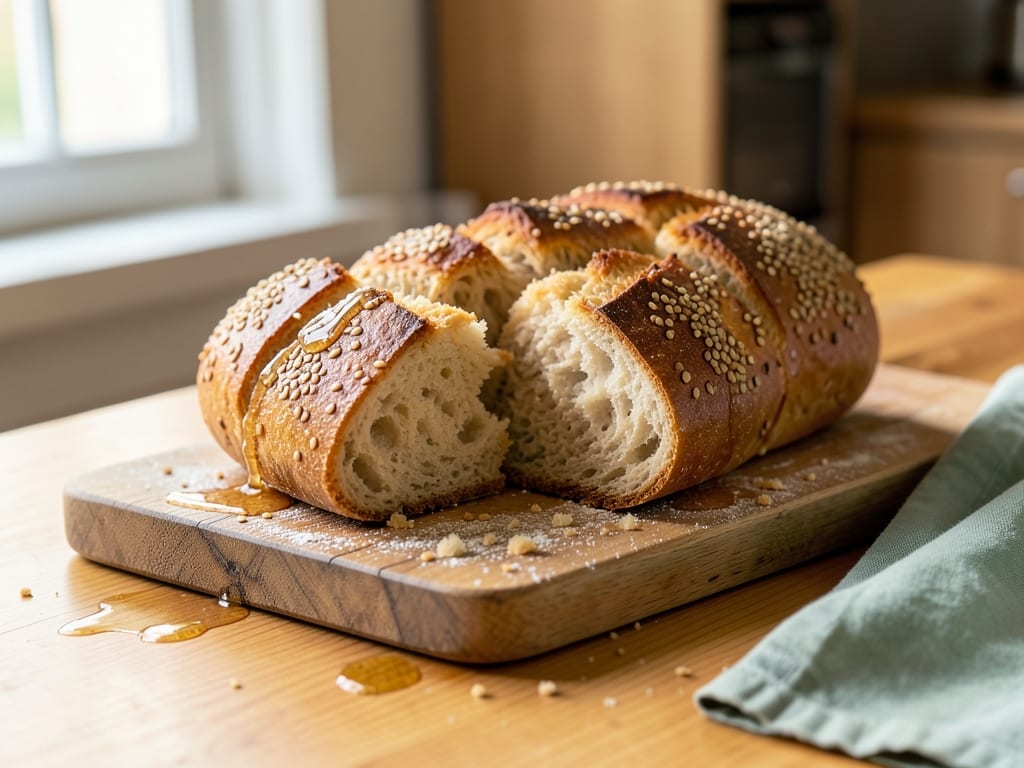
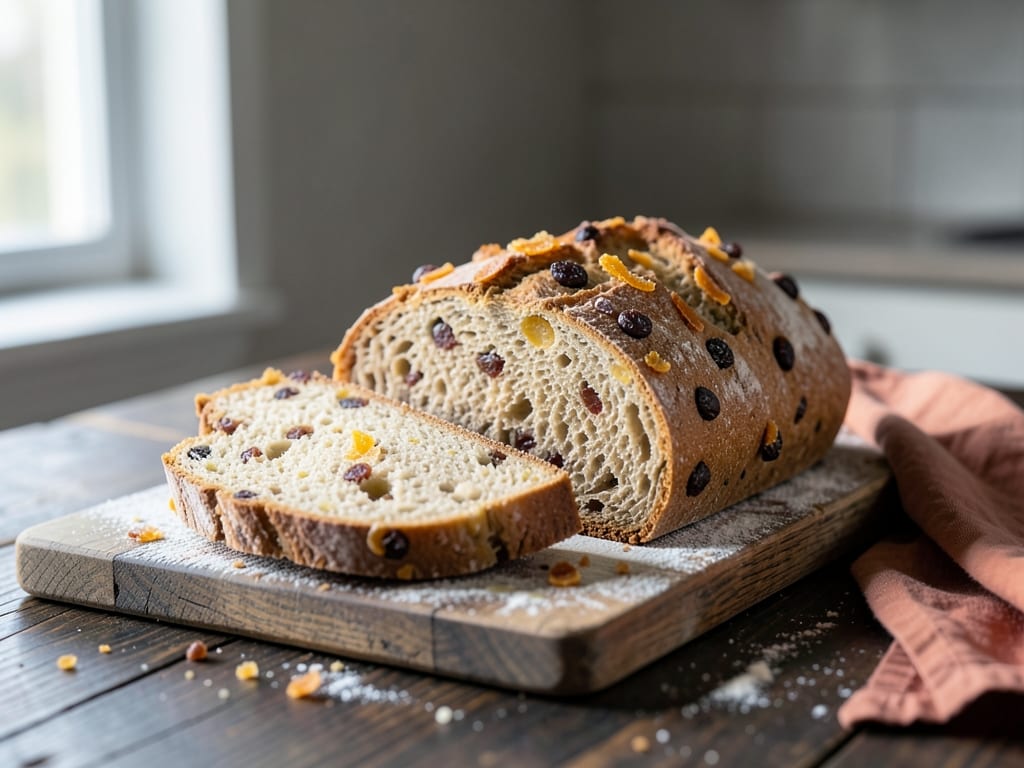
Find more like this
- Meal
- Lunch
- Cuisine
- Greek
- Method
- Oven
- Quick & Easy
- 5 Ingredients or LessMake Ahead