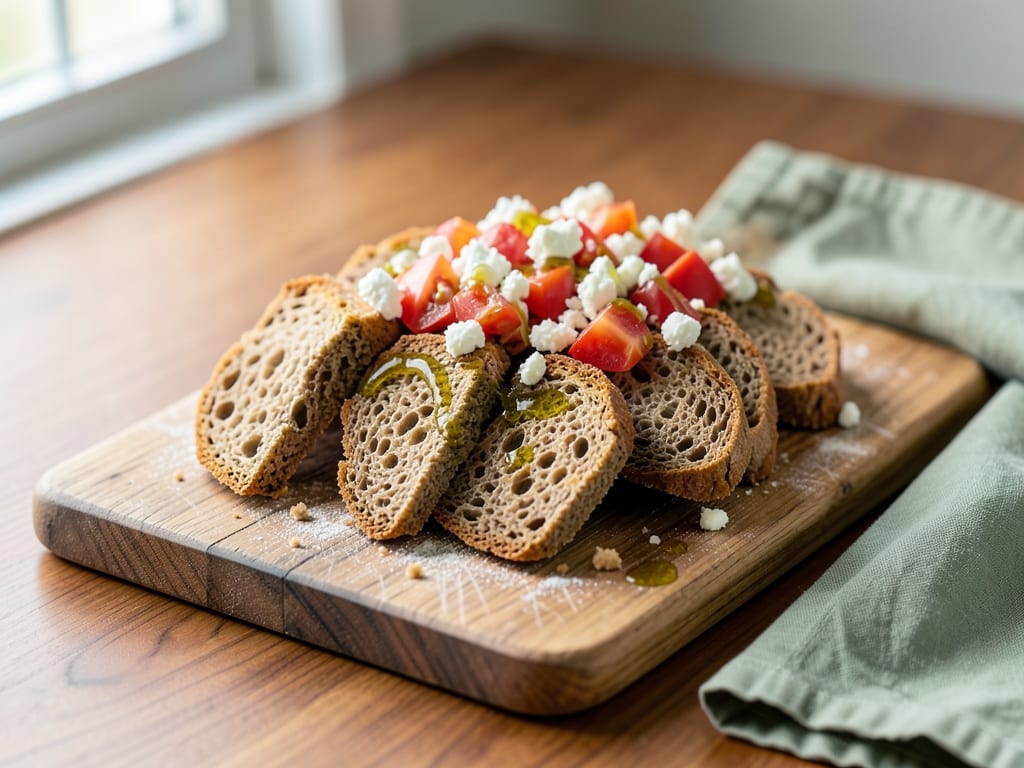
Sourdough Dakos Rusks
Homemade Greek-style barley rusks made with active sourdough starter for complexity and depth of flavor, twice-baked until hard and snappy—perfect for the traditional dakos topping of fresh ripe tomatoes, creamy feta cheese, and rich olive oil. These rusks showcase rustic Mediterranean bread craftsmanship and keep for days in the pantry.
- Prep
- 20 min
- Cook
- 50 min
- Wait
- 6 hr
- Total
- 7 hr 10 min
- Makes
- 12–14 rusks (serves 4–6 as an appetizer)
Steps
Before you start
- Ensure your sourdough starter is active and bubbly, fed 4–8 hours prior to mixing
- Gather and measure all ingredients (mise en place) before starting
- Plan for about 7–8 hours total from mix to finished rusks
- Have parchment paper, wire racks, and a serrated knife ready
Mix dough
- In a large mixing bowl, combine your active sourdough starter, barley flour, bread flour, salt, and warm water.
- Stir with a wooden spoon or your hands until all flour is hydrated and a shaggy, sticky dough forms, about 2–3 minutes.
- Let it rest uncovered for 20 minutes (this autolyse helps barley flour absorb water evenly).
- After the rest, add the olive oil and knead or perform stretch-and-fold motions (folding the dough onto itself) 10–15 times until the dough is smooth, elastic, and cohesive.
- The dough will be slightly slack but should hold together.
+ Show details− Hide details
Ready when: Dough is smooth, elastic, and cohesive; it holds together when gently pressed
Tip: An autolyse (resting period) helps the dough come together more easily, especially with barley flour, which hydrates more slowly than wheat flour
Bulk-ferment dough
- Cover the mixing bowl with plastic wrap or a damp kitchen towel.
- Set it at room temperature (68–72°F / 20–22°C) for 4–5 hours.
- The dough will increase in volume by about 50% and show visible bubbles or an airy texture when you gently open the bowl.
- Barley-based sourdough doughs do not double like wheat doughs; a 50–75% rise is typical and correct.
+ Show details− Hide details
Ready when: Dough has risen approximately 50% in volume with visible bubbles and an airy appearance
Tip: Sourdough ferments slower than commercial yeast. Expect 4–5 hours at room temperature. If your kitchen is cooler (below 68°F), add extra time. If warmer (75°F+), it may be faster.
Shape and final proof
- Dust your work surface lightly with barley or all-purpose flour.
- Turn the dough out of the bowl onto the surface and gently shape it into a long, slightly oval log about 8–9 inches (20–23 cm) long and 3–4 inches (8–10 cm) wide.
- Avoid overworking the dough.
- Transfer it to a parchment-lined baking sheet.
- Cover loosely with plastic wrap or a kitchen towel.
- Let rest at room temperature for 1.5–2 hours.
- The dough should puff noticeably but will not double dramatically.
+ Show details− Hide details
Ready when: Dough is noticeably puffier; it jiggles gently when the baking sheet is tapped
Bake loaf until goldenOven 425°F / 220°C
- Preheat your oven to 425°F (220°C) and place a rack in the middle.
- If desired, score the top of the loaf with a sharp knife in a shallow cross or diagonal slash pattern (optional but traditional).
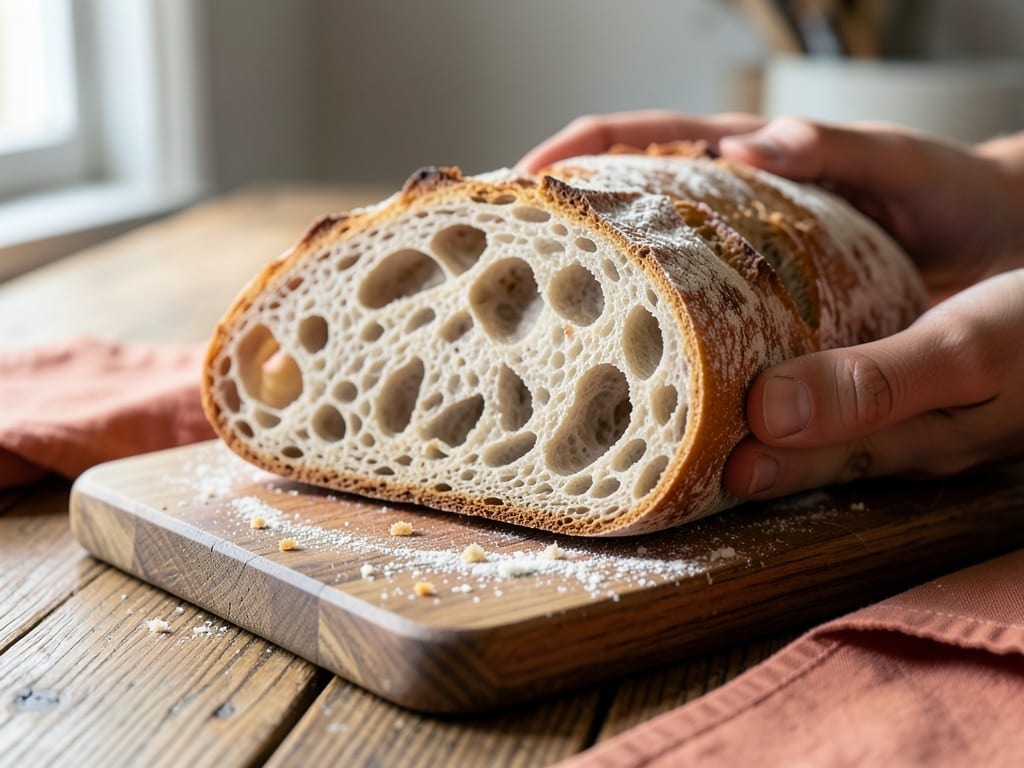
- Bake for 25–30 minutes until the loaf is golden brown and sounds hollow when you tap the bottom with your knuckles.
- The crust should be firm and well-browned.
+ Show details− Hide details
Ready when: Loaf is golden brown and sounds hollow when tapped firmly on the bottom
Tip: The hollow-tap test is essential—it ensures the interior is fully baked, not gummy. Barley bread can appear done on the outside before the inside is finished.
Cool and slice
- Remove the baked loaf from the oven and place it on a wire cooling rack.
- Let cool for 15 minutes until you can handle it comfortably but it is still warm to the touch.
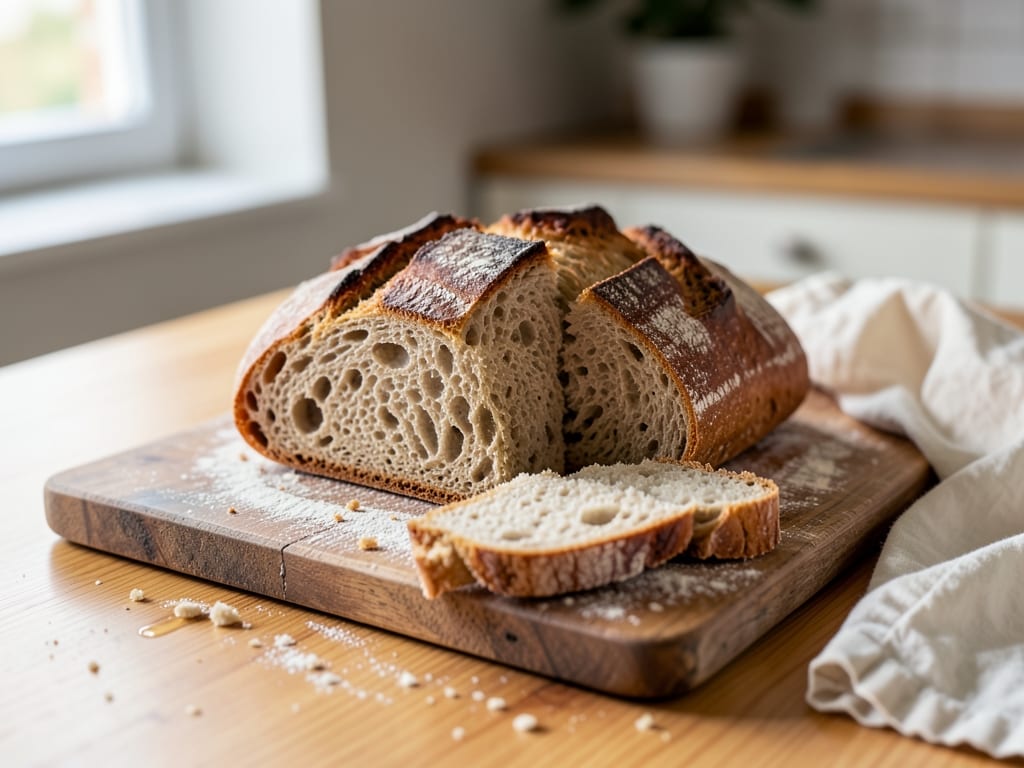
- Using a serrated bread knife or a sharp utility knife with gentle sawing motions, slice the loaf diagonally or straight across into ½-inch (1.25 cm) thick pieces.
- You should get 12–14 slices (rusks).
+ Show details− Hide details
Ready when: Loaf is cool enough to handle comfortably; slices are clean, ½ inch thick, and don't tear
Tip: Slice the loaf while it is still slightly warm—a warm loaf slices more cleanly than a completely cool one, and the crust won't shatter
Bake rusks until crispyOven 350°F / 175°C
- Preheat your oven to 350°F (175°C).
- Arrange the sliced pieces cut-side up on parchment-lined baking sheets in a single layer.
- Bake for 20–25 minutes, stirring or flipping the pieces halfway through (around 12 minutes), until they are completely dry, hard, and crispy throughout.
- The rusks should snap cleanly when broken and feel very light in weight, with no soft or chewy centers.
+ Show details− Hide details
Ready when: Rusks are hard, crispy, and snap cleanly when broken; they sound hollow and feel very light
Tip: Stir halfway through to ensure even drying. Slight over-baking until pale or lightly golden is fine and ensures maximum crispness and shelf life.
Cool completely
- Remove the baking sheets from the oven and transfer the rusks to a wire cooling rack or a clean plate.
- Let cool completely at room temperature, at least 15 minutes.
- As they cool, they will continue to firm up and become even crispier.
+ Show details− Hide details
Ready when: Rusks are completely cool to the touch and hard throughout
Top and serve
- Arrange the cooled rusks on a serving platter.
- Dice or grate your fresh tomatoes coarsely (or rub each rusk with a cut tomato for less moisture).
- Top each rusk with a small handful of diced tomato, crumbled feta cheese, a light drizzle of olive oil, a pinch of dried oregano, and a sprinkle of salt and freshly ground black pepper.
- Serve immediately while the rusks are still crispy.
+ Show details− Hide details
Ready when: Rusks are assembled and ready to eat
Tip: Assemble the toppings just before serving so the rusks stay crispy. If rusks soften by the next day, re-crisp them in a 325°F (160°C) oven for 5 minutes.
Good to know
Tips
- Sourdough ferments more slowly than commercial yeast, especially with barley flour. Expect the dough to rise 50–75%, not double. This is correct behavior, not a mistake—barley doughs are naturally denser than wheat doughs.
- Test the doneness of the first bake with the hollow-tap test: tap the bottom of the loaf with your knuckles. A hollow sound means the interior is fully baked. A dull thud may indicate a gummy center.
- Use truly ripe, flavorful tomatoes for the topping. Mealy, pale, or store-bought out-of-season tomatoes will underwhelm the rusks. Cherry or heirloom varieties are ideal.
- Rusks are best topped and served immediately. However, plain rusks stay crispy for several days in an airtight container, so you can prepare them ahead and assemble dakos just before eating.
Make ahead
The dough can be bulk-fermented in the refrigerator overnight (8–12 hours) after step 2 for even more flavor complexity. Cover the bowl and refrigerate, then proceed with shaping the next day, allowing 2–3 hours for final proof at room temperature before baking.
Storage & reheating
Room temperature: up to 3–4 days in an airtight container or resealable bag; rusks remain crispy. Freezer: up to 3 months in an airtight container or freezer bag; thaw at room temperature. To re-crisp softened rusks, place on a baking sheet and heat at 325°F (160°C) for 5 minutes. Assemble with fresh toppings just before serving for best crispness.
Substitutions
- barley flour → Use 50/50 barley flour and whole wheat flour for a lighter, less dense loaf. This reduces authenticity but produces rusks with a slightly more open crumb. Adjust water slightly (add 10–15 ml) if the dough feels very stiff.
- active sourdough starter (fed 4–8 hours prior, bubbly) → Substitute with 1 teaspoon instant yeast (or active dry yeast) mixed with 2 tablespoons warm water. This sacrifices the complex sourdough flavor but speeds fermentation to 2–3 hours. Mix the yeast mixture into the dough with the salt and water in step 1.
- crumbly feta cheese → Use crumbled goat cheese, ricotta salata, or firm sheep's cheese. Each brings a different flavor profile but maintains the creamy-salty balance of the topping.
- dried Greek oregano → Use 1 tablespoon fresh Greek oregano, or substitute fresh thyme or marjoram. Fresh herbs are more delicate; add them just before serving to preserve their flavor and aroma.
More sourdough
See all →
Find more like this
- Meal
- Snack
- Cuisine
- Greek
- Method
- Oven
- Quick & Easy
- Make Ahead