Sourdough Peruvian Purple Corn & Quinoa Loaf
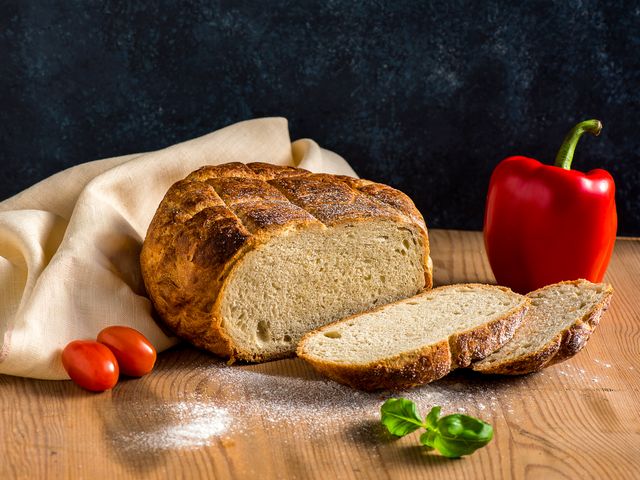
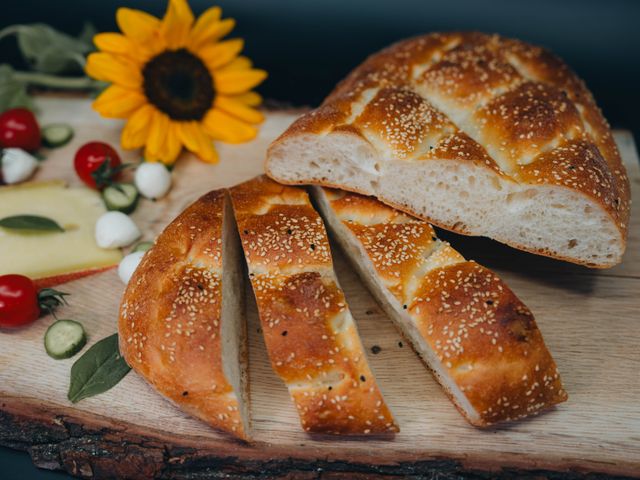
A striking sourdough loaf infused with purple corn flour and toasted quinoa, inspired by Peruvian ingredients. The anthocyanins in purple corn give this bread a dramatic deep purple-gray crumb with subtle earthy sweetness, while anise seeds add a gentle licorice note. The sourdough fermentation develops complex flavor over 24 hours, and the quinoa adds nutritional depth and a light nuttiness. This loaf has a crispy, well-formed crust and an open, irregular crumb structure typical of artisan sourdough.
- Prep
- 30 min
- Cook
- 50 min
- Wait
- 22 hr
- Total
- 23 hr 20 min
- Makes
- 1 loaf (12–14 slices)
Steps
Before you start
- Activate your sourdough starter 4–6 hours before mixing (it should be bubbly and have at least doubled)
- If you have a Dutch oven, place it in a cold oven so it preheats as the oven heats
- Read the fermentation timeline; total time from mixing to finished loaf is about 23 hours
- Toast the quinoa in a dry skillet over medium heat for 2–3 minutes until fragrant, then cool completely before using
Mix the dough
- In a large mixing bowl, combine the active sourdough starter (120 ml), bread flour (450 g), purple corn flour (50 g), and room temperature water (325 ml).
- Stir with a dough scraper or wooden spoon until all the flour is hydrated and no dry bits remain.
- The dough should be shaggy and sticky.
- Cover the bowl loosely with plastic wrap or a clean kitchen towel and let it rest at room temperature for 30 minutes.
- This autolyse period helps the flour fully absorb water.
+ Show details− Hide details
Ready when: All flour is hydrated; dough is cohesive but rough
Tip: Don't skip the autolyse—it improves extensibility and final loaf structure.
Add salt and inclusions
- After the 30-minute rest, sprinkle the sea salt (10 g) and crushed anise seeds (6 g) over the dough, then add the cooled toasted quinoa (50 g).
- Using wet hands or a dough scraper, pinch and fold the dough over itself 8–10 times, rotating the bowl 90° after every 2 folds, until the salt, anise, and quinoa are evenly distributed.
- The dough will begin to feel slightly tighter.
- Don't overwork it—this should take about 4 minutes.
+ Show details− Hide details
Ready when: Salt, anise, and quinoa are evenly distributed throughout; dough is cohesive
Tip: Use wet hands or a damp dough scraper to prevent sticking; avoid overmixing, which can develop too much gluten.
First bulk fermentation (5 hours)
- Cover the bowl with plastic wrap or a damp kitchen towel and let it rest at room temperature (68–72°F / 20–22°C) for 5 hours.
- During the first 2 hours, perform 4 sets of coil folds or stretch-and-fold every 30 minutes: wet your hand, reach down into the dough, stretch a section upward, fold it over the top, rotate the bowl 90°, and repeat 4 times per set.
- After the first 2 hours, stop folding and let the dough rise undisturbed for the remaining 3 hours.
- The dough should increase in volume by about 50–70%, look puffy, have small visible bubbles on the surface, and jiggle slightly when the bowl is gently shaken.
+ Show details− Hide details
Ready when: Dough has increased 50–70% in volume, feels airy, shows visible bubbles and slight jiggle
Tip: Stretch-and-folds build strength without aggressive mixing. Consistent room temperature is important; if your kitchen is warmer (75°F / 24°C+), reduce time to 4.5 hours; if cooler, extend to 5.5 hours.
Pre-shape the dough
- Lightly dust a work surface with bread flour or rice flour.
- Turn the dough out onto the work surface (it will deflate slightly).
- Using a dough scraper, gently pull the edges toward the center, rotating the dough as you go, to form a loose round.
- Let it rest uncovered for 20 minutes.
- This rest allows the gluten to relax and makes final shaping easier.
+ Show details− Hide details
Ready when: Dough is a loose, rounded shape; surface is slightly dry but not cracked
Tip: Don't compress the dough too much during pre-shaping—you want to preserve the gas bubbles developed during bulk fermentation.
Final shape
- Flip the dough seam-side up on the work surface.
- Starting from the far edge, fold a section of dough toward you, press gently with your fingers or heel of your hand, then roll the dough tightly toward you, creating tension on the surface.
- Rotate the dough 90° and repeat the fold-and-roll motion 3 more times, creating a round loaf with tension on all sides.
- The dough should feel taut and cohesive.
- Place the shaped dough seam-side up into a banneton proofing basket lightly dusted with rice flour or bread flour.
+ Show details− Hide details
Ready when: Loaf is round, symmetrical, with visible surface tension
Tip: A well-shaped boule bakes evenly and develops good oven spring. Don't let flour stick inside the seams—brush away excess before placing in the banneton.
Cold overnight proof (12–16 hours)
- Cover the banneton with plastic wrap (or place it inside a plastic bag to prevent drying).
- Place it in a standard refrigerator at 38–40°F (3–4°C) overnight or for 12–16 hours.
- The cold fermentation develops deep, complex flavor and makes scoring easier.
- The dough is ready when it gently springs back halfway if you poke it with a floured finger—if your finger leaves an impression that doesn't bounce back at all, it needs a bit less cold time; if it springs back completely, it needs more.
+ Show details− Hide details
Ready when: Dough springs back halfway when poked; surface is slightly relaxed but still holds structure
Tip: Cold proofing is your friend—it prevents overproofing and gives you flexibility on when to bake. The loaf can stay in the fridge up to 18 hours if needed.
Preheat and prepare to bakeOven 500°F / 260°C
- About 1 hour before baking, remove the banneton from the refrigerator and let the dough come to room temperature (this gives better oven spring).
- Place a Dutch oven (4.5–5 quart / 4.3–4.8 L) in a regular oven and preheat to 500°F (260°C) for 45 minutes.
- The Dutch oven should be very hot.
+ Show details− Hide details
Ready when: Dough feels slightly warm to the touch; Dutch oven is very hot
Tip: A very hot Dutch oven and brief rest before baking ensure good oven spring and crust development.
Score and bake coveredOven 450°F / 230°C
- Carefully remove the hot Dutch oven from the oven and place it on a heat-safe surface.
- Using oven mitts, turn the proofed dough out onto a piece of parchment paper (seam-side down, so the smooth side is up).
- Using a lame or very sharp serrated bread knife, make a single bold slash (about ½ inch / 1.25 cm deep) across the top of the loaf at a 30° angle.
- Quickly transfer the parchment with the dough into the hot Dutch oven, cover with the lid, and return to the oven.
- Reduce the oven temperature to 450°F (232°C) and bake covered for 20 minutes.
- The dough should spring up dramatically, and you'll hear the crust crackling.
+ Show details− Hide details
Ready when: Dough has dramatically risen; you hear sizzling and steam escaping
Tip: Work quickly when transferring the cold dough to the hot oven—use parchment to make the transfer easier. The score guides the loaf's expansion.
Bake uncovered until goldenOven 450°F / 230°C
- Remove the lid from the Dutch oven (be careful of the escaping steam) and continue baking at 450°F (232°C) uncovered for 25–30 minutes.
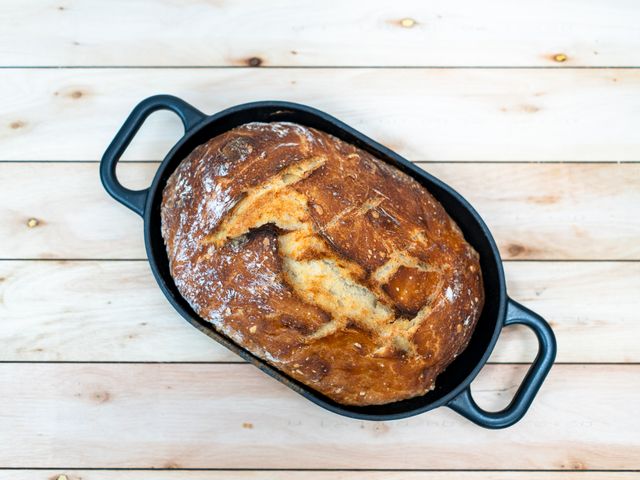
- The loaf is done when the crust is a deep golden-brown to mahogany color, the purple corn flour gives it subtle dark purple-brown tones, and when you tap the bottom, it sounds hollow.
- An instant-read thermometer inserted into the center of the loaf should read 205–210°F (96–99°C).
+ Show details− Hide details
Ready when: Crust is deep golden-brown with purple-brown tones; bottom sounds hollow when tapped; internal temp is 205–210°F (96–99°C)
Tip: Don't open the oven door during the covered phase—steam is essential for crust. Opening the door during uncovered baking is fine and won't hurt the result.
Cool completely
- Remove the Dutch oven from the oven and carefully tip the loaf out onto a wire cooling rack.
- Let the loaf cool completely at room temperature for at least 1.5–2 hours before slicing.
- The interior continues to set as it cools, and cutting too early will result in a gummy texture.
- You'll notice the distinctive purple-gray color of the crumb as it cools.
+ Show details− Hide details
Ready when: Loaf is cool to the touch and feels firm inside; crumb has set and shows purple-gray color
Tip: I know it smells incredible, but slicing too early releases steam and creates a dense, gummy crumb. Patience pays off.
Good to know
Tips
- Purple corn flour (harina de maíz morado) is the key to authentic flavor and color; it's increasingly available at specialty stores, online, or in Latin markets. If sourcing is difficult, blue cornmeal is a decent alternative but less vibrant.
- Sourdough fermentation is time and temperature dependent. If your kitchen is warmer than 72°F (22°C), reduce the bulk fermentation by 30 minutes. If cooler, add 30 minutes. Trust visual cues over the clock.
- The cold overnight proof is not optional—it develops the complex sourness and flavor complexity that makes this loaf special. It also makes scoring easier because the dough holds its shape better when cold.
- Toast the quinoa in a dry skillet for 2–3 minutes before using to unlock its nutty flavor; untoasted quinoa can taste slightly bitter or soapy to some palates.
Make ahead
You can bulk ferment this dough at room temperature for 5 hours, then shape and refrigerate for up to 18 hours before baking. Alternatively, you can prepare the dough and refrigerate unbaked in a banneton for a full 24 hours (very slow, cold fermentation) if you want maximum flavor development. Bake directly from the fridge without thawing.
Storage & reheating
Room temperature (up to 3 days): Keep the cooled loaf in a paper bag or breadbox; the crust softens but flavor remains excellent. Refrigerator (up to 5 days): Store in an airtight container or wrapped tightly in plastic wrap; reheat in a 375°F (190°C) oven for 10–15 minutes to restore crust. Freezer (up to 3 months): Wrap the cooled loaf tightly in plastic wrap, then foil; thaw at room temperature for 2–3 hours and optionally reheat to restore crust crispness.
Substitutions
- purple corn flour (milled from purple maize) → blue cornmeal (finely ground) or polenta. The color will be less striking, but flavor is similar. Sift to remove large particles before adding.
- quinoa seeds → toasted sunflower seeds, pumpkin seeds, or millet. All are nutritious additions with similar texture. Toast before using to develop flavor.
- anise seeds → fennel seeds (slightly more assertive) or caraway seeds (earthier, less sweet). Adjust quantity by taste; caraway is more pungent, so use only 4–5 grams if substituting.
- bread flour → all-purpose flour mixed with 5% whole wheat flour. All-purpose will work but may result in slightly less oven spring. Whole wheat adds subtle nuttiness complementing the corn.