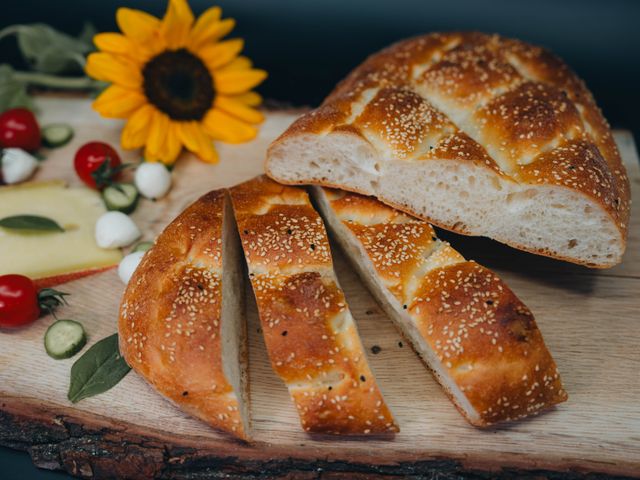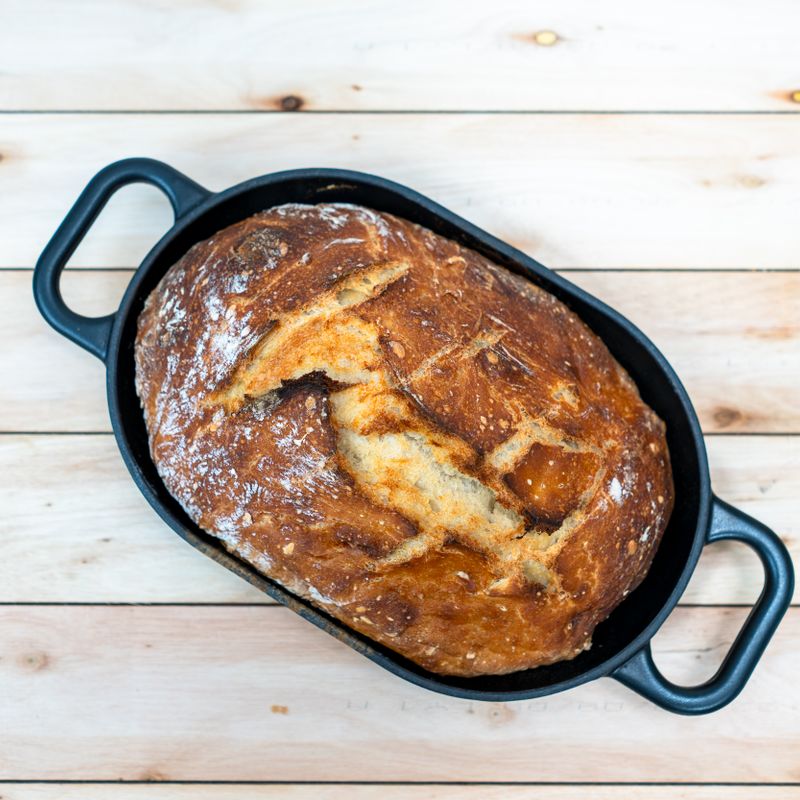
Sourdough Discard Semolina Savoury Porridge Bread
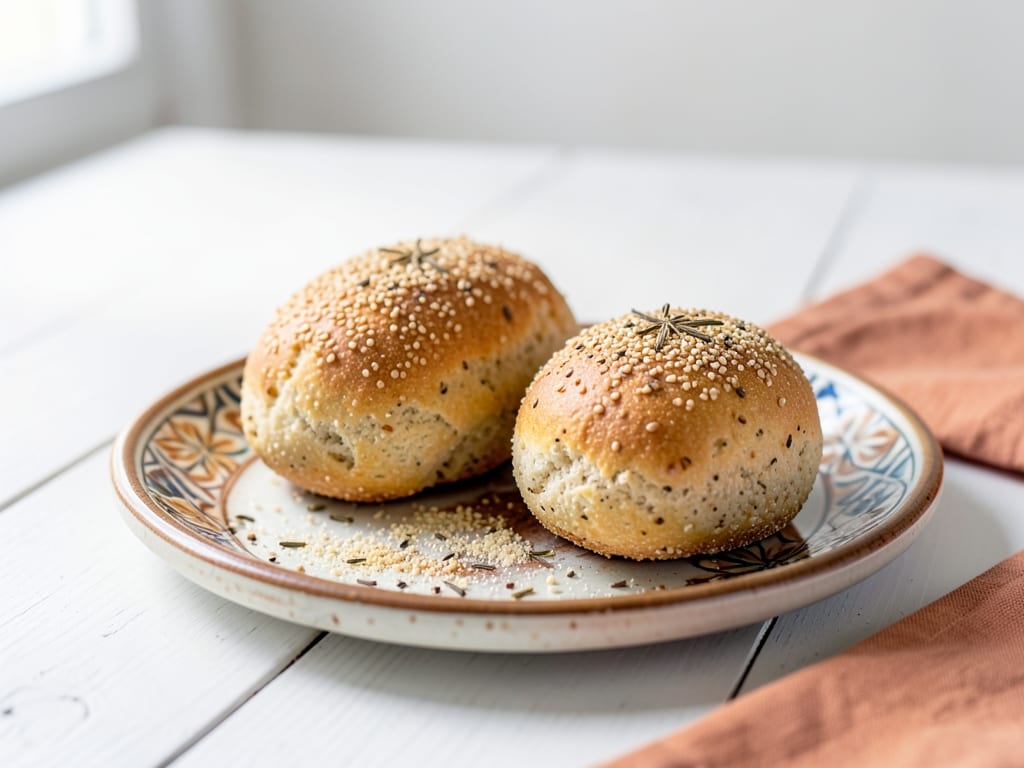
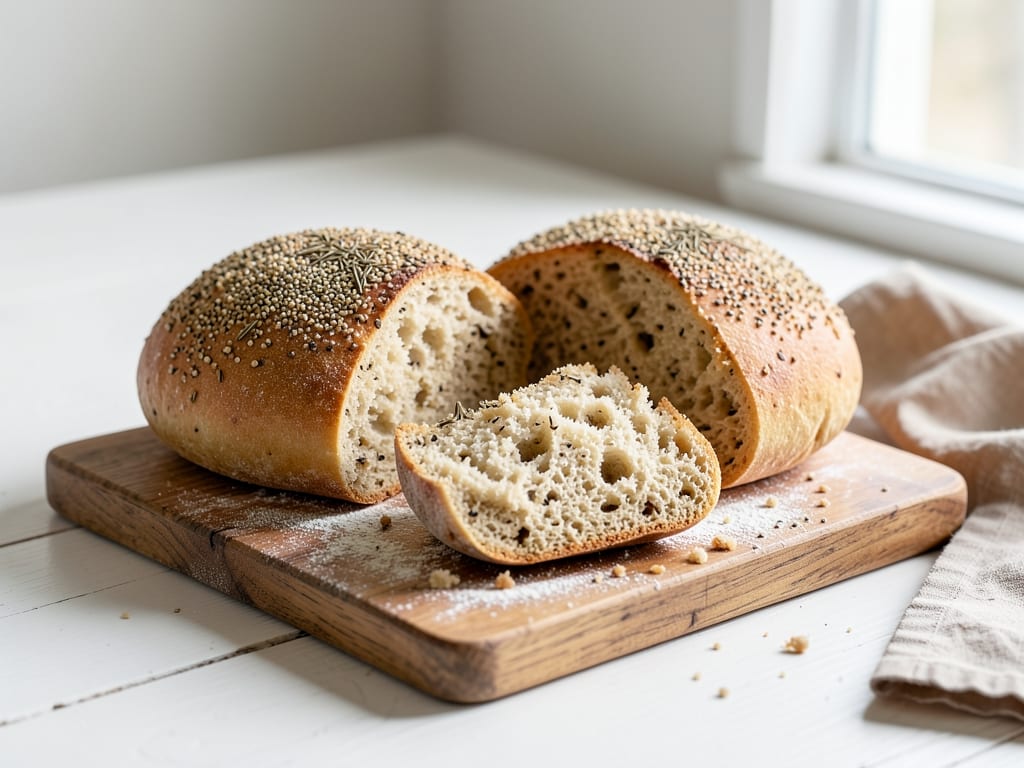
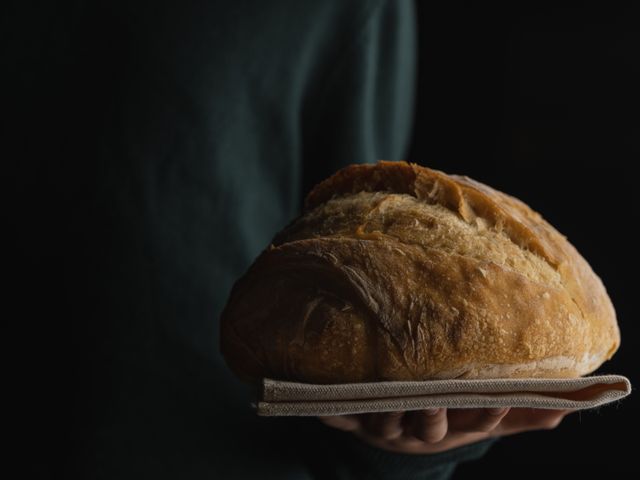
A rustic, savory loaf blending sourdough discard with semolina and warm spices, inspired by North African grain traditions. The dough combines a semolina porridge—cooked in vegetable broth with cumin and coriander—with tangy sourdough discard and bread flour. The result is a crusty, tender crumb with a subtle earthiness and aromatic spice, perfect for soaking up stews or serving alongside Mediterranean and Middle Eastern dishes.
- Prep
- 25 min
- Cook
- 40 min
- Wait
- 2 hr 15 min
- Total
- 3 hr 20 min
- Makes
- 1 loaf (12–14 slices)
Steps
Before you start
- Have sourdough discard at room temperature (unfed is fine).
- Preheat your oven to 450°F (230°C) at least 30 minutes ahead if using a Dutch oven or baking stone.
- Measure all dry ingredients and warm your vegetable broth to room temperature.
- Read through the bulk fermentation and shaping steps—timing depends on ambient temperature.
Bloom the spices and cook porridge
- In a small saucepan, warm the vegetable broth over medium heat until steaming but not boiling (about 2–3 minutes).
- Add the cumin seeds and coriander seeds, stirring often, and toast for 1 minute until fragrant.
- Slowly stir in the semolina flour in a thin stream, whisking to prevent lumps from forming.
- Continue cooking, stirring frequently, for 3–4 minutes until the mixture thickens and the semolina is fully hydrated and smells slightly toasty.
- The consistency should be like thick oatmeal.
- Remove from heat and let cool to room temperature, about 10 minutes, stirring occasionally.
- Transfer to a medium bowl.
+ Show details− Hide details
Ready when: Mixture is thick like oatmeal and smells fragrant; no raw flour taste when a small bit is tasted after cooling
Tip: Whisk constantly while adding semolina to avoid clumps. If lumps form, press them against the side of the pan with the spoon.
Mix the dough
- In a large mixing bowl, combine the cooled semolina porridge, sourdough discard, salt, and olive oil.
- Stir until well combined.
- Add the bread flour and water in alternating additions, stirring with a wooden spoon or dough whisk until all the flour is incorporated and a shaggy, slightly sticky dough forms.
- The dough should feel cohesive but not stiff; it will be a bit softer than a typical bread dough because of the liquid from the porridge.
+ Show details− Hide details
Ready when: All flour is moistened and a shaggy, cohesive dough has formed
Tip: Avoid overmixing at this stage. The dough will develop gluten during fermentation, so a gentle incorporation is fine.
First rest (autolyse)
- Cover the bowl with a damp kitchen towel or plastic wrap and let the dough rest at room temperature for 30 minutes.
- This allows the flour to fully hydrate and begins gluten development.
+ Show details− Hide details
Ready when: Dough looks slightly more cohesive and less shaggy
Tip: If your kitchen is cold (below 65°F/18°C), add 5–10 minutes to this rest.
Bulk fermentation and folds
- Perform 4 sets of stretches and folds at 30-minute intervals over the next 2 hours.
- To fold: wet your hand, grab the dough from one side, stretch it up and fold it over the center.
- Rotate the bowl and repeat from all four sides.
- After the final fold, let the dough rest undisturbed for the remaining time until it looks puffy and increases in volume by roughly 50–75%.
- Depending on room temperature (68–72°F / 20–22°C), this will take 2–3 hours total from the start of bulk fermentation.
- The dough is ready when it feels airy, jiggles slightly when you gently shake the bowl, and has a light, slightly risen appearance.
+ Show details− Hide details
Ready when: Dough has increased 50–75% in volume, feels airy, and jiggles gently; small bubbles visible on the surface
Tip: If your kitchen is warm (above 75°F/24°C), reduce total fermentation time by 20–30 minutes. If cool, add extra time. The visual cues matter more than the clock.
Pre-shape and rest
- Turn the dough out onto a lightly floured work surface.
- Gently pre-shape it into a round by folding the edges toward the center a few times to create surface tension.
- Let it rest on the counter, uncovered, for 20 minutes.
- This relaxes the gluten so the dough shapes more easily and the bread has better oven spring.
+ Show details− Hide details
Ready when: Dough looks visibly more relaxed and has spread slightly outward
Tip: Don't overwork the dough during pre-shaping; gentle handling preserves the bubbles you've developed.
Final shape
- Flip the dough over so the smoother side is down.
- Fold the top third of the dough down toward the center, press gently, then fold the bottom third up and seal.
- Finally, roll the dough toward you, sealing with the heel of your hand as you go, to create tension on the surface.
- Place the dough seam-side up in a floured proofing basket, banneton, or a small bowl lined with a well-floured kitchen towel.
- If using a loaf pan, place the dough seam-side down in the oiled or parchment-lined pan.
+ Show details− Hide details
Ready when: Dough is shaped with a smooth surface and visible tension
Tip: If using a loaf pan, don't compress the dough too much; it should fill about two-thirds of the pan at this point.
Cold or room-temperature final proof
- Cover the shaped dough loosely with plastic wrap or a damp towel.
- For a cold proof (preferred for flavor), refrigerate for 8–24 hours.
- Alternatively, let it proof at room temperature for 45–90 minutes until the dough springs back slowly when poked gently with your finger (the indent should partially but not completely disappear).
- If cold proofing, remove from the fridge 15 minutes before baking so the dough comes to room temperature slightly.
+ Show details− Hide details
Ready when: Dough springs back slowly when poked; if cold-proofed, it's cold but not rock-hard when removed from the fridge
Tip: Cold proofing overnight will give you deeper, more complex flavor. Room-temperature proofing is faster and still delicious.
Preheat and scoreOven 450°F / 230°C
- If baking in a Dutch oven, preheat it inside a 450°F (230°C) oven for at least 30 minutes.
- If baking in a loaf pan on a stone or rack, preheat the oven and stone to 450°F (230°C) for at least 20 minutes.
- Once ready to bake, carefully remove the dough from the banneton or loaf pan.
- If using a banneton, turn it out onto parchment paper.
- Using a sharp bread lame, knife, or scissors, score the top with a single long slash or a cross, ¼ inch (6 mm) deep, to allow steam to escape and control expansion.
+ Show details− Hide details
Ready when: Oven is fully preheated and score is clean and visible on the dough
Tip: A sharp blade makes a clean score, which helps the bread expand in a controlled way. Dull blades can drag and collapse the surface.
Bake with steamOven 450°F / 230°C
- Working quickly to minimize heat loss, place the dough into the preheated Dutch oven (if using) or onto the hot stone/rack in a loaf pan.
- If baking in a Dutch oven, cover with the lid.
- If baking in a loaf pan on a stone, place a cast-iron skillet on a lower rack and pour a cup of boiling water into it to create steam, or use a spray bottle to mist the oven walls twice in the first few minutes.
- Bake covered (if using a Dutch oven) for 20 minutes at 450°F (230°C).
- After 20 minutes, remove the lid (if using a Dutch oven) and reduce the oven temperature to 425°F (220°C).
- Continue baking for 15–20 minutes uncovered until the crust is deep golden brown and the loaf sounds hollow when tapped on the bottom.
+ Show details− Hide details
Ready when: Crust is deep golden to dark brown, loaf sounds hollow when tapped on bottom, internal temperature is 205–210°F (96–99°C) at the center
Tip: If the crust is browning too quickly, tent loosely with foil for the final 10 minutes. The crust should be crackling crispy, not pale.
Cool completely
- Transfer the baked loaf to a wire cooling rack and let it cool for at least 1 hour before slicing.
- The crumb continues to set as it cools, making it easier to cut cleanly.
- You can slice it while slightly warm, but the texture will be slightly softer; waiting 2 hours ensures optimal texture and slicing.
+ Show details− Hide details
Ready when: Loaf is cool to the touch and the internal temperature has dropped below 100°F (38°C)
Tip: Resist the urge to slice while still warm—the steam inside will escape and the crumb can appear gummy. Waiting is worth it.
Good to know
Tips
- The semolina porridge is key: cooking it slowly in spiced broth blooms the cumin and coriander, infusing their oils throughout the bread rather than adding them as a dry spice.
- This dough will be slightly wetter than a standard artisan bread because of the liquid in the porridge. Embrace this—it yields a tender, open crumb. Avoid adding extra flour.
- Ambient temperature greatly affects fermentation timing. In summer (75–78°F / 24–26°C), reduce bulk fermentation by 30 minutes and final proof by 15 minutes. In winter or a cool kitchen (below 65°F / 18°C), add 20–30 minutes to each stage.
- If using a loaf pan instead of a Dutch oven or banneton, the loaf will bake slightly more gently and will have a softer crust. For a crispier crust, use a Dutch oven or baking stone.
Make ahead
Bulk fermentation can be done over 4–6 hours at room temperature, or the dough can be shaped and refrigerated overnight for a cold final proof, which deepens flavor and makes timing more flexible.
Storage & reheating
Store the cooled loaf in a bread bag or wrapped in a kitchen towel at room temperature for up to 3 days. For longer storage, wrap tightly and freeze for up to 3 months. To reheat, wrap in foil and warm in a 350°F (175°C) oven for 10–15 minutes, or slice and toast before serving.
Substitutions
- vegetable broth → Chicken or beef broth, or water with 1/4 teaspoon added salt. Water will yield a milder flavor; chicken or beef broth adds savory depth.
- cumin seeds → 1 teaspoon ground cumin, added directly to the semolina mixture. Ground cumin is less fragrant than seeds but will work. Add it as the seeds cool to avoid losing volatile oils.
- bread flour → All-purpose flour (use 1 cup + 2 tablespoons / 275 g to account for lower protein). All-purpose flour will yield a slightly softer, less open crumb. Add water gradually and adjust for dough consistency.
- sourdough discard → Fresh sourdough starter, fed 4–8 hours ahead until bubbly but not yet doubling, or a mixture of 6 tablespoons unfed discard + 2 tablespoons active starter. Using only fed starter will speed fermentation by 20–30 minutes. Adjust final proof time accordingly.