Moroccan Khobz Semolina Rounds
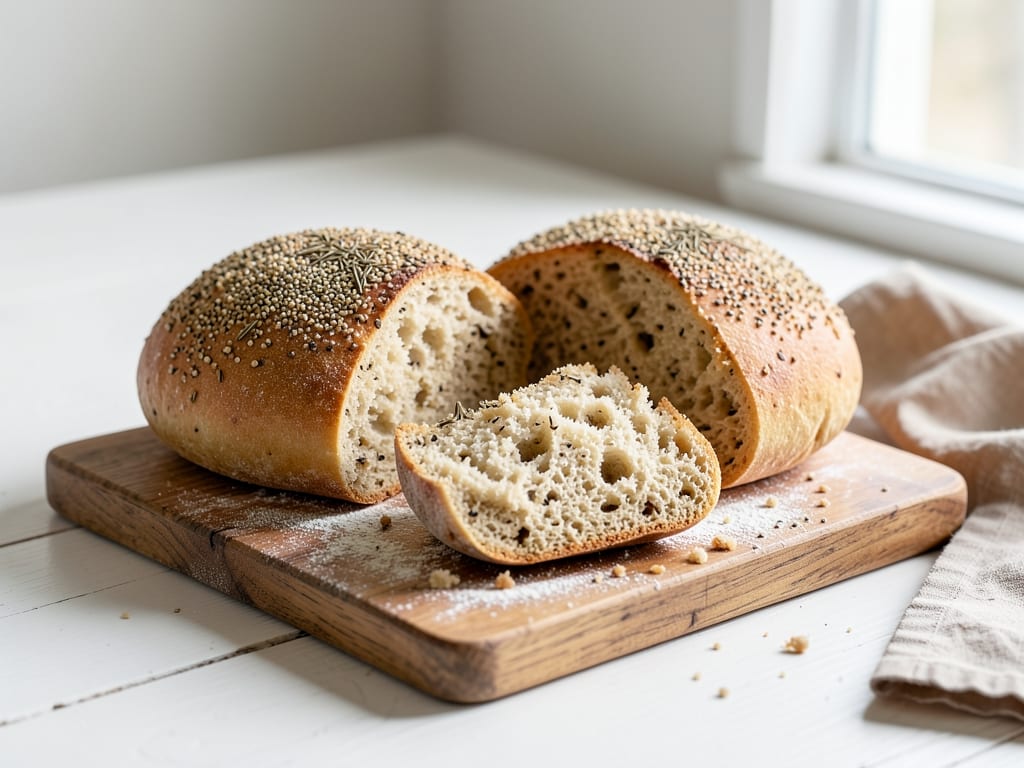
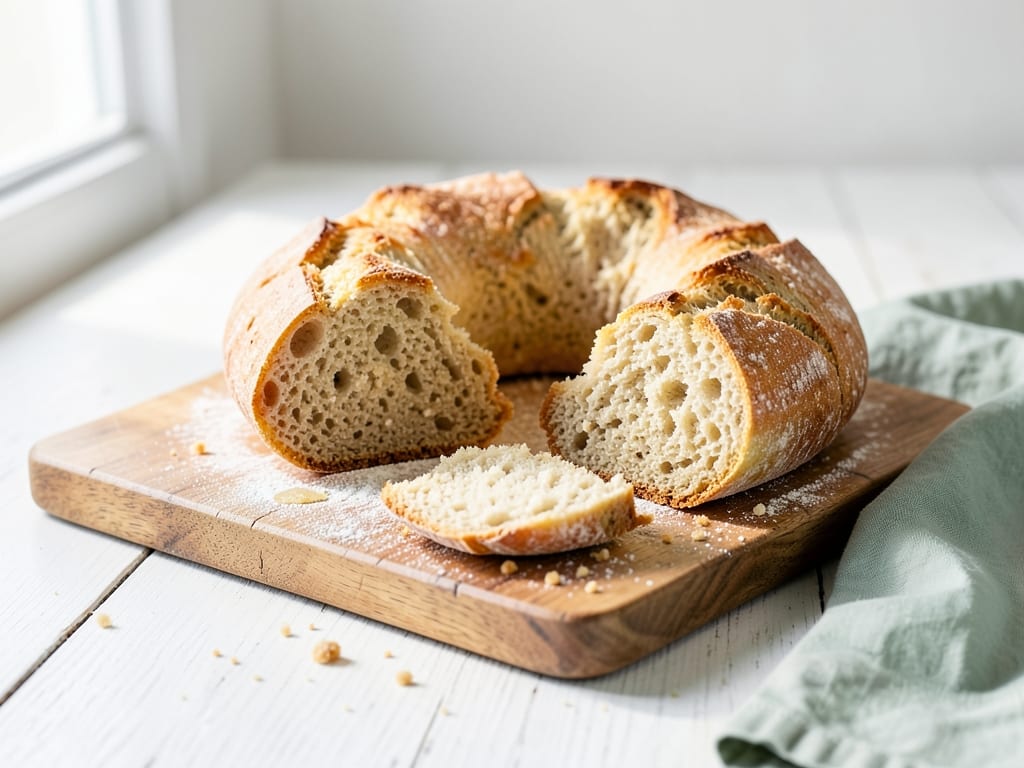
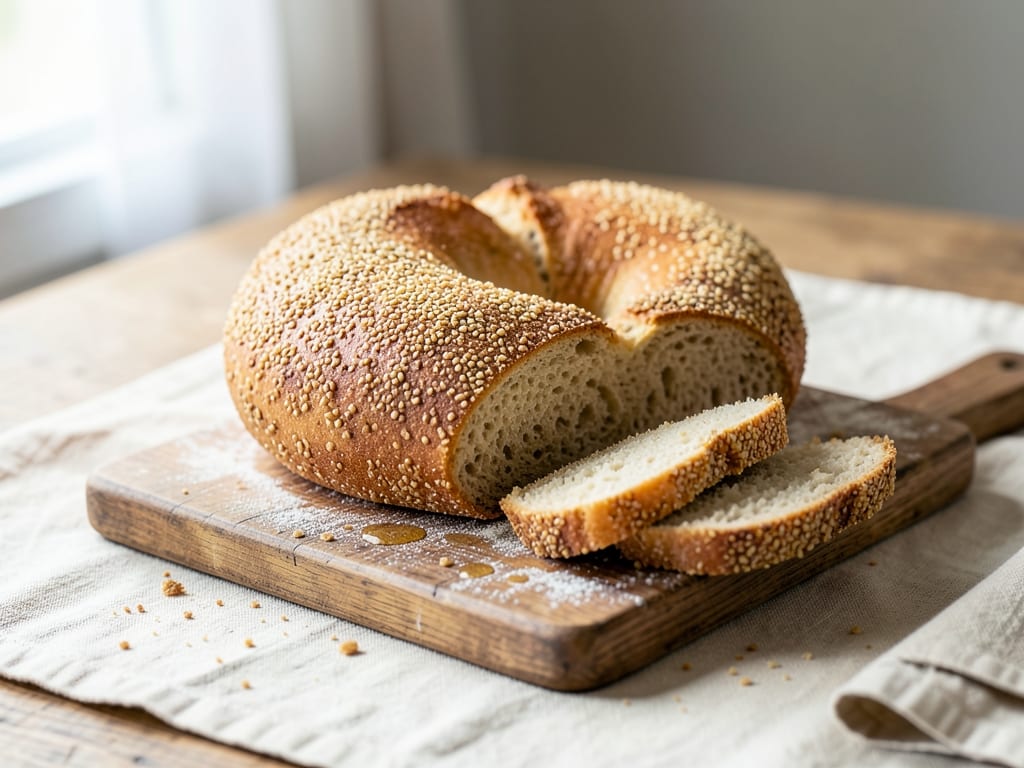
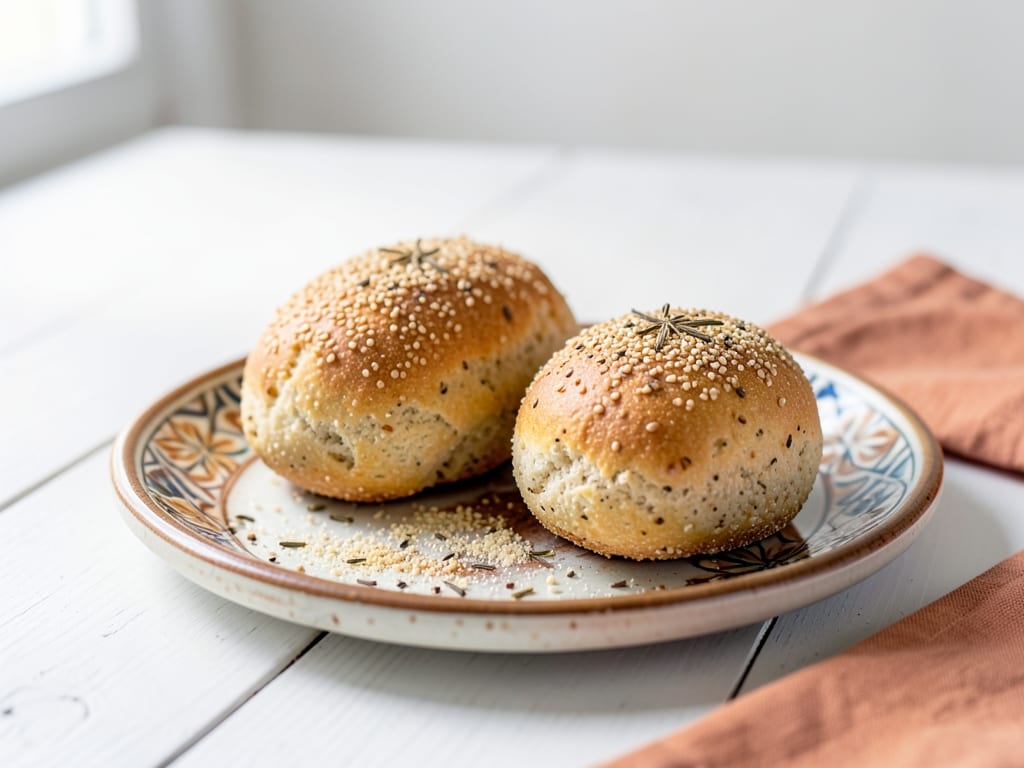
Two golden, tender-crumbed Moroccan khobz loaves made with fine semolina and bread flour, scented with anise and finished with a sesame crust. They're perfect for scooping up tagines, dips and soups.
- Prep
- 35 min
- Cook
- 25 min
- Wait
- 2 hr 15 min
- Total
- 3 hr 15 min
- Makes
- 2 round loaves (about 7 inches / 18 cm each, 8 wedges per loaf)
Steps
Before you start
- Use fine semolina (often labeled semolina flour or 'semolina rimacinata'), not coarse semolina, which gives a gritty crumb.
- Plan on about 3 hours 15 minutes from start to slicing, most of it hands-off rising and cooling.
- Place a baking stone or an upside-down heavy baking sheet on the middle oven rack before preheating.
- Measure the flours by weight if you can; semolina packs differently from cup to cup.
Mix dry ingredients
- In a large bowl, whisk together the bread flour, 240 g semolina, instant yeast, salt, sugar and cooled toasted anise seeds until evenly distributed.
+ Show details− Hide details
Ready when: No streaks of salt or yeast remain and the anise seeds are spread throughout.
Tip: Keep the salt from sitting directly on the yeast by whisking well before adding liquid.
Form shaggy dough
- Add the warm water and olive oil.
- Stir with a wooden spoon or your hand for about 2 minutes, until no dry flour remains.
- Cover and let it hydrate for 5 minutes.
+ Show details− Hide details
Ready when: A sticky, shaggy dough with no dry pockets of flour.
Tip: Water hotter than 120°F (49°C) can weaken the yeast, so test it on your wrist; it should feel just warm.
Knead the dough
- Turn the dough onto a lightly oiled counter and knead for 10 minutes, pushing with the heel of your hand and folding it over.
- The dough will start sticky and become smoother.
- Add a teaspoon of water or flour only if truly needed.
+ Show details− Hide details
Ready when: The dough is smooth, slightly tacky, and springs back slowly when poked.
Tip: Semolina dough feels stickier at first than all-purpose dough. Resist adding much flour or the bread will turn dense.
First rise
- Shape the dough into a ball and place it in a lightly oiled bowl, turning once to coat.
- Cover with a towel or plastic wrap and leave at room temperature (about 75°F / 24°C) for 60 minutes.
+ Show details− Hide details
Ready when: Doubled in size and a fingertip dent springs back slowly.
Tip: In a cool kitchen, rise in the oven with only the light on.
Divide and shape
- Line a baking sheet with parchment and sprinkle with the dusting semolina.
- Turn the dough onto the counter, press out the large bubbles gently, and cut into 2 equal pieces (about 640 g each).
- Shape each into a tight ball by pulling the edges to the center and pinching, then flip seam-side down.
- Flatten each ball to a round about 7 inches (18 cm) across and 1 inch (2.5 cm) thick.
- Place both on the parchment at least 3 inches (7.5 cm) apart.
+ Show details− Hide details
Ready when: Each round has a smooth, taut top.
Tip: If the dough springs back while you flatten it, rest it 5 minutes under a towel and try again.
Second rise and preheatOven 450°F / 230°C
- Cover the rounds loosely with a towel.
- Let them rise for 45 minutes.
- After 25 minutes, put the stone or heavy baking sheet in the oven and preheat to 450°F (230°C) so it is fully hot by the end of the rise.
+ Show details− Hide details
Ready when: The rounds look puffy and about 1½ times their original thickness; a gentle fingertip press leaves a dent that fills back slowly.
Tip: Don't over-proof, or the loaves will deflate in the oven.
Dock and top
- Prick each round all over with a fork, about 20 times, going almost through to the surface below.
- This stops large blisters forming.
- Brush lightly with water and sprinkle with sesame seeds, if using.
+ Show details− Hide details
Ready when: Surface is evenly pricked and lightly coated with seeds.
Tip: Docking gently so you do not collapse all the air from the dough.
Bake the loavesOven 450°F / 230°C
- Slide the parchment with the loaves onto the hot stone in the oven at 450°F (230°C).
- Bake for 22 to 25 minutes, rotating the pan halfway through.
+ Show details− Hide details
Ready when: Deep golden brown on top, sounds hollow when tapped on the bottom, and reads 205 to 210°F (96 to 99°C) in the center.
Tip: If the tops brown too fast before 20 minutes, tent loosely with foil.
Cool before slicing
- Transfer the loaves to a wire rack and let them cool for at least 30 minutes.
- Cut into wedges with a serrated knife.
+ Show details− Hide details
Ready when: The loaves feel just warm, not hot, to the touch.
Tip: Slicing hot bread squashes the crumb and makes it gummy.
Good to know
Tips
- Weigh the flours; too much flour is the most common cause of dry, heavy khobz.
- Toast the anise seeds first to deepen their flavor and get a more aromatic bread.
- A preheated stone or sheet gives the bottoms a good crust and strong oven spring.
- Serve warm, torn by hand, in Moroccan style, rather than cut with a knife.
Make ahead
"After kneading, the dough can rise in a covered, oiled bowl in the fridge for 8 to 16 hours. Let it sit at room temperature for 45 minutes, then shape and continue with the second rise (allow about 60 minutes)."
Storage & reheating
"Room temperature: wrap well and keep up to 2 days. Fridge: not recommended, as it dries the bread. Freezer: freeze whole or sliced loaves, wrapped tightly, up to 3 months. Reheat thawed bread at 350°F (175°C) for 8 to 10 minutes, or toast slices."
Substitutions
- bread flour → all-purpose flour, same weight. The crumb will be slightly softer and less chewy. You may need 1 to 2 tablespoons less water.
- instant yeast → active dry yeast, 2¾ teaspoons (9 g). Dissolve in the warm water for 5 to 10 minutes until foamy before adding.
- anise seeds → fennel seeds, same amount. Slightly milder and sweeter; toast the same way.
- sesame seeds → nigella seeds. Gives a more savory, peppery topping.