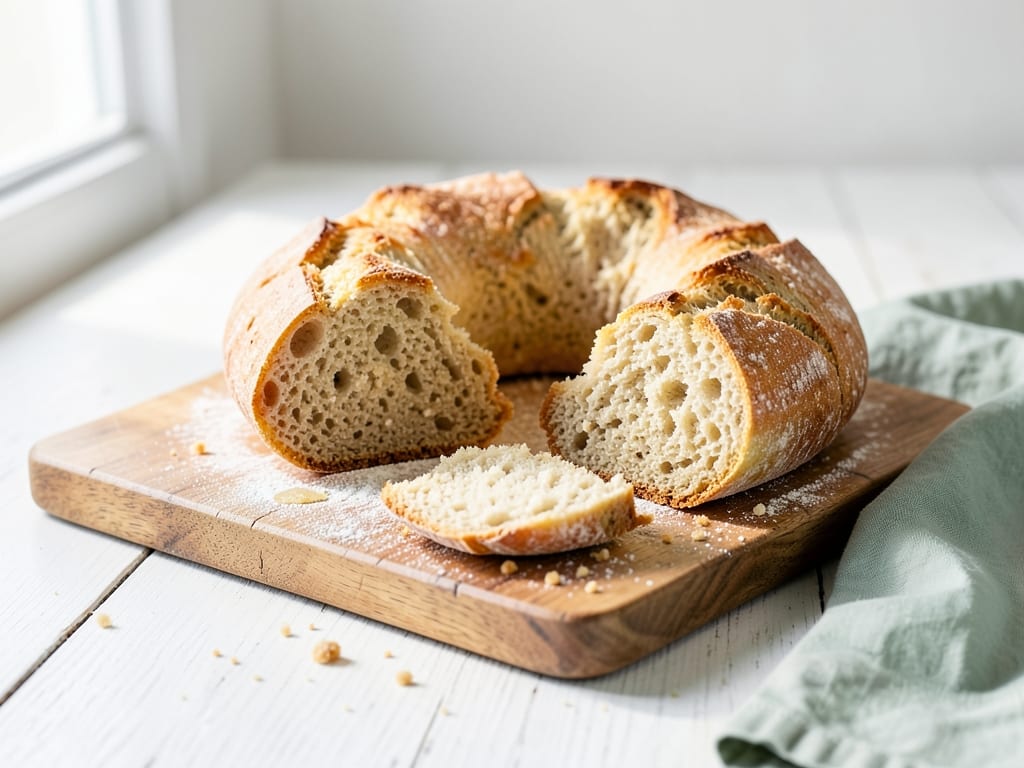
Maltese Ftira (Ring-Shaped Semolina Loaf)
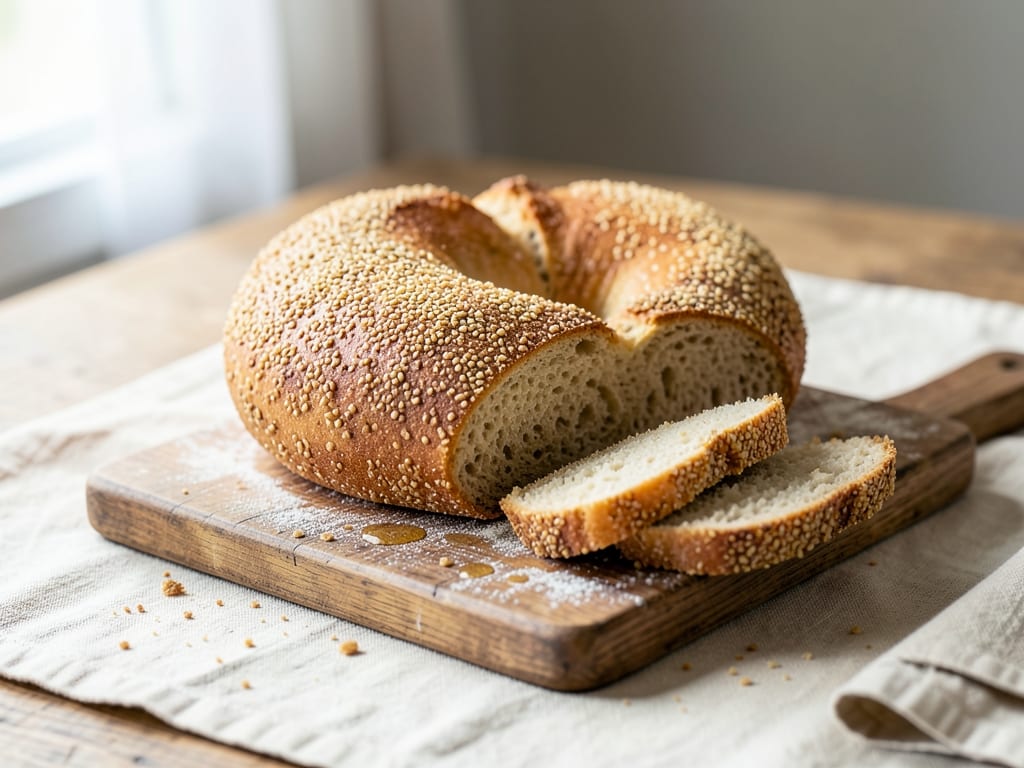
A rustic Maltese ring loaf with a thin, crackly golden crust and a soft, open, slightly chewy crumb. Fine semolina gives it a sweet, nutty flavor, and olive oil keeps the inside tender. It's traditionally split and filled with tomato, tuna, olives and capers for ftira biscuit-style sandwiches, but it's excellent on its own.
- Prep
- 38 min
- Cook
- 25 min
- Wait
- 2 hr 50 min
- Total
- 3 hr 53 min
- Makes
- 2 ring loaves (about 8-inch/20 cm across, 4 slices or sandwiches each)
Steps
Before you start
- Use fine semolina flour (labeled semola rimacinata or 'durum flour'), not coarse semolina, which makes a gritty crumb.
- Measure the water temperature: it should feel comfortably warm, 100–105°F (38–40°C). Hotter water can damage the yeast.
- Plan on about 4 hours start to finish, most of it hands-off. The dough is fairly wet (65% hydration), so keep a little flour on your hands rather than adding it to the dough.
- Clear a rack in the lower third of the oven and have a small metal pan (not glass) ready for steam.
Mix the dough
- In a large bowl, whisk the bread flour, 150 g semolina, instant yeast, salt and sugar together.
- Add the warm water and 2 tbsp (30 ml) olive oil.
- Stir with a wooden spoon or your hand for 2–3 minutes until no dry flour remains and you have a shaggy, sticky dough.
+ Show details− Hide details
Ready when: No dry patches of flour remain; the dough is shaggy and sticky.
Tip: Keep the salt and yeast on opposite sides of the bowl when adding them, then whisk, so the salt doesn't sit directly on the yeast.
Rest the dough
- Cover the bowl with a towel and let the dough rest for 15 minutes.
- This lets the semolina and flour absorb the water, so the dough becomes smoother and needs less kneading.
+ Show details− Hide details
Ready when: The dough looks slightly smoother and less shaggy.
Knead until smooth
- Knead on a lightly floured counter for about 10 minutes (or 6–7 minutes on medium-low speed with a dough hook).
- Push the dough away with the heel of your hand, fold it back, and turn it a quarter turn.
- It will be tacky at first; resist adding more than a tablespoon of extra flour.
+ Show details− Hide details
Ready when: The dough is smooth, elastic and springs back slowly when poked. A small piece stretches into a thin, translucent windowpane without tearing right away.
Tip: A slightly sticky dough gives the open crumb; a stiff dough bakes up dense.
First rise
- Brush a clean large bowl with 1 tsp of the olive oil from the 1 tbsp (15 ml) portion, keeping the rest for later.
- Shape the dough into a ball, place it in the bowl, and turn it to coat.
- Cover and let rise at room temperature (72–75°F/22–24°C) for 60–75 minutes.
+ Show details− Hide details
Ready when: The dough has doubled in size, looks puffy and jiggles when the bowl is shaken. A floured finger poke springs back slowly.
Tip: In a cool kitchen, give it the full 75 minutes or more; judge by size, not the clock.
Divide and pre-shape
- Line two baking sheets with parchment and dust each with 1 tbsp semolina.
- Turn the dough out onto a lightly floured counter and cut it in half (about 550 g each).
- Gently fold each piece's edges into the center and flip it seam-side down.
- Cup your hand around it and drag it in small circles to form a tight ball.
- Cover and rest for 10 minutes.
+ Show details− Hide details
Ready when: The balls are round and smooth on top and feel relaxed rather than tight.
Tip: Press out only the very large bubbles; keep the rest for an open crumb.
Shape the rings
- Flour your fingers.
- Press your thumb through the center of one ball to make a hole.
- Slip both thumbs into it and gently stretch, rotating the dough like a steering wheel, until the ring is about 8 inches (20 cm) across with a 3-inch (7.5 cm) hole.
- Set it on a prepared sheet.
- Repeat with the second ball.
+ Show details− Hide details
Ready when: Each ring is even in thickness (about 1 inch/2.5 cm) with a hole that holds its shape.
Tip: Make the hole larger than you think you need. It shrinks as the dough proofs and bakes.
Final proof and preheatOven 450°F / 230°C
- Cover the rings loosely with a towel and let them puff for about 40 minutes.
- After 10 minutes, place the oven rack in the lower third, put the empty metal pan on the oven floor or lowest rack, and preheat to 450°F (230°C).
+ Show details− Hide details
Ready when: The rings look visibly puffy, about 1½ times their size, and a gentle fingertip press leaves a dent that fills back slowly.
Tip: If the dent doesn't fill back at all, bake right away; the dough is overproofed.
Brush and add steamOven 450°F / 230°C
- Brush the rings lightly with the remaining olive oil.
- Slide one sheet onto the rack.
- Carefully pour the 1 cup (240 ml) boiling water into the hot pan and shut the door right away.
- Wear oven mitts and stand back from the steam.
+ Show details− Hide details
Ready when: The door is closed and steam is building in the oven.
Tip: Bake both sheets together if they fit on separate racks; otherwise bake one at a time and hold the second in the refrigerator, covered, to slow its proofing.
Bake the ftiraOven 450°F / 230°C
- Bake at 450°F (230°C) for 22–25 minutes, rotating the sheet front to back after 15 minutes.
- Pull the sheet out when the crust is deep golden brown.
+ Show details− Hide details
Ready when: The crust is deep golden brown, the bottom sounds hollow when tapped, and the internal temperature reads 205–210°F (96–99°C).
Tip: If baking a second tray afterward, let the oven return to 450°F (230°C) and add fresh boiling water to the pan.
Cool before slicing
- Transfer the rings to a wire rack and cool for at least 30 minutes.
- Slice horizontally for sandwiches or into wedges to serve with olive oil, tomato and cheese.
+ Show details− Hide details
Ready when: The loaf is just warm to the touch and the crust crackles lightly as it cools.
Tip: Cutting too soon traps steam and makes the crumb gummy.
Good to know
Tips
- Weigh the flour and water. The dough is wetter than many home cooks expect, and cup measures vary widely with semolina.
- Steam in the first 10 minutes keeps the crust flexible so the ring can expand, then it sets into a thin crackly crust.
- For a more traditional filling, split the cooled ring and rub the cut sides with ripe tomato, olive oil and salt, then add tuna, capers, olives and fresh mint.
- A baking stone or steel under the sheet pan gives a crisper bottom crust; preheat it for the full 30 minutes.
Make ahead
"After shaping (step 6), cover the rings tightly and refrigerate for up to 12 hours. Let them stand at room temperature for 30–40 minutes until puffy, then bake as directed. You can also refrigerate the dough after kneading for up to 24 hours; bring it to room temperature for 1 hour before dividing."
Storage & reheating
"Room temperature: wrap well and keep up to 2 days (the crust softens). Freezer: slice, wrap airtight and freeze up to 3 months. Reheat whole or sliced loaf at 350°F (175°C) for 8–10 minutes (from frozen, 12–15 minutes) to re-crisp the crust. Refrigeration is not recommended because it dries the bread out."
Substitutions
- bread flour → all-purpose flour (same weight). The crumb will be slightly softer and less chewy. Hold back 15–20 ml of the water if the dough feels too wet.
- fine semolina flour (semola rimacinata) → additional bread flour (150 g). Gives a paler, softer loaf with less nutty flavor.
- instant yeast → active dry yeast, 2 tsp (6 g). Dissolve in the warm water with the sugar for 5–10 minutes until foamy before mixing; rises may take 15 minutes longer.
- extra-virgin olive oil → another neutral or mild oil such as sunflower oil. You lose the fruity olive flavor but the texture stays the same.
More yeast breads
See all →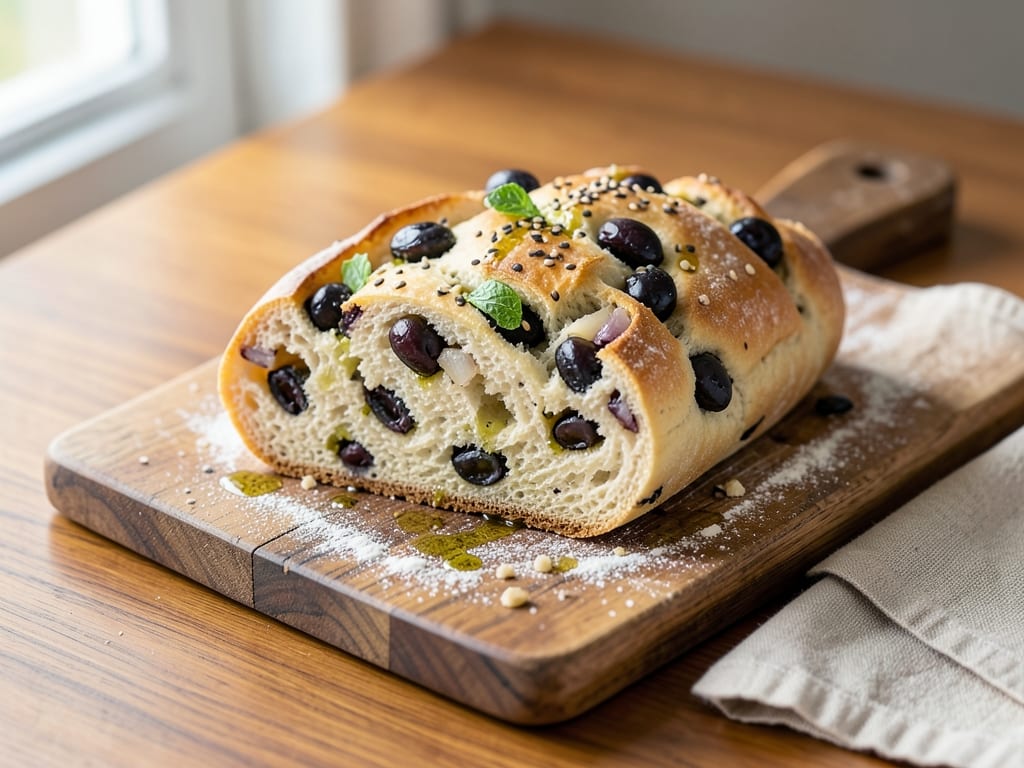
Find more like this
- Meal
- Lunch
- Cuisine
- Mediterranean
- Method
- Oven