Sourdough Sicilian Caciocavallo Cheese Bread
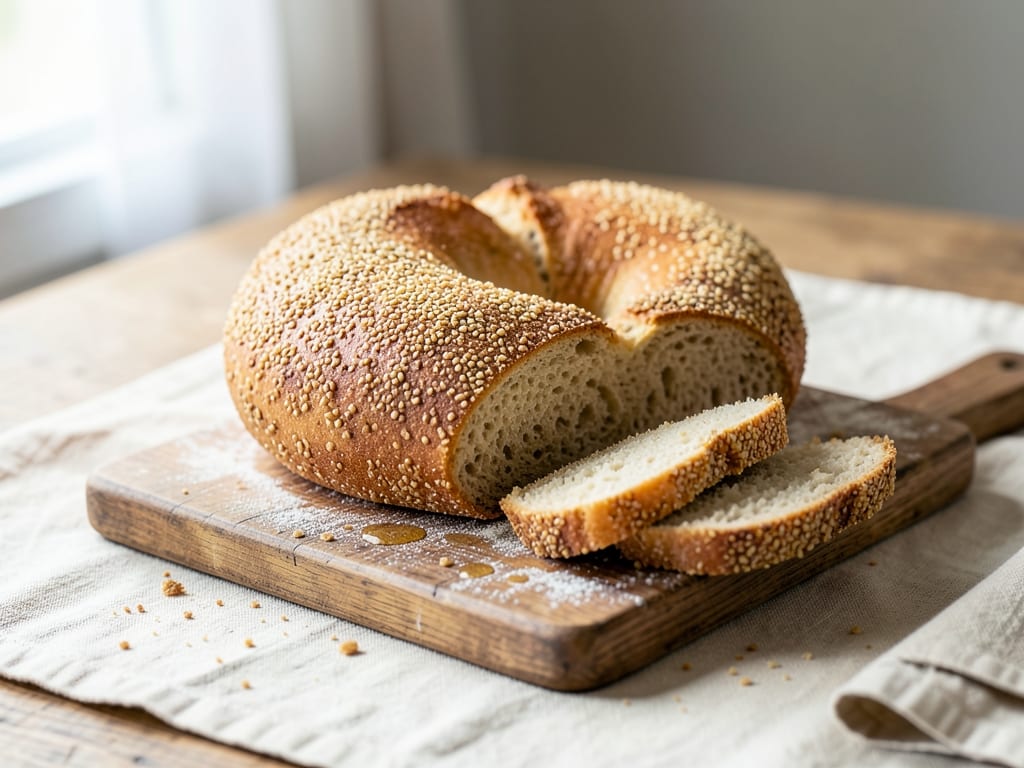
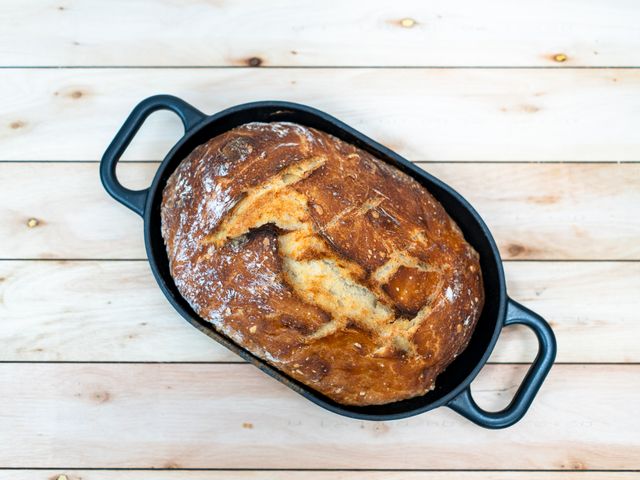
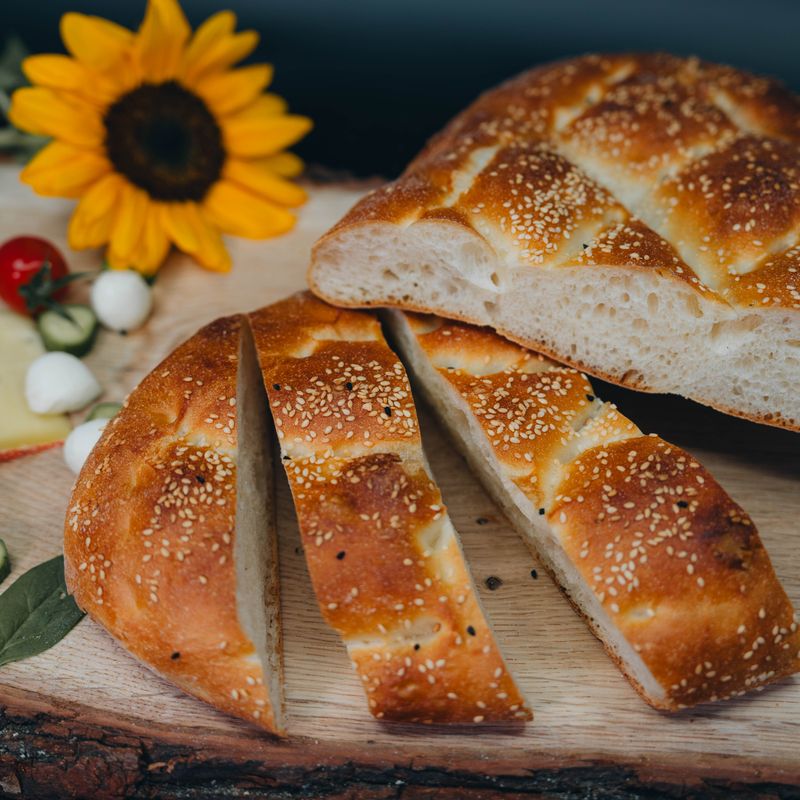
A rustic Sicilian-style sourdough bread studded with pockets of melted caciocavallo cheese. The natural tang of sourdough starter pairs beautifully with the stretched-curd cheese, creating a rich, savory loaf with a crispy crust and tender crumb. Perfect for slicing and serving with olive oil or enjoying alongside soup and stew.
- Prep
- 30 min
- Cook
- 35 min
- Wait
- 8 hr
- Total
- 9 hr 5 min
- Makes
- 1 loaf (12 slices)
Steps
Before you start
- Ensure your sourdough starter is active and bubbly (fed 4–8 hours prior)
- Have caciocavallo cheese at room temperature and cut into ½-inch cubes or torn into small pieces
- Line a banneton or bowl with a damp kitchen towel or parchment paper
- Place a Dutch oven or covered baking vessel in the oven to preheat
Mix dough
- In a large mixing bowl, combine the active sourdough starter, lukewarm water, and bread flour.
- Stir until no dry flour remains; the dough will be shaggy and wet.
- Cover with a damp kitchen towel or plastic wrap and let rest for 30 minutes (autolyse).
- This hydration helps develop gluten and deepens flavor.
+ Show details− Hide details
Ready when: Dough is shaggy, sticky, and homogeneous
Tip: Resist the urge to add extra flour—the dough will firm up as gluten develops during the bulk ferment.
Add salt and mix
- Sprinkle the sea salt and black pepper evenly over the rested dough.
- Using wet hands or a bench scraper, fold the dough over itself repeatedly, working from the edges to the center, incorporating the salt evenly into the dough.
- This should take 3–4 minutes.
- The dough will firm up slightly as the salt dissolves.
+ Show details− Hide details
Ready when: Salt is fully incorporated and dough is even in color and texture
Tip: Add salt after the autolyse to avoid inhibiting fermentation.
First bulk ferment with stretches
- Place the dough in a lightly oiled bowl.
- Over the next 3 hours, perform a series of stretch-and-folds every 30 minutes for the first 1.5 hours (3 sets total).
- To stretch: wet your hand, reach to one side of the dough, stretch it up and fold it over the center; repeat from all four sides.
- After 1.5 hours, allow the dough to rest undisturbed for the remaining 1.5 hours.
- The dough should increase in volume by 50–75%, show visible bubbles on the surface, and feel airy and live.
+ Show details− Hide details
Ready when: Dough is puffy, jiggly, and has visible gas bubbles; a poke springs back slowly
Tip: Keep the bowl in a warm spot (68–72°F / 20–22°C). Cool fermentation develops better flavor but takes longer.
Laminate and add cheese
- Turn the dough out onto a lightly floured surface.
- Using a bench scraper, gently stretch the dough into a rough rectangle about ¼-inch thick.
- Scatter half of the caciocavallo cheese cubes evenly over the top.
- Fold the dough in half (like closing a book), then scatter the remaining cheese on top.
- Gently fold the dough in half again.
- Use the bench scraper to fold and press the dough several times, working the cheese throughout without overdeveloping the gluten.
- The goal is even distribution with some cheese visible in the layers.
+ Show details− Hide details
Ready when: Caciocavallo is distributed throughout the dough; some pockets visible
Tip: Cold caciocavallo can shatter; room-temperature cheese will distribute more smoothly without breaking the dough.
Pre-shape and bench rest
- On the floured surface, gently pre-shape the dough into a round by folding the edges toward the center and rotating it slightly; this builds surface tension.
- Let it rest uncovered on the work surface for 20–25 minutes.
- The dough will relax and spread slightly, and the surface will begin to firm up.
+ Show details− Hide details
Ready when: Dough is visibly relaxed and slightly dimpled on top; surface is drier
Tip: This bench rest prevents overworking the dough and helps it hold shape during final proofing.
Final shape and banneton proof
- Turn the dough seam-side up onto the work surface and shape it into a round by pulling the edges underneath toward the center, creating tension on the top surface.
- Place it seam-side up in a floured banneton or proofing basket (or a medium bowl lined with a damp, floured towel).
- Cover loosely with plastic wrap or a damp towel.
- Proof at room temperature (68–72°F / 20–22°C) for 4 hours, or until the dough is puffy and a gentle poke leaves an indent that springs back slowly.
- Alternatively, refrigerate overnight (8–16 hours) for deeper flavor and easier scoring.
+ Show details− Hide details
Ready when: Dough is puffy and pillowy; a poke at the edge springs back slowly (not immediately, not fully)
Tip: Cold overnight proof (retard) improves flavor and makes scoring easier; allow 30 minutes to come to room temperature before baking.
Preheat oven and prepare for bakeOven 475°F / 245°C
- Place a Dutch oven (with lid) in the oven and preheat to 475°F (245°C) for at least 30 minutes.
- The vessel will trap steam, creating a crispy crust.
- If using an overnight cold proof, remove the dough from the refrigerator 30 minutes before baking to take some chill off.
+ Show details− Hide details
Ready when: Oven is fully preheated (thermometer reads 475°F); Dutch oven is smoking slightly
Tip: A fully preheated Dutch oven is essential for oven spring and crust development. Do not skip this step.
Score and load doughOven 475°F / 245°C
- Carefully remove the hot Dutch oven from the oven.
- Invert the proofed dough from the banneton directly onto a piece of parchment paper (this protects your hands and helps transfer).
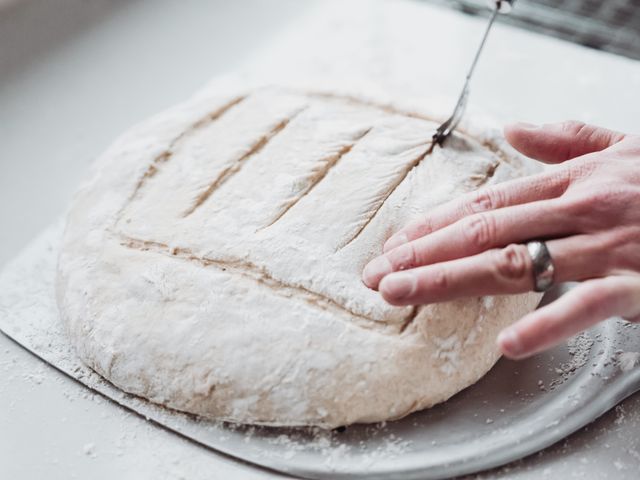
- Using a bread lame or sharp knife, score the top of the dough with a decisive ¼-inch-deep cut in a cross pattern or shallow slash; this controls where the dough expands.
- Gently lift the parchment and dough together and place inside the hot Dutch oven.
- Replace the lid.
+ Show details− Hide details
Ready when: Dough is scored cleanly; Dutch oven is covered and sitting in oven
Tip: Score decisively and cleanly; a tentative cut will not expand properly. If using a cold proof, let the dough rest 10 minutes after turning out to relax.
Bake covered (steam phase)Oven 475°F / 245°C
- Bake covered at 475°F (245°C) for 20 minutes.
- The trapped steam will keep the crust flexible, allowing the dough to rise dramatically (oven spring).
- Resist the urge to open the oven.
+ Show details− Hide details
Ready when: You should not peek, but loaf will have expanded noticeably
Tip: Lifting the lid early releases steam and ruins the crust. Stay patient.
Remove lid and bake until goldenOven 450°F / 230°C
- Carefully remove the lid from the Dutch oven (steam will escape—be careful).
- Reduce the oven temperature to 450°F (232°C).
- Continue baking uncovered for 12–15 minutes, until the loaf is deep golden brown all over, with caramelized edges.
- The bottom of the loaf should sound hollow when tapped gently with a knuckle.
+ Show details− Hide details
Ready when: Loaf is deep golden-brown on all sides; bottom sounds hollow when tapped
Tip: If the crust is browning unevenly, rotate the Dutch oven halfway through this phase.
Cool and rest
- Transfer the loaf to a wire rack using a bench scraper or tongs.
- Let it cool completely at room temperature—at least 1 hour, ideally 2 hours.
- During cooling, the crumb sets and the crust crisps further.
- Avoid slicing until fully cooled, or the interior will be gummy.
+ Show details− Hide details
Ready when: Loaf is cool to the touch and internal structure is set
Tip: Place the loaf on a rack so air circulates underneath. This prevents steam from making the bottom crust soggy.
Good to know
Tips
- Check your sourdough starter 8 hours after feeding—it should be bubbly, risen visibly, and smell pleasantly tangy. A weak starter will slow fermentation.
- The dough is wetter than a typical sandwich loaf; this creates a more open crumb structure and better cheese distribution. Resist adding extra flour.
- Caciocavallo melts at a lower temperature than hard cheeses, so it creates pockets of creamy, stretchy cheese throughout the loaf. Room-temperature cheese prevents splitting the dough.
- If your room is cool (below 68°F / 20°C), extend bulk ferment and final proof times by 25–50%. Conversely, if your kitchen is warm (above 75°F / 24°C), reduce times slightly to avoid over-fermentation.
Make ahead
The dough can be mixed and fermented 1 day ahead. After the first bulk ferment, shape, place in the banneton, cover, and refrigerate (retard) overnight (8–16 hours). This develops deeper flavor and acidity. Remove from the fridge 30 minutes before baking to partially warm the dough, then bake as directed. The fully baked loaf keeps fresh for 2–3 days, then is best sliced, wrapped, and frozen.
Storage & reheating
Room temperature (wrapped in a clean kitchen towel or paper bag): 2–3 days. The crust will soften gradually. Refrigerator (wrapped in plastic): 4–5 days; flavor improves slightly. Freezer (wrapped in plastic and then foil): up to 2 months. Thaw at room temperature for 2–3 hours, or reheat wrapped in foil at 350°F (175°C) for 12–15 minutes for a fresh crust. Slicing after cooling prevents gumminess.
Substitutions
- caciocavallo cheese, aged or fresh → Smoked scamorza or provola cheese, cut into cubes. These Italian stretched-curd cheeses offer similar melting properties and a comparable creamy, smoky flavor. Use the same weight.
- caciocavallo cheese, aged or fresh → Aged pecorino romano, grated coarsely. For a sharper, more assertive cheese flavor. Use 6 oz (170 g) grated pecorino, which will be more sharply distributed. Reduce salt slightly by ¼ teaspoon.
- bread flour → All-purpose flour (10–11% protein). The loaf will have a slightly lighter, more tender crumb and less chew. Reduce water by 2 tablespoons (30 ml) as all-purpose flour absorbs less water.
- freshly ground black pepper → Omit entirely or replace with ½ teaspoon dried oregano or fennel seed. Omitting gives a milder, more neutral cheese bread. Oregano or fennel adds an herbaceous Sicilian note without the heat of pepper.