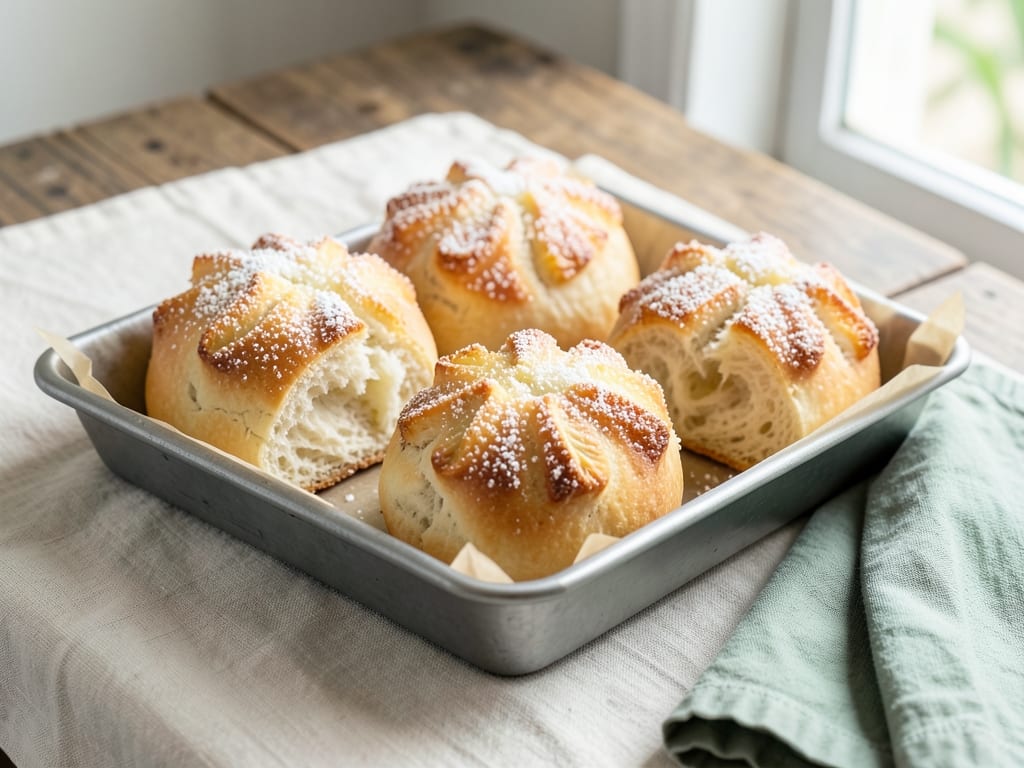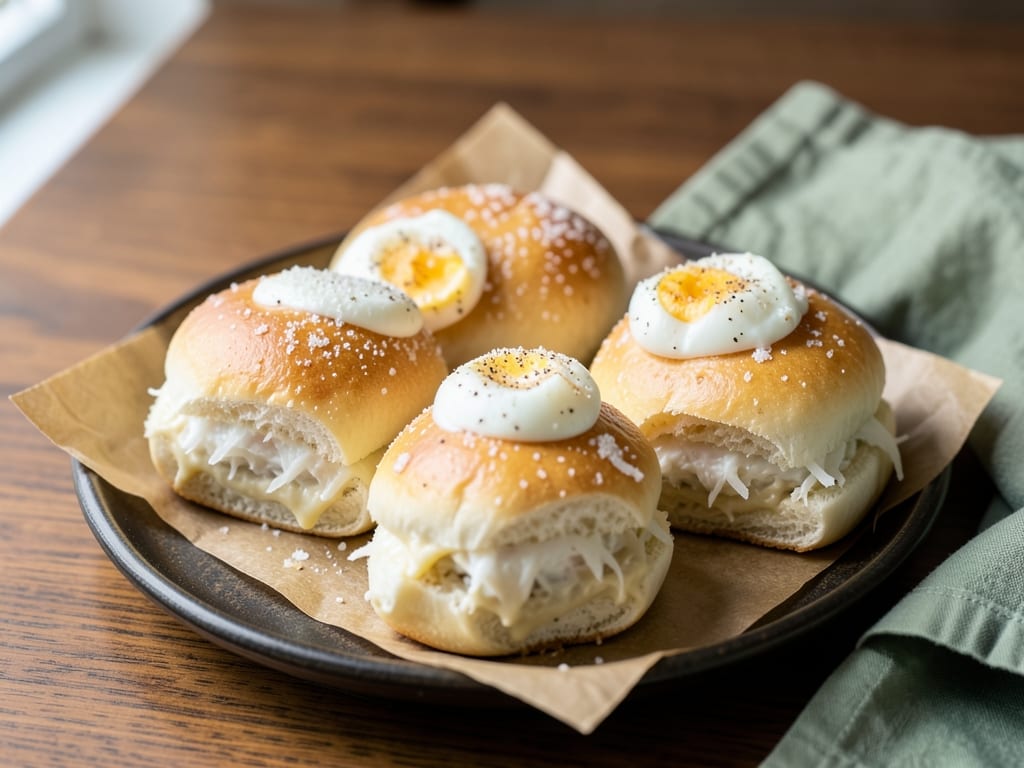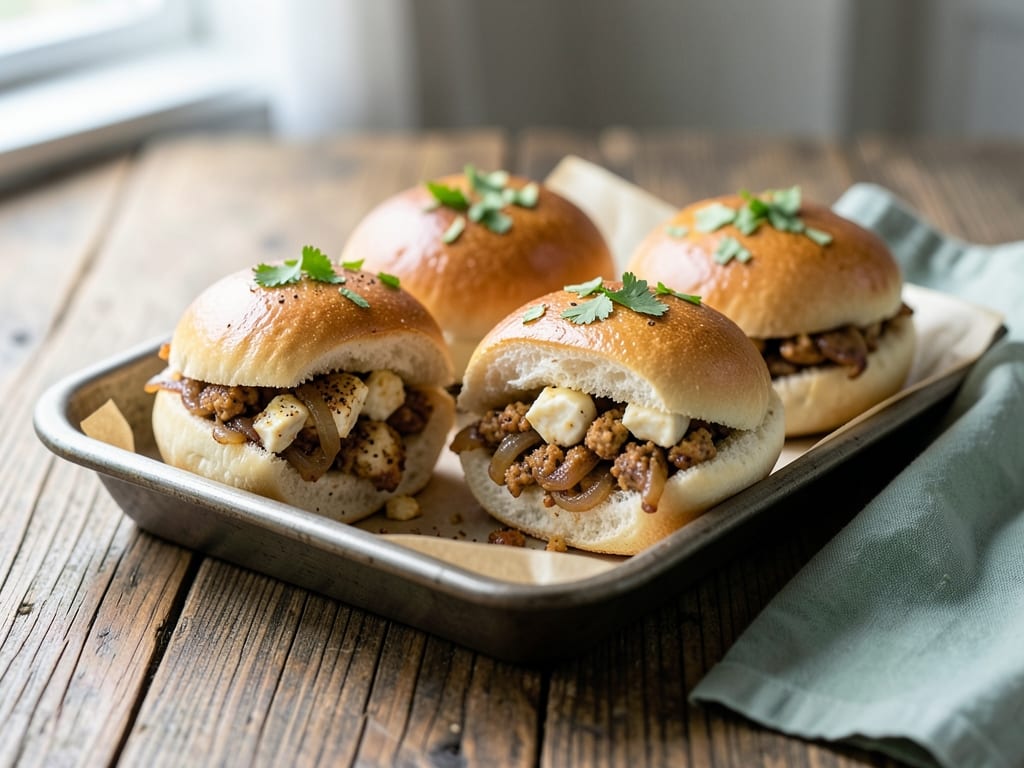
Masala Paneer Stuffed Buns
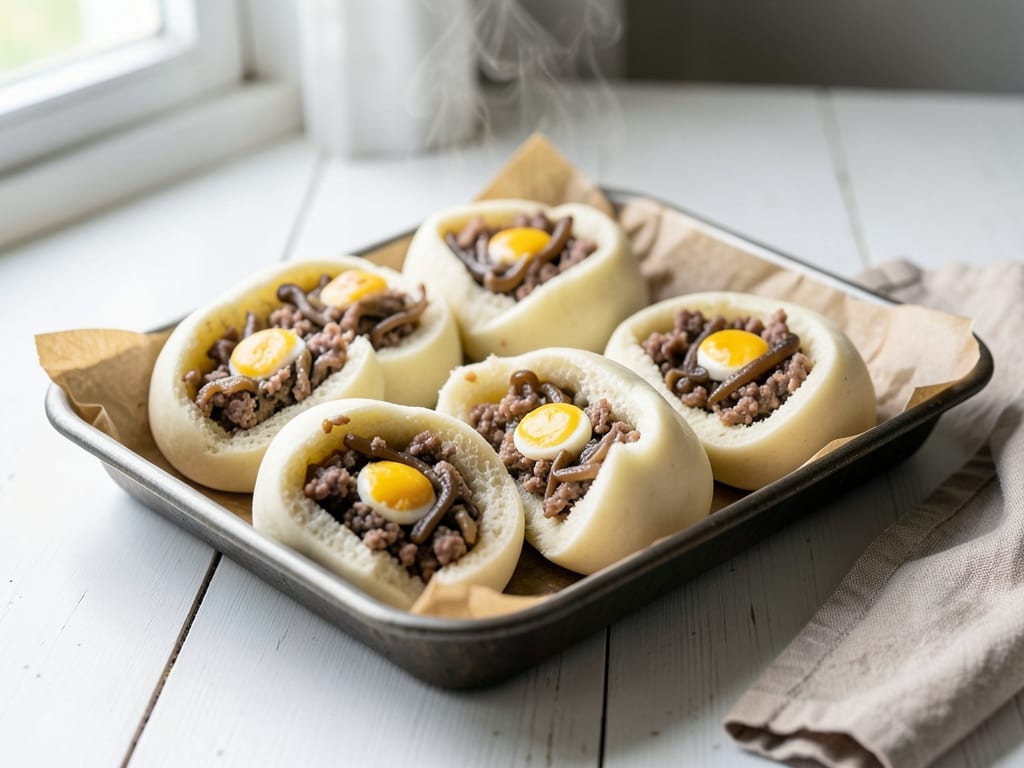
Soft, pillowy Indian-style buns filled with a fragrant mixture of spiced paneer cheese and caramelized onions. Baked until golden, these buns are perfect as a snack, breakfast item, or side dish, with warm garam masala and fresh cilantro in every bite.
- Prep
- 39 min
- Cook
- 25 min
- Wait
- 2 hr 30 min
- Total
- 3 hr 34 min
- Makes
- 8 buns
Steps
Before you start
- Soften butter to room temperature (about 30 minutes ahead)
- Warm milk to 110°F (43°C), not hot, or yeast won't activate properly
- Measure and prep all filling ingredients before dough rises
- Grease a large bowl and a 9×13-inch baking sheet
Combine dough dry ingredients
- In a large mixing bowl, combine 3 cups (360g) sifted all-purpose flour, 2 tsp (5g) instant yeast, 1 tsp (5g) salt, and 1 tbsp (12g) sugar.
- Whisk together until the yeast and salt are evenly distributed throughout the flour.
+ Show details− Hide details
Ready when: Dry ingredients are evenly combined with no streaks of salt or yeast
Tip: Sift the flour for a lighter, more open crumb in the final buns
Mix wet ingredients into dough
- Make a well in the center of the dry mixture.
- Pour in 1 cup (240ml) warm milk (110°F / 43°C), 3 tbsp (45g) softened butter, and 1 large room-temperature egg.
- Using your hand or a wooden spoon, stir in circular motions, gradually incorporating the flour from the sides, until all the flour is wetted and a shaggy, sticky dough forms, about 3 minutes.
- Stop mixing once combined.
+ Show details− Hide details
Ready when: All flour is incorporated; dough is shaggy and sticky
Tip: Don't overmix at this stage; the dough will become smooth during kneading
Knead the dough
- Turn the dough out onto a lightly floured work surface.
- Knead for 8 minutes by hand (or 6 minutes with a dough hook on medium speed), pushing the dough away with the heel of your hand, folding it back, and rotating it a quarter turn with each push.
- The dough should become smooth, elastic, and slightly tacky but not sticky.
- When you poke it, it should spring back slowly.
+ Show details− Hide details
Ready when: Dough is smooth, elastic, and springs back slowly when poked; it no longer sticks to hands
Tip: If dough is too sticky, dust with a small amount of flour (1 tbsp at a time). If too dry, wet your hand and continue kneading
First rise of dough
- Oil a large bowl with a few drops of oil or ghee and place the kneaded dough inside, turning it to coat all sides with oil.
- Cover the bowl loosely with plastic wrap or a damp kitchen towel.
- Place in a warm, draft-free spot (75–80°F / 24–27°C is ideal, such as an unheated oven with the light on, or near a sunny window) and let rise for 90 minutes until the dough has doubled in volume.
+ Show details− Hide details
Ready when: Dough has visibly doubled in size; when you poke it gently with a floured finger, it springs back slowly but leaves a slight indent
Tip: If your kitchen is cool (below 70°F), place the covered bowl on top of a warm oven or in a turned-off oven with the light on to speed rising
Sauté onion for filling
- While the dough rises, heat 1 tbsp (15ml) ghee in a small 8-inch saucepan over medium heat.
- Once shimmering, add 1 medium (150g) finely diced onion and sauté, stirring occasionally, for about 5 minutes until the onion becomes golden, soft, and translucent.
- The onion should release its moisture and begin to caramelize slightly.
+ Show details− Hide details
Ready when: Onion is soft, translucent, and light golden in color
Tip: Stir often to prevent the onion from browning too quickly or burning; lower heat if it's browning too fast
Add warm spices to filling
- Add 1.5 tsp (3g) garam masala, 0.5 tsp (1g) cumin powder, and 0.25 tsp (0.5g) turmeric powder to the softened onion.
- Stir constantly for about 30 seconds, coating the onion evenly with the spices.
- The spices will become fragrant and cling to the onion.
+ Show details− Hide details
Ready when: Spices are fragrant and coat the onion; no dry spice remains visible
Tip: Don't let the spices burn; if the pan is too hot, reduce to low heat immediately after adding the spices
Add paneer and fresh herbs
- Remove the pan from heat.
- Gently fold in 8 oz (225g) crumbled paneer cheese, 2 tbsp (5g) finely chopped fresh cilantro, and 1 finely minced green chili (optional).
- Season to taste with salt and black pepper.
- Stir gently just until combined, being careful not to mash the paneer pieces.
- Transfer the filling to a small plate.
+ Show details− Hide details
Ready when: Filling is well combined and cooled to warm (not hot)
Tip: Keep paneer pieces intact; don't overmix, or they'll become mushy and the filling will be too wet
Divide dough into portions
- Once the dough has doubled, turn it out onto a lightly floured work surface.
- Divide the dough into 8 equal pieces (about 2.5 oz / 70g each) using a bench scraper or knife.
- Roll each piece between your palms into a smooth, tight ball, tucking the seams underneath so the top is smooth.
- Keep unused portions covered with a damp towel while you work.
+ Show details− Hide details
Ready when: Eight smooth, seam-free balls formed; no wrinkles or cracks on the surface
Tip: Work quickly so the dough doesn't dry out; keep shaped portions covered until you're ready to fill them
Flatten and fill buns
- Working with one dough ball at a time, gently flatten it on a lightly floured surface into a thin disk about 3 inches (7.5 cm) in diameter.
- Place about 2 tbsp (30g) of the cooled filling in the center.
- Carefully lift the edges of the disk and fold them up and over the filling, pinching them together at the top to seal completely.
- Once sealed, gently roll and press the bun between your palms to smooth out the seams and create a tight, round bun.
- Place seam-side down on a greased baking sheet.
- Repeat with remaining dough and filling.
+ Show details− Hide details
Ready when: Eight sealed buns with no visible filling showing; seams are smooth and tight
Tip: If filling leaks out, pinch the opening closed again and gently reshape. Work quickly so the dough doesn't overproof
Second rise of buns
- Cover the baking sheet loosely with a damp kitchen towel or plastic wrap.
- Let the buns rise for 45 minutes in a warm spot until they are visibly puffy and jiggly when the baking sheet is shaken gently.
- They should look soft and pillowy, with a small amount of space between each bun.
+ Show details− Hide details
Ready when: Buns are noticeably puffy and jiggly; when gently poked with a floured finger, they spring back slowly but leave a slight indent
Tip: Don't let them over-proof or they may deflate slightly when baked; they should feel light and airy, not dense
Egg wash and prepare to bakeOven 375°F / 190°C
- Preheat your oven to 375°F (190°C), positioning the rack in the center of the oven.
- While the oven preheats, beat 1 large egg with 1 tablespoon water.
- Using a pastry brush, brush the top of each bun generously with the beaten egg wash, coating evenly.
- If desired, sprinkle 1 tbsp (8g) sesame seeds over the tops of the buns.
+ Show details− Hide details
Ready when: Buns are evenly coated with egg wash; oven has reached 375°F (190°C)
Tip: Use a pastry brush for even, light coverage; don't oversaturate, or the egg wash will pool and create a shiny but thick crust
Bake until goldenOven 375°F / 190°C
- Place the baking sheet in the preheated 375°F (190°C) oven.
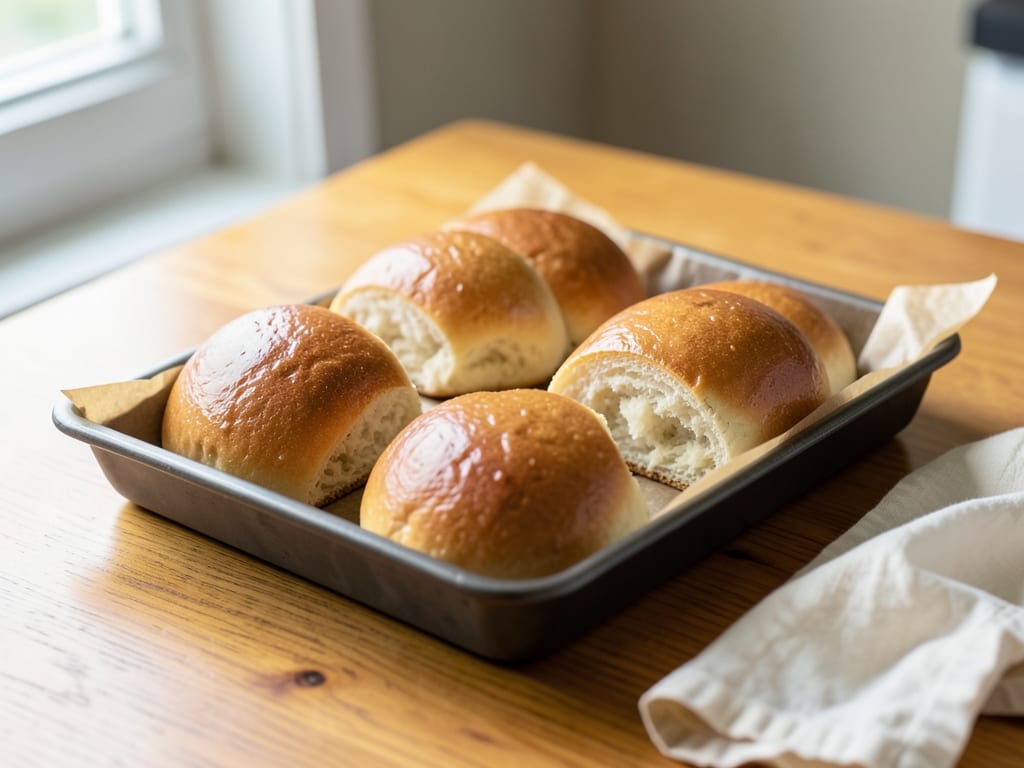
- Bake for 20–25 minutes until the tops are deep golden brown and the buns look puffy and set.
- To check for doneness, tap a bun on the bottom; it should sound hollow.
- If the tops are browning too quickly, tent them loosely with foil for the final 5 minutes.
- Remove from the oven and let the buns cool on the baking sheet for 2–3 minutes, then transfer to a wire rack.
+ Show details− Hide details
Ready when: Tops are deep golden brown; bottom of a bun sounds hollow when tapped; buns are firm to the touch
Tip: Bake on the center rack for even browning; rotate the pan halfway through if your oven has hot spots
Good to know
Tips
- Paneer quality matters: use fresh, high-quality paneer from an Indian grocery store for the best texture and flavor. If your paneer is very moist, gently squeeze out excess liquid before crumbling.
- Toast your whole spices and grind them fresh if possible—freshly ground garam masala and cumin are far more aromatic and flavorful than pre-ground versions that have sat in the spice cabinet.
- These buns freeze beautifully before or after baking, making them ideal for batch cooking and meal prep. Thaw overnight in the fridge and reheat gently for the best texture.
- Serve warm or at room temperature with cilantro chutney, tamarind chutney, yogurt, or alongside a curry or dhal for a complete Indian meal. They're also delicious on their own as a snack.
Make ahead
Dough can be prepared through the first rise and refrigerated overnight: after kneading, place in an oiled bowl, cover, and refrigerate for 8–12 hours. Remove from the fridge and let come to room temperature (about 30 minutes) before shaping and filling. Unbaked buns can be frozen after the second rise: place on a parchment-lined tray, freeze until solid, then transfer to a freezer bag. Thaw in the fridge overnight and bake as directed (add 5–10 minutes to baking time if baking from chilled).
Storage & reheating
Room temperature: store in an airtight container for up to 2 days. Refrigerator: wrap in foil and refrigerate for up to 5 days; reheat in a 300°F oven for 10 minutes until warm. Freezer: wrap baked buns individually in plastic wrap and freeze in a freezer bag for up to 3 months; thaw at room temperature for 2 hours or reheat directly from frozen in a 300°F oven for 15–20 minutes, wrapped in foil.
Substitutions
- unsalted butter → Vegetable oil or ghee. Use the same amount; ghee adds richness and an Indian flavor, while oil produces a slightly lighter crumb. Both work beautifully.
- paneer cheese → Firm tofu, pressed and crumbled. Use the same amount; paneer has a mild flavor, and tofu will provide a similar texture and neutral taste, though it's less traditional.
- ghee → Vegetable oil or mustard oil. Use the same amount; ghee adds authentic Indian flavor and richness, but neutral oil works well if you prefer a lighter filling.
- whole milk → Unsweetened almond milk, coconut milk, or oat milk. Use the same amount; choose unsweetened varieties for best results. Dough may be slightly less tender, but buns will still rise well.