Indian Pav Buns
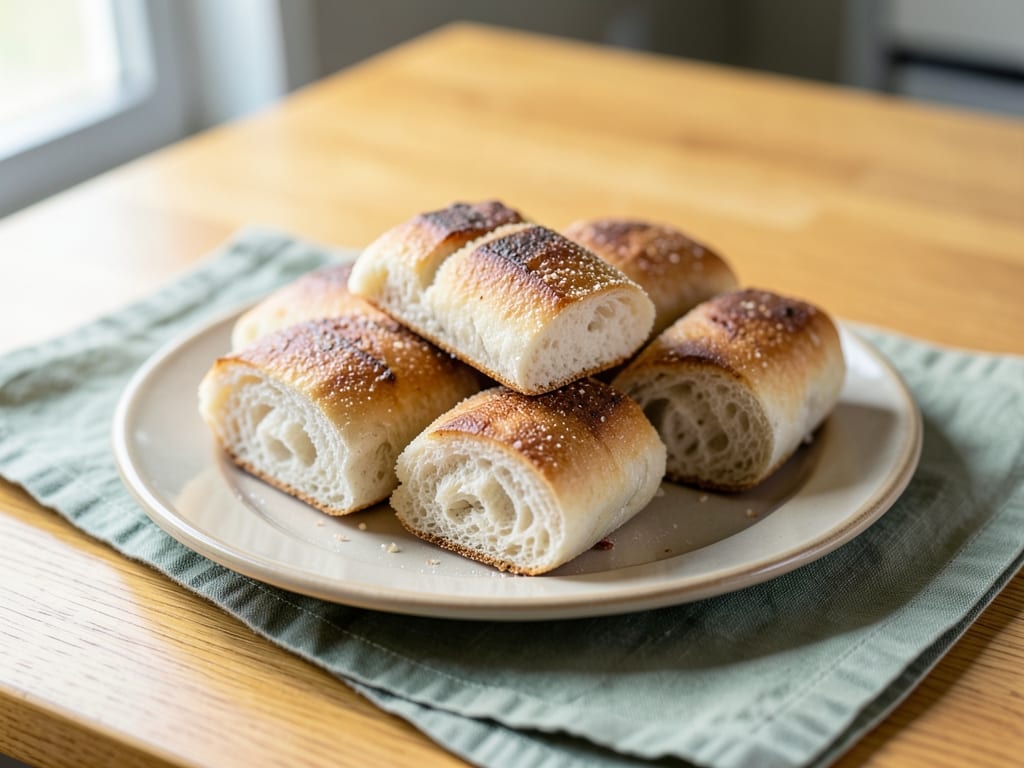
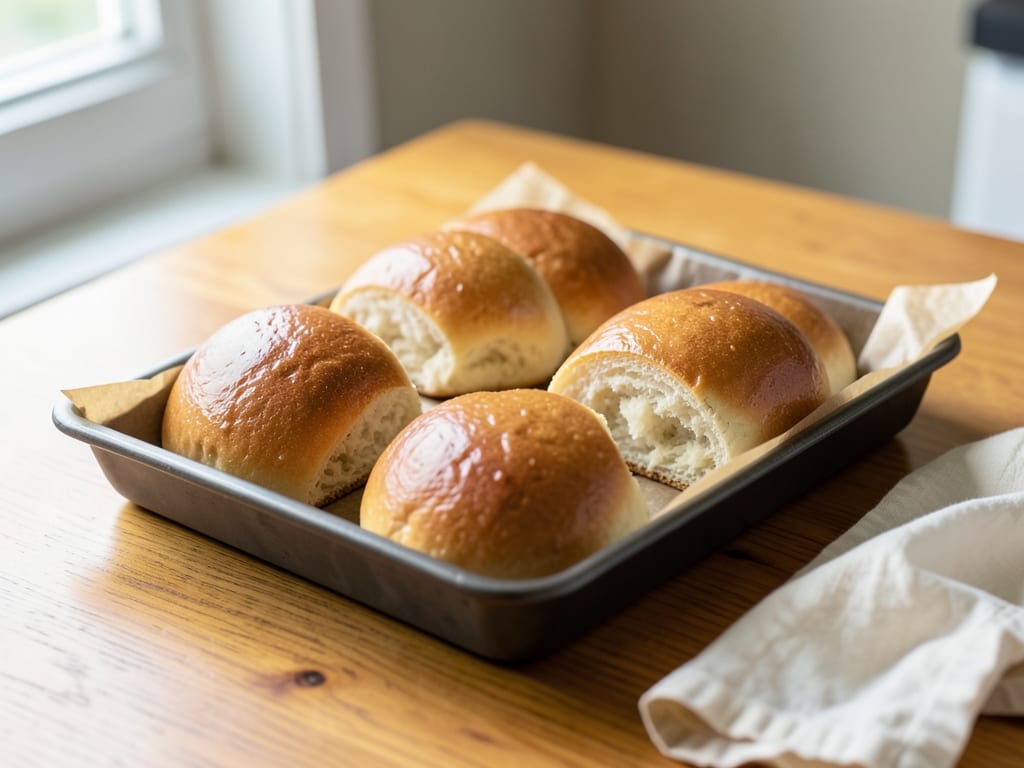
Soft, pillowy Indian bread rolls enriched with milk and butter. Pav are the perfect accompaniment to pav bhaji or any curry, with a tender crumb and a golden, ghee-brushed exterior. They're made with a simple dough that rises twice, creating their signature light, airy texture that practically melts in your mouth.
- Prep
- 36 min
- Cook
- 16 min
- Wait
- 2 hr 42 min
- Total
- 3 hr 34 min
- Makes
- 8 buns
Steps
Before you start
- Use warm milk (around 110 degrees F / 43 degrees C)—too hot kills the yeast, too cold won't activate it.
- Have all ingredients at room temperature except the milk.
- Choose a warm, draft-free spot for rising (around 75–80 degrees F is ideal; a turned-off oven with the light on, or near a sunny window works well).
- Bread flour gives the best pillowy texture, but all-purpose flour works in a pinch.
Activate the yeast
- In a small bowl, combine 300 ml (1.25 cups) of warm milk (about 110 degrees F / 43 degrees C) with 10 g (2 tsp) sugar and 1 tablespoon (7 g) active dry yeast.
- Stir gently with a whisk until combined, then let sit undisturbed for 5–10 minutes until the surface is foamy and you can smell a pleasant yeasty aroma.
- This bloom indicates the yeast is alive and ready to work.
+ Show details− Hide details
Ready when: Mixture is foamy with a pleasant yeasty aroma
Tip: If the yeast doesn't foam after 10 minutes, it's dead—start over with fresh yeast. Milk that was too hot (above 120 degrees F) kills yeast, while milk below 100 degrees F won't activate it.
Mix flour and salt
- In a large bowl, combine 450 g (3.5–4 cups) of bread flour and 7 g (1.25 tsp) fine salt.
- Whisk together to evenly distribute the salt throughout the flour.
+ Show details− Hide details
Ready when: Salt is evenly distributed throughout the flour
Form the dough
- Make a well in the center of the flour mixture.
- Pour the foamy yeast mixture into the well, then add 30 g (2 tbsp) of softened butter.
- Using a wooden spoon or your hand, gently bring the flour into the wet ingredients and mix until a shaggy, wet dough begins to form.
- Don't worry if it looks rough at this stage.
+ Show details− Hide details
Ready when: A shaggy dough forms and no dry flour streaks remain
Knead until smooth
- Turn the dough onto a lightly floured work surface.
- Knead by pushing the dough away from you with the heel of your hand, folding it back over itself, rotating it a quarter turn, and repeating.
- Continue for 8–10 minutes until the dough is smooth, elastic, and soft—it should feel similar to a baby's skin.
- The dough should be soft but not stick excessively to your hands; if it does, dust with just a tiny bit more flour, not too much.
+ Show details− Hide details
Ready when: Dough is smooth and elastic; when poked, it springs back slowly rather than immediately
Tip: Pav dough should be softer than typical bread dough—it shouldn't feel stiff. Overworking or adding too much flour will result in dense, tough buns instead of pillowy ones.
First rise
- Lightly oil a large bowl and place the kneaded dough inside, turning it over once to coat it lightly with oil.
- Cover the bowl with a damp kitchen towel or plastic wrap.
- Place in a warm, draft-free spot (around 75–80 degrees F is ideal—a turned-off oven with the light on, or near a sunny window works well).
- Let the dough rise for 1 to 1.5 hours until it's roughly doubled in volume.
+ Show details− Hide details
Ready when: Dough is roughly doubled in size; poke it gently—the indentation should slowly spring back halfway
Tip: The exact time depends on how warm your kitchen is. If your space is cool, rising may take longer, up to 2 hours. Patience is worth it.
Divide and shape buns
- Turn the risen dough out onto a lightly floured work surface.
- Using a bench scraper or sharp knife, divide it into 8 equal pieces (weighing them on a scale is ideal for consistency).
- Roll each piece into a smooth ball by gently pulling the surface toward the underside, creating tension.
- Place the shaped buns seam-side down on a parchment-lined baking sheet, spacing them about 2 inches (5 cm) apart.
+ Show details− Hide details
Ready when: All 8 buns are evenly shaped with smooth, taut surfaces
Tip: If the dough springs back too much while shaping, let it rest for a minute or two before rolling the next bun.
Second rise until pillowy
- Cover the baking sheet loosely with a damp kitchen towel.
- Let the buns rise in a warm spot for 40–45 minutes.
- They should puff up noticeably and feel light and soft when you gently poke them; they won't quite double in height but will be visibly fuller and pillowy.
+ Show details− Hide details
Ready when: Buns are visibly puffed and soft; a gentle poke leaves a slow-spring-back indentation
Tip: Don't let them overproof or they'll collapse when you open the oven. If they're very puffy before 45 minutes, start baking early.
Preheat ovenOven 400°F / 205°C
- About 10 minutes before the buns finish their second rise, preheat your oven to 400 degrees F (204 degrees C).
- Use an oven thermometer to confirm the temperature is accurate if possible.
+ Show details− Hide details
Ready when: Oven reaches 400 degrees F and is fully preheated
Brush and bakeOven 400°F / 205°C
- Remove the damp towel from the baking sheet.
- Lightly brush the top of each bun with melted ghee or butter using a pastry brush (just a light coat—you don't need to be generous).
- Place the baking sheet in the preheated 400 degrees F (204 degrees C) oven on the middle rack.
- Bake for 15–18 minutes until the tops are a light, even golden brown color.
- The buns should feel set when you touch them, and the bases should sound hollow when tapped.
+ Show details− Hide details
Ready when: Tops are a light golden brown; bases sound hollow when tapped; buns feel firm but soft to the touch
Tip: Watch the tops—if they brown too quickly, tent the baking sheet loosely with aluminum foil for the last few minutes. Don't overbake or they'll dry out and become tough.
Cool and serve
- Remove the baking sheet from the oven.
- While the buns are still hot, brush the top of each one with a light coat of melted ghee or butter—this is what gives pav its signature rich flavor and soft, shiny crust.
- Transfer the buns to a wire cooling rack and let them cool for about 10 minutes before serving.
- They're best served warm, ideally with pav bhaji or as a side to curry.
+ Show details− Hide details
Ready when: Buns have cooled enough to handle but are still warm to the touch
Tip: If you don't have ghee on hand, melted butter works fine, but ghee gives the most authentic taste and aroma.
Good to know
Tips
- The temperature of your milk is critical. If it's too hot (above 120 degrees F), it will kill the yeast. If it's too cold (below 100 degrees F), it won't activate properly. Aim for 110 degrees F.
- These rolls are all about softness—the key is not kneading too much or adding extra flour. Resist the urge to make the dough firm; it should feel silky and only slightly sticky initially.
- The second rise is just as important as the first. Don't rush it. Proper proofing is what creates the pillowy, light texture that makes pav truly special.
- Brush the hot buns with ghee right out of the oven. This gives them that signature shine and rich, slightly caramelized flavor that makes them irresistible.
Make ahead
You can shape the buns and refrigerate them overnight, covered with plastic wrap. The next day, bring them to room temperature (about 1 hour) and proceed with the second rise. Alternatively, bake, cool completely, wrap in plastic wrap, and freeze for up to 2 months. Thaw at room temperature, then warm in a 350 degrees F oven for 2–3 minutes to refresh.
Storage & reheating
Room temperature (2 days): Store in an airtight container or bread box. Refrigerator (5 days): Keep in an airtight container. Freezer (2 months): Wrap cooled buns individually in plastic wrap and place in a freezer bag. Reheat: Warm in a 350 degrees F oven for 2–3 minutes, or microwave for 15–20 seconds until warmed through.
Substitutions
- bread flour → All-purpose flour. The buns will be slightly less fluffy with a denser crumb, but they'll still be delicious. Use the same weight.
- active dry yeast → Instant yeast (2.25 teaspoons / 7 g). You can skip the bloom step and mix instant yeast directly into the flour mixture. This saves about 10 minutes of wait time.
- whole milk → Milk powder mixed with warm water (3 tablespoon milk powder + 1.25 cups warm water). Whisk together until smooth before using. Works well and gives similar results.
- ghee or melted butter, for brushing → Melted coconut oil, vegetable oil, or olive oil. For a dairy-free version. The flavor will be slightly different but still tasty. Use the same amount.