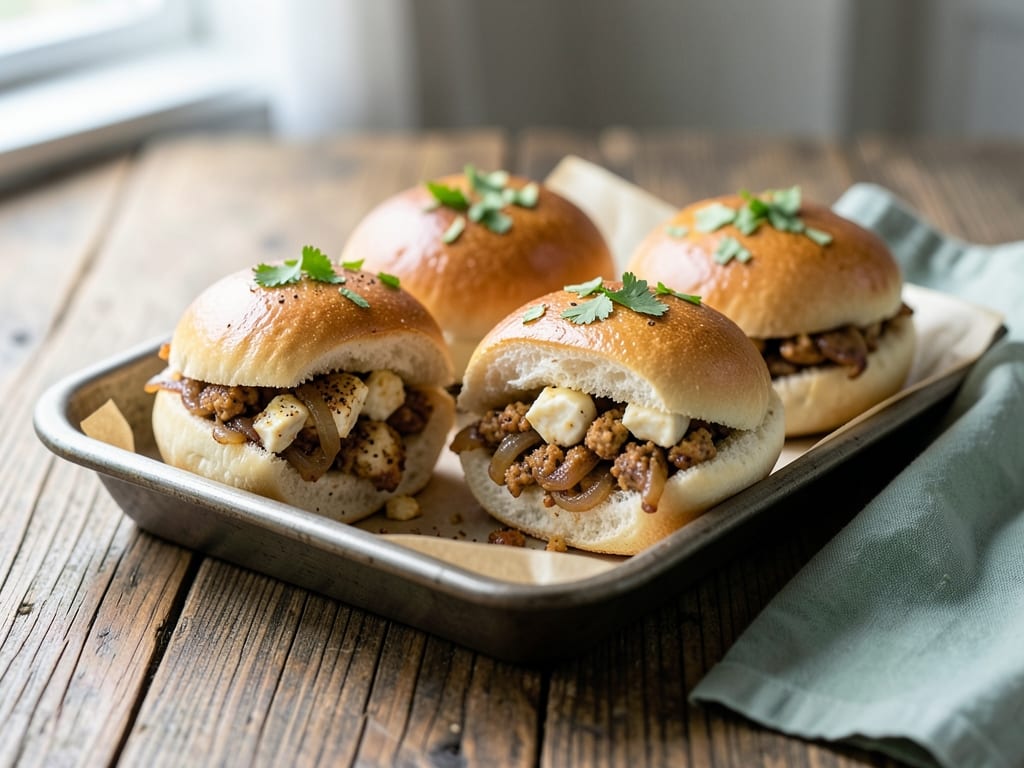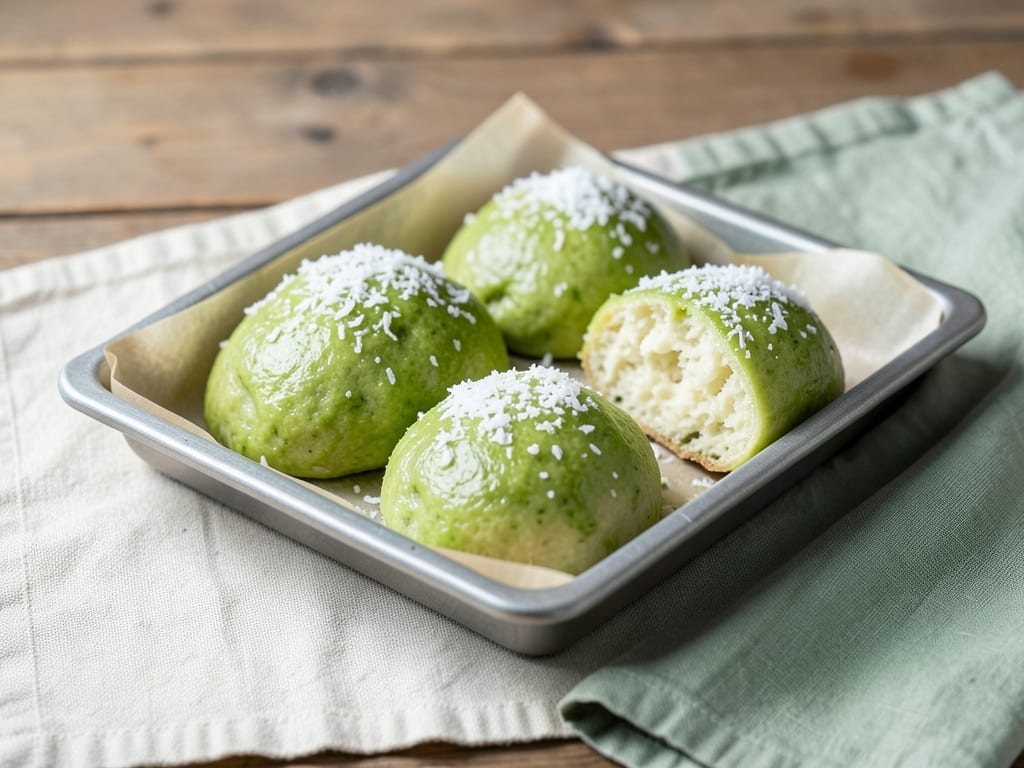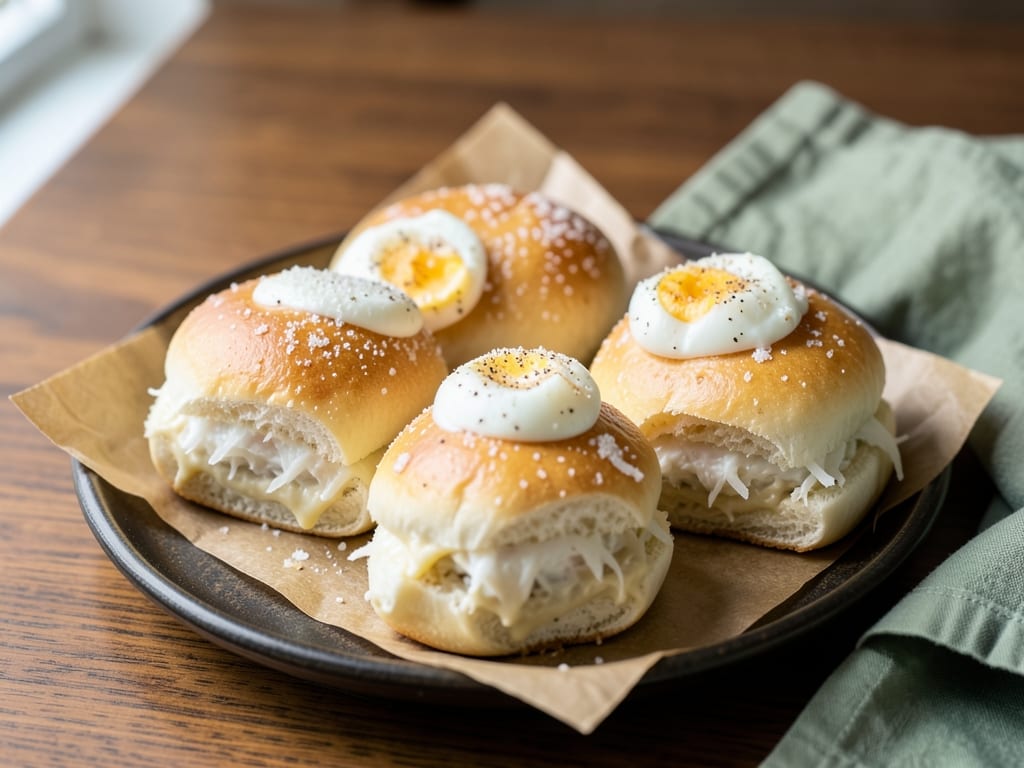
Cocktail Buns with Coconut Filling
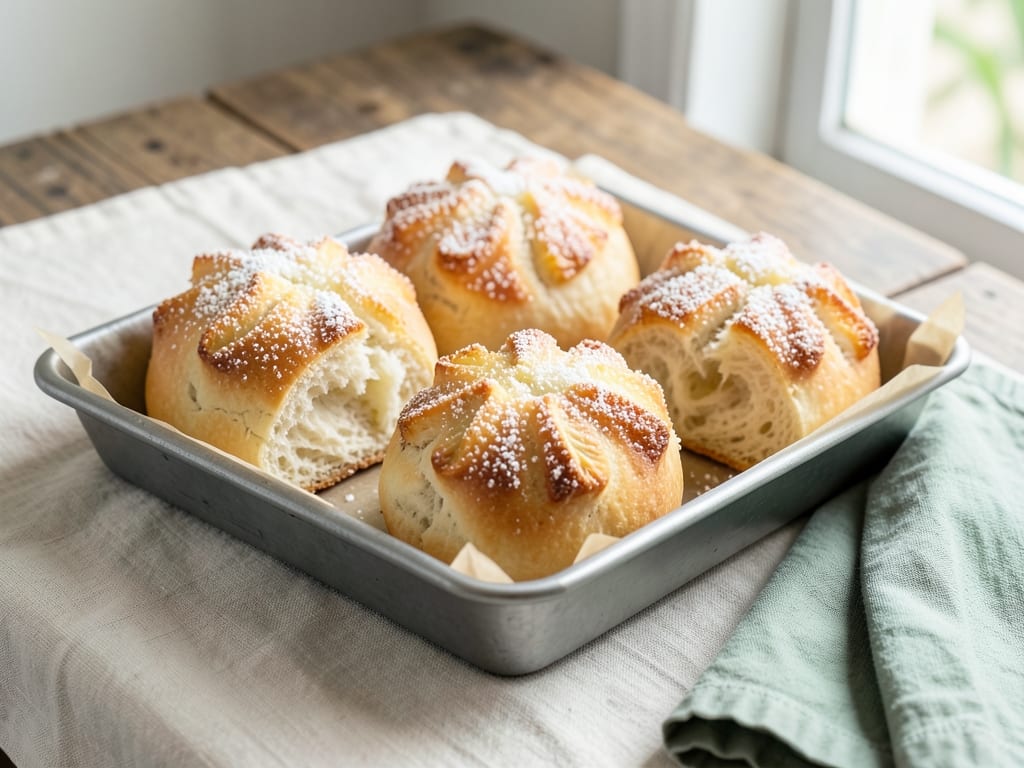
Soft, pillowy sweet buns from Cantonese tradition, filled with a rich coconut-butter mixture and topped with a light egg wash and coarse sugar for crunch. These aromatic buns are perfect for dim sum breakfast, afternoon tea, or as a special snack. The dough is enriched with eggs, milk, and butter, creating a tender crumb that balances beautifully with the creamy coconut filling.
- Prep
- 35 min
- Cook
- 20 min
- Wait
- 1 hr 55 min
- Total
- 2 hr 50 min
- Makes
- 12 buns
Steps
Before you start
- Soften butter to room temperature 1 hour ahead, or cut into small cubes
- Warm milk to 110°F (43°C) so yeast activates properly
- Have all ingredients measured and ready (mise en place) before starting
- Use instant or bread yeast that is fresh and unexpired
Combine dry ingredients and liquids
- In the bowl of a stand mixer, combine 3 cups (375 g) flour, 1½ tsp (5 g) instant yeast, ¼ cup (50 g) sugar, and ½ tsp (3 g) salt.
- In a small bowl or liquid measuring cup, mix ½ cup (120 ml) warm milk with 2 beaten eggs.
- Pour the wet mixture into the dry ingredients and mix on low speed with the dough hook until all flour is moistened and a shaggy dough forms, about 2 minutes.
- Let the dough rest uncovered for 10 minutes (this autolyse helps develop gluten).
+ Show details− Hide details
Ready when: All flour is moistened and dough looks shaggy
Tip: Beating eggs before adding ensures even distribution of moisture and helps activate the yeast
Knead in butter and develop dough
- Add 4 tbsp (57 g) softened butter in three additions to the rested dough, mixing on low speed for 1–2 minutes after each addition to fully incorporate.
- Once all butter is added, increase mixer speed to medium and knead for 8–10 minutes until the dough is smooth, elastic, and slightly sticky but no longer shiny on the surface.
- The dough should pass the windowpane test: pinch a small piece, stretch gently, and it should thin without tearing.
+ Show details− Hide details
Ready when: Dough is smooth, elastic, and passes the windowpane test without tearing
Tip: Add butter slowly so it doesn't splash out of the bowl; cold or lumpy butter will take longer to incorporate
First rise until doubled
- Transfer the dough to a lightly oiled large mixing bowl.
- Cover with a damp kitchen towel or plastic wrap.
- Let rise at room temperature (70–75°F / 21–24°C) for 60 minutes, or until the dough has roughly doubled in volume.
- You can gently poke it; if the indentation springs back slowly, it's ready.
+ Show details− Hide details
Ready when: Dough has roughly doubled and a gentle poke leaves a slow-to-recover indentation
Tip: Warmer kitchens will rise faster; a cooler room may take 75–90 minutes. Don't let it overproof or it will collapse when shaped
Prepare coconut filling
- While the dough rises, make the filling in a small bowl.
- Combine 1 cup (85 g) unsweetened shredded coconut, ¼ cup (50 g) sugar, 3 tbsp (43 g) softened butter, ¼ cup (60 ml) sweetened condensed milk, and a pinch of salt.
- Stir vigorously with a spatula or wooden spoon until the mixture is evenly combined and has a paste-like consistency, with no lumps of coconut.
- The filling should be moist and hold together; if too dry, add another tablespoon of condensed milk.
+ Show details− Hide details
Ready when: Filling is uniform, paste-like, and no dry streaks of coconut remain
Tip: Make the filling while dough rises so it's ready to use; a thick paste prevents filling from leaking during baking
Divide dough into 12 pieces
- Gently turn the risen dough out onto a lightly floured work surface.
- Using a bench scraper or sharp knife, divide it into 12 equal pieces (each about 55–60 g).
- Roll each piece into a smooth ball by cupping it in your palms and rolling against the counter; this seals the seams and creates surface tension.
- Cover the balls loosely with a damp towel while you work.
+ Show details− Hide details
Ready when: 12 smooth, evenly sized balls with no visible seams
Tip: Dividing evenly ensures buns bake at the same rate; use a scale if you want precision
Fill and seal each bun
- Working with one ball at a time, flatten it slightly in your palm, then use a rolling pin to gently roll it into a 3-inch (7.5 cm) circle.
- Place 2 tbsp (about 30 g) of filling in the center.
- Gather the edges of the dough over the filling and pinch firmly to seal, then roll gently to smooth the seam and create an even, round bun.
- Place seam-side down in a 9×13-inch (23×33 cm) baking pan (or arrange in two 8×8-inch pans), leaving about ½ inch (1.25 cm) of space between buns.
- Repeat with remaining balls and filling.
+ Show details− Hide details
Ready when: 12 sealed buns arranged seam-side down with even spacing
Tip: Don't overfill; excess filling will leak out during rising or baking. Pinch seams firmly so they don't open during the second rise
Second rise until puffy
- Cover the pan(s) with a damp towel or loosely tent with plastic wrap.
- Let rise at room temperature for 45–50 minutes until the buns are visibly puffy and light, and the dough springs back slowly when gently poked.
- They should almost (but not quite) touch each other.
+ Show details− Hide details
Ready when: Buns are visibly puffy with light, airy dough; gentle poke springs back slowly
Tip: Watch the buns closely; overproofing will make them collapse or spread when you brush and bake them
Brush and top bunsOven 375°F / 190°C
- About 15 minutes before you want to bake, preheat the oven to 375°F (190°C).
- Just before baking, gently brush each risen bun with the beaten egg wash (1 egg beaten with 1 tsp water).
- Sprinkle about ½ tsp of coarse sugar on top of each bun if using (about 2 tbsp total).
- Do this gently so as not to deflate the buns.
+ Show details− Hide details
Ready when: All buns are evenly coated with egg wash and sparkle with sugar
Tip: Brush gently after the final rise is complete; a heavy hand will deflate your buns and they won't rise as much in the oven
Bake until golden brownOven 375°F / 190°C
- Place the pan in the preheated 375°F (190°C) oven and bake for 18–22 minutes until the buns are a deep golden-brown color on top and sound hollow when tapped gently on the bottom.
- An instant-read thermometer inserted into the center of a bun (but not into filling) should read about 200–205°F (93–96°C).
- If the tops brown too quickly, loosely tent with aluminum foil after 12 minutes.
+ Show details− Hide details
Ready when: Deep golden-brown tops, hollow sound when tapped, internal temp 200–205°F (93–96°C)
Tip: Every oven varies; if your buns are browning too fast, lower the rack or tent loosely with foil to prevent burning
Cool and serve
- Remove the pan from the oven and let buns cool in the pan for 5 minutes.
- Transfer to a wire cooling rack (or leave in the pan) and cool for at least 15 minutes before serving.
- Buns are best eaten warm or at room temperature the same day, but can be reheated.
+ Show details− Hide details
Ready when: Buns have cooled enough to handle and are still warm to touch
Tip: A short cooling time lets them firm up slightly while staying tender; they're most delicious when still warm
Good to know
Tips
- Do not skip the autolyse rest after mixing dry and wet ingredients; it develops gluten and makes kneading easier, reducing risk of a tough final texture
- Coconut filling should be thick and paste-like to prevent it from leaking out of the seams during rising and baking; if it seems runny, add another tablespoon or two of flour or powdered sugar
- Room temperature is crucial: cold butter takes longer to knead in, and cold eggs or milk will cool the dough and slow fermentation. Plan ahead and soften butter and eggs on the counter
- Resist overproofing in both rises; an overproofed dough will collapse when you shape or brush it, and the buns will spread instead of rise upward in the oven
Make ahead
Dough can be mixed, covered, and refrigerated overnight; remove from the fridge and let it rise to room temperature (about 30 minutes) before shaping. Alternatively, shape the buns, cover, and refrigerate overnight; bake from cold the next morning, adding 3–5 minutes to the bake time. Unbaked filled buns can be frozen on a baking sheet for 2 hours, then transferred to a freezer bag and stored up to 2 weeks; bake from frozen, adding 8–10 minutes to bake time and checking often for even browning.
Storage & reheating
Room temperature: store in an airtight container for 1–2 days. Refrigerator: keep in an airtight container for up to 3 days; reheat gently at 300°F (150°C) for 5 minutes to revive. Freezer: wrap cooled buns individually in plastic wrap and freeze in a freezer bag for up to 2 weeks; thaw at room temperature and reheat at 300°F (150°C) for 8–10 minutes.
Substitutions
- unsweetened shredded coconut → Sweetened shredded coconut or desiccated coconut. Use unsweetened for less sweetness overall, or sweetened if you prefer extra coconut flavor; if using sweetened, reduce the sugar in the filling by 1–2 tablespoons
- whole milk → Coconut milk or heavy cream (use same volume). Coconut milk intensifies the coconut flavor; heavy cream makes a richer, softer dough. Water can replace milk in a pinch, though dough will be less tender
- sweetened condensed milk → Evaporated milk plus 2 tbsp sugar (mixed together). Gives you more control over sweetness; use the same total volume. If too dry, add another tablespoon of liquid
- coarse sugar or sanding sugar → Pearl sugar, regular granulated sugar, or brown sugar. Coarse sugar adds crunch; pearl sugar (freeze-dried) stays very crunchy; regular sugar browns more. Skip entirely for a plain, tender top