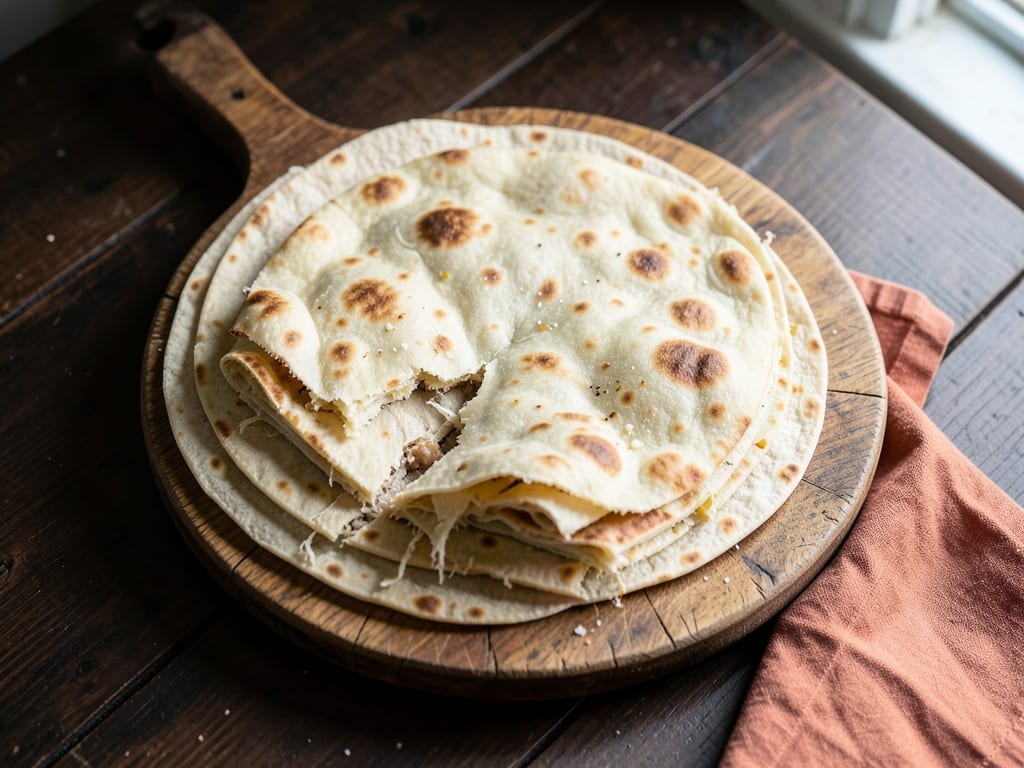
Trinidadian Buss Up Shut Paratha Dough and Roti
A soft, buttery, layered Trinidadian paratha roti made on a tawa, then "bussed up" by clapping so it tears into shredded pieces, like a "burst-up shirt." Ideal for scooping up curry channa, aloo, or goat.
- Prep
- 45 min
- Cook
- 16 min
- Wait
- 1 hr 10 min
- Total
- 2 hr 11 min
- Makes
- 4 large rotis (about 10 inches / 25 cm each)
Steps
Before you start
- Soften the butter at room temperature for about 1 hour so it spreads easily without tearing the dough.
- Plan for about 70 minutes of resting in total. The rests relax the gluten, which makes the dough easy to roll thin and gives soft, flaky layers.
- Clear a large work surface and have a clean, dry kitchen towel ready for the final clapping step.
- Use a flat tawa, griddle, or large heavy skillet (at least 10 inches / 25 cm). A pan that holds even heat is key.
Mix dry ingredients
- In a large bowl, whisk together 4 cups (500 g) flour, the baking powder, salt, and sugar for about 30 seconds until evenly combined.
- Make a well in the center.
+ Show details− Hide details
Ready when: No streaks or clumps of baking powder remain.
Tip: Whisking well matters because uneven baking powder gives bitter spots and uneven puffing.
Add water and knead
- Pour 1¼ cups (300 ml) lukewarm water into the well.
- Stir with your hand until a shaggy dough forms, then turn it onto the counter and knead for 5 to 7 minutes.
- If it is dry and cracking, knead in more water 1 teaspoon at a time (up to 2 tablespoons / 30 ml total).
+ Show details− Hide details
Ready when: Dough is smooth, soft, and slightly tacky but doesn't stick to your hands, and it springs back slowly when poked.
Tip: Aim for a soft dough, softer than pie dough. A stiff dough makes tough rotis.
Rest the dough
- Shape the dough into a ball, place it in the bowl, and cover with a damp cloth or plastic wrap.
- Let it rest at room temperature for 30 minutes.
+ Show details− Hide details
Ready when: Dough feels noticeably softer and stretches easily when gently pulled.
Divide into balls
- Divide the dough into 4 equal pieces, about 200 g each.
- Roll each into a smooth ball, place on a lightly floured surface, cover, and rest for 15 minutes.
+ Show details− Hide details
Ready when: Balls are smooth with no cracks.
Roll and butter
- Working with one ball at a time on a lightly floured surface, roll it into a thin round about 10 inches (25 cm) across.
- Spread 1½ tablespoons (about 21 g) softened butter over the entire surface, right to the edge.
- Dust the buttered round very lightly with flour (about 1 teaspoon).
+ Show details− Hide details
Ready when: The round is evenly thin and the butter coats the surface fully.
Tip: Keep the other balls covered so they don't form a dry skin.
Cut and coil
- Make one straight cut from the center of the round to the edge.
- Starting at one side of the cut, roll the dough tightly around the center into a cone, like a tall party hat.
- Press the pointed tip down into the base and tuck the edges underneath to form a round, compact ball with visible layers.
- Repeat with the remaining 3 balls.
+ Show details− Hide details
Ready when: Each piece is a tight, round, spiral-layered ball.
Tip: Roll snugly. Loose coils produce fewer layers.
Rest coiled dough
- Place the coiled balls on a lightly floured tray, cover with a damp cloth, and rest for 25 minutes.
+ Show details− Hide details
Ready when: Balls feel soft and slightly puffy.
Roll out thin
- Flatten each ball with your palm, then roll with a rolling pin, dusting lightly with flour, into a round about 10 to 11 inches (25 to 28 cm) wide and ⅛ inch (3 mm) thick.
- Roll from the center outward and rotate often.
- Stack rolled rounds with parchment between them, or cook each one right after rolling.
+ Show details− Hide details
Ready when: Round is thin, even, and you can see faint swirl lines of layers.
Tip: Use gentle pressure. Pressing hard squeezes the layers together and reduces flakiness.
Heat the tawa
- Set a tawa or large skillet over medium-high heat for 3 to 4 minutes.
- Lightly brush with a little of the 2 tablespoons oil.
+ Show details− Hide details
Ready when: A pinch of flour sprinkled on the pan sizzles and browns slowly over about 20 seconds.
Tip: If the pan smokes heavily, reduce to medium. Roti that cooks too fast stays raw inside.
Cook the rotis
- Lay one roti on the hot tawa and cook for about 1 minute until small bubbles form on top and the underside has light spots.
- Flip, brush the cooked top with about ½ teaspoon oil, and cook 1 minute.
- Flip again, brush the other side with oil, and cook another 1 to 2 minutes, pressing gently with a spatula, until puffed in places and golden-brown with darker spots.
- Total cooking is 3 to 4 minutes per roti.
- Remove to a plate and repeat with the remaining rotis.
+ Show details− Hide details
Ready when: Both sides are golden with brown spots, the roti is flaky at the edges, and no raw pale dough shows.
Tip: Adjust the heat between rotis. The pan gets hotter as you go.
Buss it up
- While each roti is still hot, wrap it loosely in a clean dry kitchen towel.
- Clap it between your palms, or slap it with both hands, for about 20 to 30 seconds, rotating it, until the layers separate and the roti becomes soft, crumpled, and shredded.
- Stack the finished rotis in the towel to keep them warm and serve right away.
+ Show details− Hide details
Ready when: The roti looks torn and ragged, with soft, loose flaky strands and layers.
Tip: Do this while the roti is hot. The steam trapped inside is what loosens the layers. Use the towel to protect your hands.
Good to know
Tips
- Don't skip the rests. They are what make the dough roll thin without tearing or snapping back.
- Butter all the way to the edge when layering, since unbuttered edges stick together and don't separate when bussed up.
- If rotis turn out stiff, the dough was likely too dry or the pan was too hot. Add a bit more water next time and lower the heat slightly.
- Serve the same day with curry channa and aloo, curry chicken, or goat curry.
Make ahead
After coiling the dough balls (step 6), wrap each tightly in plastic and refrigerate up to 24 hours. Bring to room temperature for 45 minutes before rolling and cooking.
Storage & reheating
Room temperature: keep wrapped in a towel for up to 4 hours. Fridge: store cooled rotis in an airtight bag up to 3 days. Freezer: freeze up to 2 months with parchment between each. Reheat in a dry skillet over medium heat for 30 to 60 seconds per side until hot and pliable, then clap again to refresh the layers.
Substitutions
- unsalted butter → ghee or vegetable shortening. Ghee gives a nutty flavor and shortening gives a very tender result. Use the same weight.
- neutral vegetable oil → melted ghee or melted butter. Adds richer flavor when brushed on the rotis. Use the same amount.
- lukewarm water → lukewarm whole milk. Gives a slightly softer, richer roti. Use the same amount.
- granulated sugar → omit. Sugar is for a subtle flavor and light browning. The roti is still good without it.
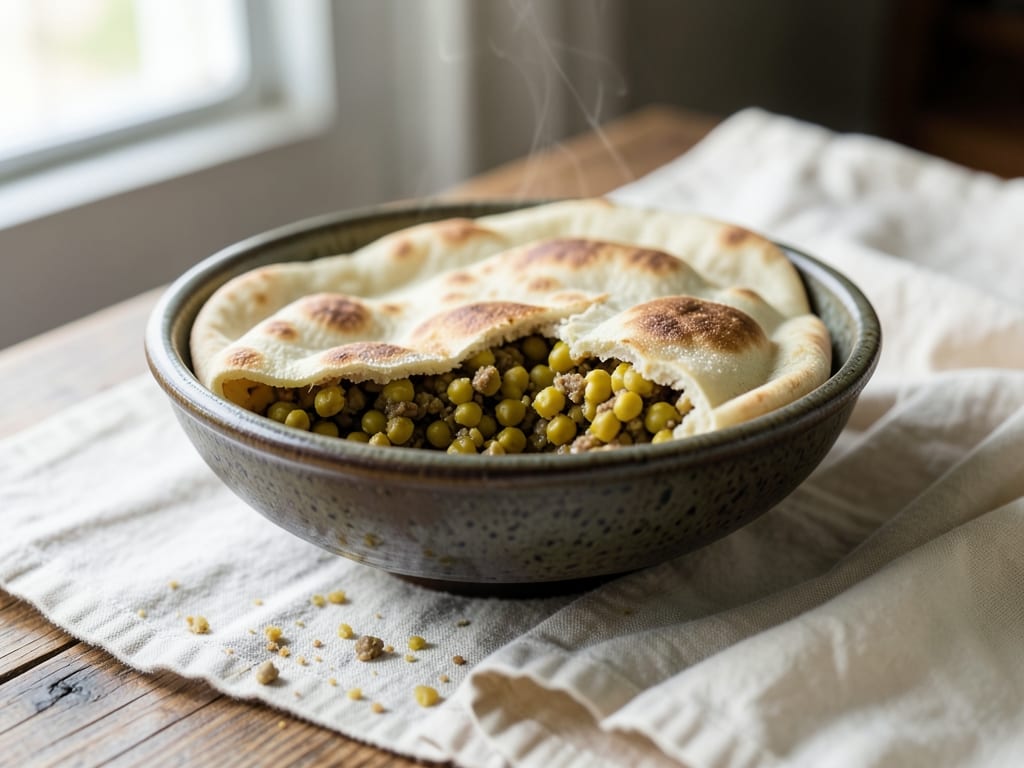
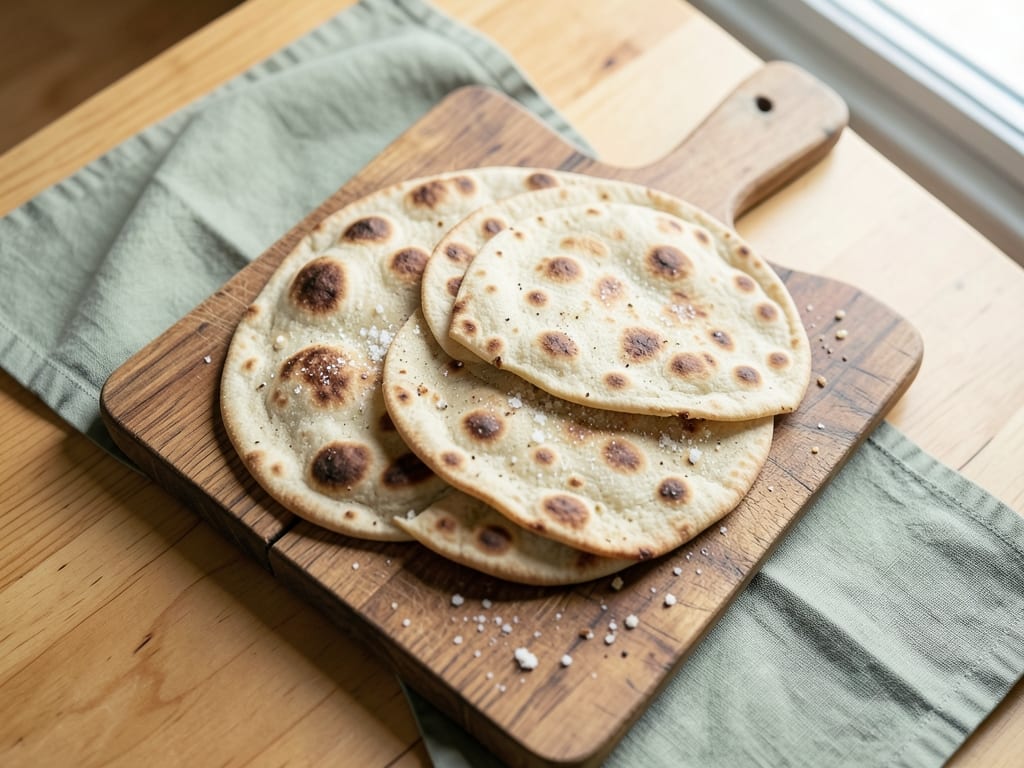
More flatbreads
See all →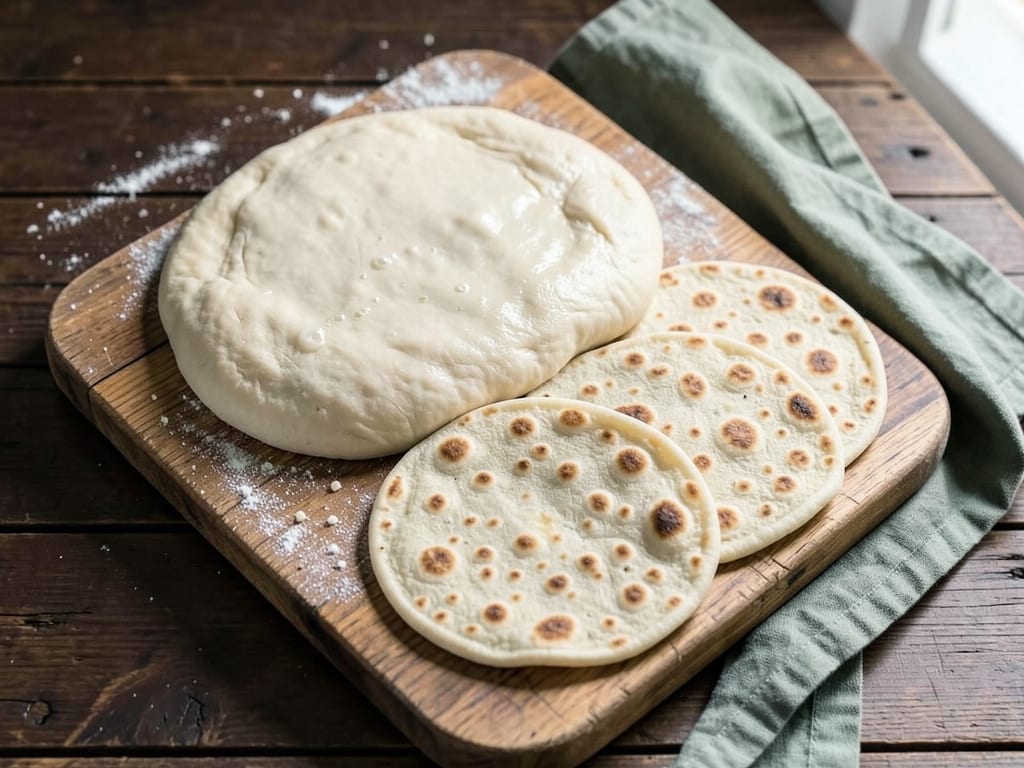
Find more like this
- Meal
- Breakfast
- Cuisine
- Caribbean
- Diet
- VegetarianHalal
- Method
- Stovetop