Sourdough Challah
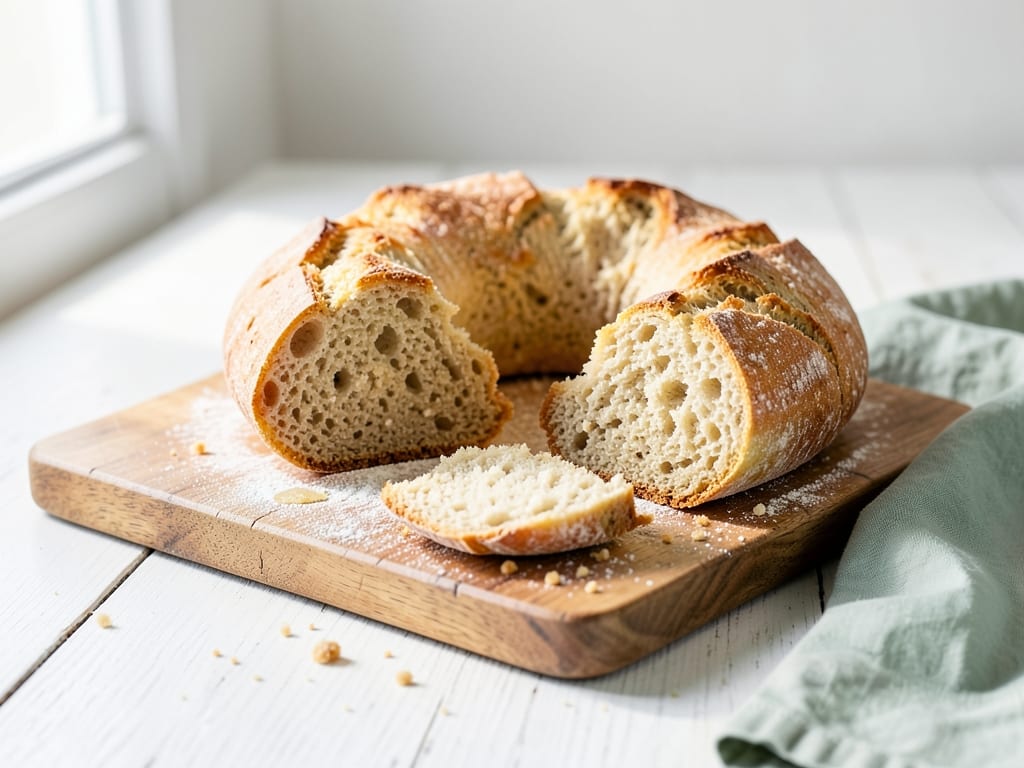
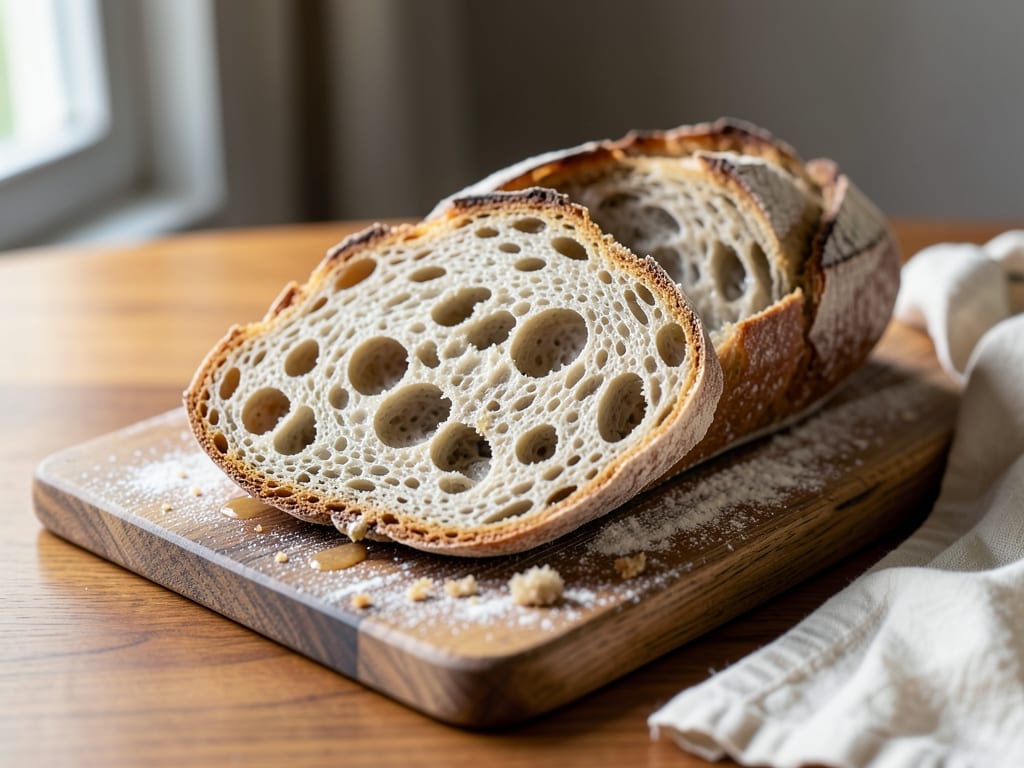
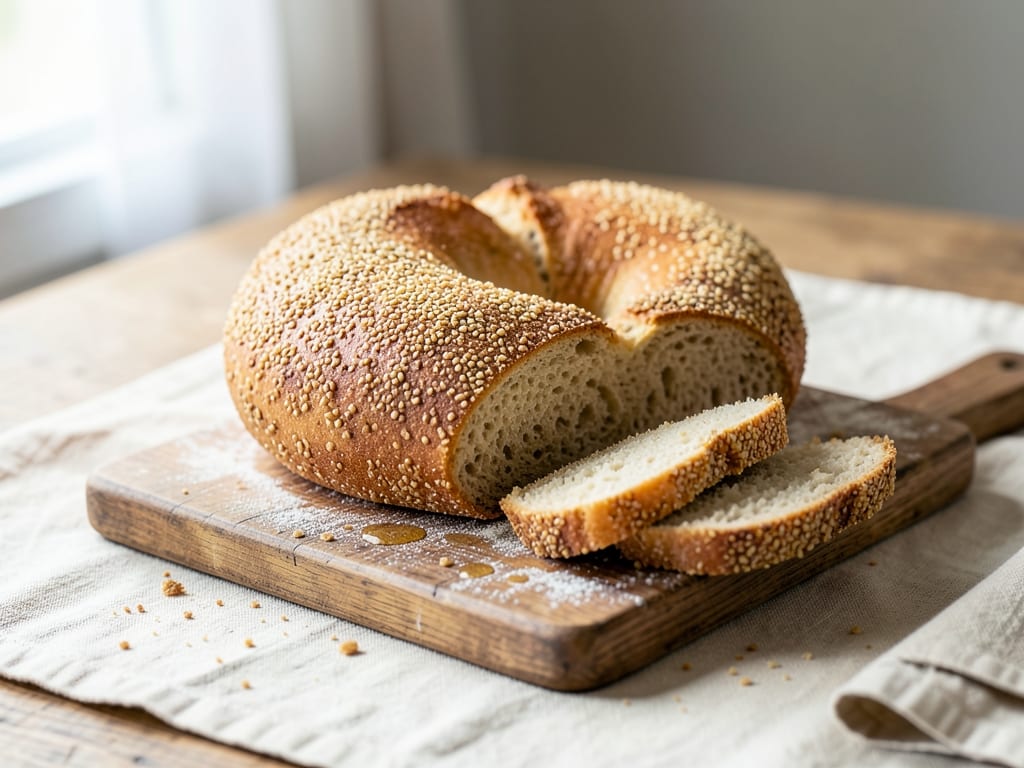
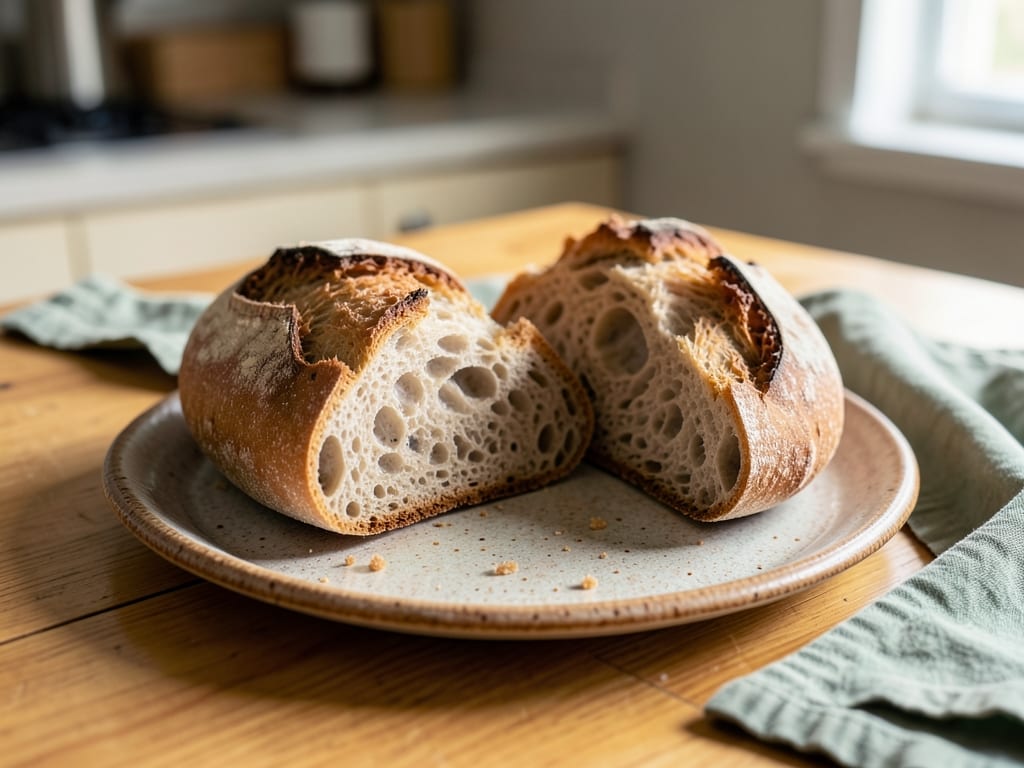
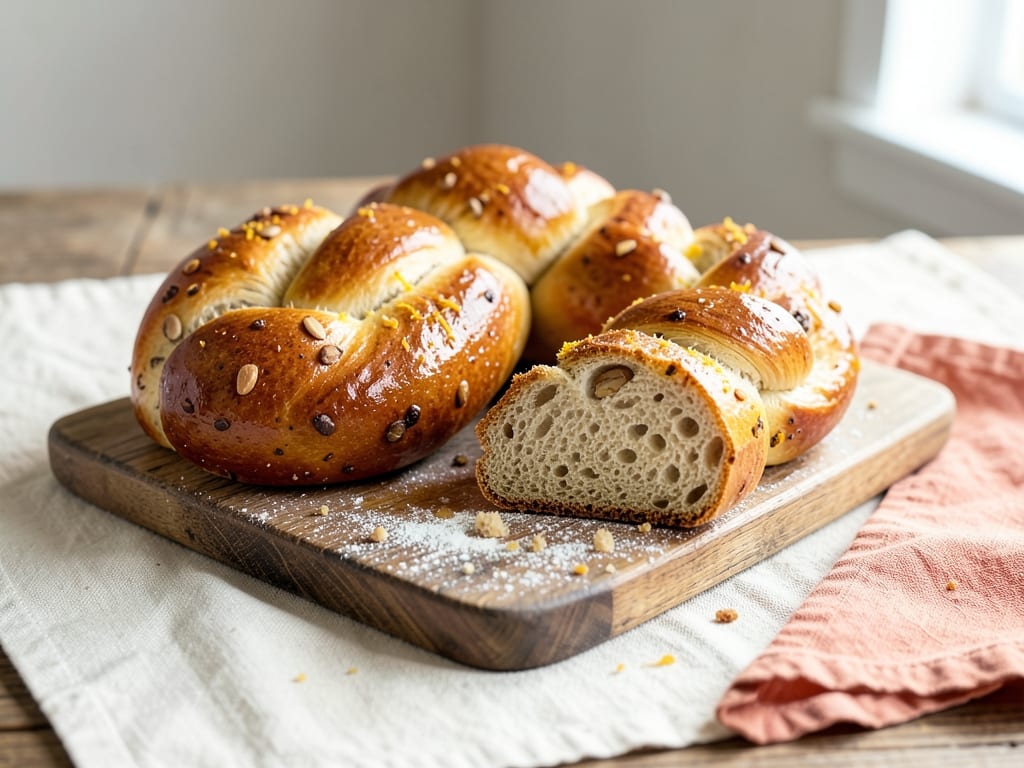
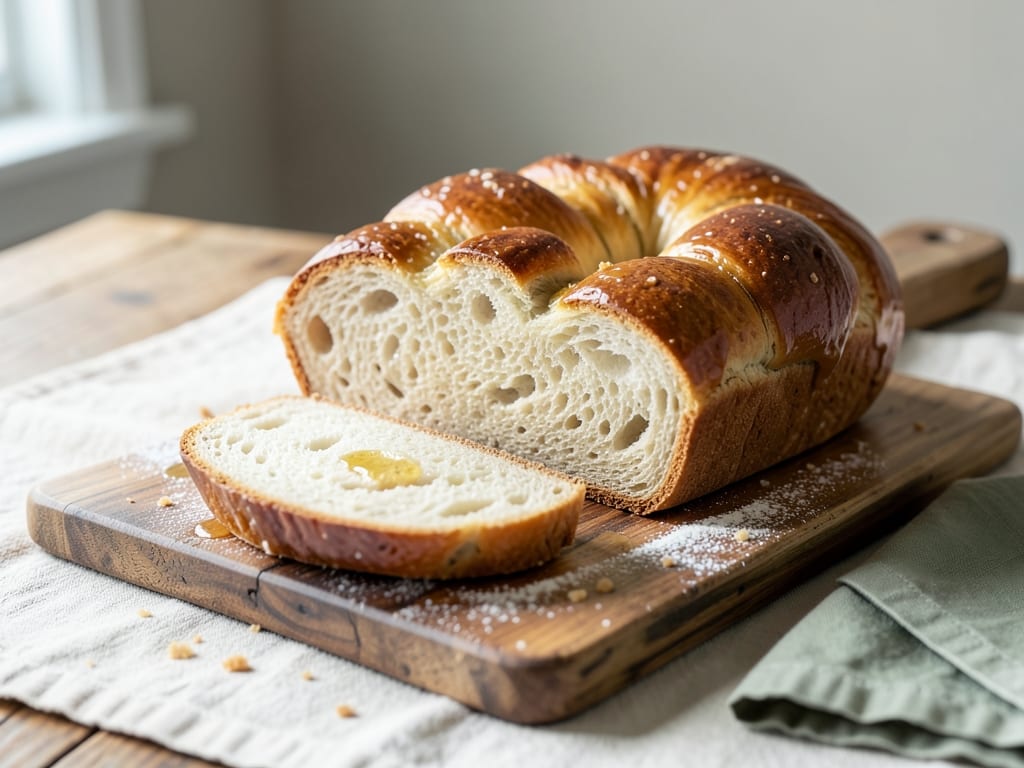
A tender, golden, honey-sweetened challah leavened entirely with sourdough starter. It has a soft, shreddy crumb, a gentle tang, and a glossy braided crust. Two loaves, with an overnight option so you can bake fresh for Shabbat.
- Prep
- 1 hr
- Cook
- 40 min
- Wait
- 11 hr 20 min
- Total
- 13 hr
- Makes
- 2 braided loaves (12 slices each)
Steps
Before you start
- Feed your starter 4–8 hours ahead so it is bubbly, doubled, and domed or just starting to dip. A weak starter is the main cause of a dense challah.
- Plan for about 13 hours start to finish, mostly unattended. The dough ferments slowly because of the eggs, honey, and oil. For a Friday bake, start Thursday evening and use the overnight fridge option in step 6.
- Take the eggs out about 30 minutes ahead so they are cool rather than cold. Cold eggs slow fermentation.
- Weigh the ingredients with a kitchen scale. Enriched dough is sensitive to flour measurement.
Mix the dough
- In a large bowl or stand mixer bowl, whisk the lukewarm water, starter, whole eggs, egg yolks, honey, and oil until the starter is mostly dissolved and the mixture looks uniformly yellow.
- Add the bread flour and salt.
- Mix with a sturdy spatula or the dough hook on low until no dry flour remains and a shaggy, sticky dough forms, about 2 minutes.
- Cover and rest 30 minutes.
+ Show details− Hide details
Ready when: No dry flour pockets remain; dough is shaggy and sticky
Tip: Whisk the wet ingredients first. Honey and starter clump if dropped straight onto flour.
Knead until smooth
- Knead with the dough hook on medium-low (speed 2 on most mixers) for 8–10 minutes, or by hand on a lightly floured counter for 12–15 minutes.
- Stop and scrape the hook once or twice.
- The dough starts sticky but will become supple and slightly tacky.
+ Show details− Hide details
Ready when: Dough is smooth and elastic, clears the sides of the bowl, and a small piece stretches into a thin, translucent window without tearing right away
Tip: Resist adding more flour. A slightly tacky dough bakes into a softer crumb. If it is truly batter-like after 5 minutes, add 1–2 tablespoons of flour only.
Bulk ferment
- Shape the dough into a ball and place it in a lightly oiled bowl.
- Cover and leave at 76–78°F (24–26°C).
- During the first 2 hours, do two sets of stretch-and-folds spaced an hour apart: wet your hand, lift one edge, stretch it up, and fold it over the center, rotating the bowl and repeating 4 times.
- Then leave the dough undisturbed for a total of 6–8 hours, until it has increased about 75–100% in volume.
+ Show details− Hide details
Ready when: Dough is puffy and jiggly, has nearly doubled, has visible bubbles at the edges, and feels airy
Tip: Enriched sourdough rises slowly. In a cool kitchen below 70°F (21°C), expect 8–10 hours, and judge by volume rather than the clock.
Divide and rest
- Turn the dough onto a lightly floured counter.
- Weigh it and cut into 2 equal pieces, about 590 g each.
- Cut each piece into 3 equal strands of about 195 g.
- Gently pre-shape each into a short, fat log, cover with a towel, and rest 20 minutes so the gluten relaxes.
+ Show details− Hide details
Ready when: Logs feel soft and no longer spring back when pressed
Tip: Dust the counter lightly. Too much flour makes the strands slide instead of grip when rolling.
Roll and braid
- Roll each log into a tapered strand about 16 inches (40 cm) long, thicker in the middle and thin at the ends, pressing with your palms and working from the center outward.
- For each loaf, line up 3 strands side by side and pinch them together firmly at the top.
- Braid by crossing the right strand over the middle, then the left strand over the new middle, repeating to the end.
- Pinch the ends together and tuck both ends under.
- Move each loaf to the parchment-lined baking sheet, spacing them at least 3 inches (7.5 cm) apart.
+ Show details− Hide details
Ready when: Braid is even and snug, with the ends pinched tightly and tucked under
Tip: Braid snugly but do not stretch the strands. Stretched dough tears and bakes up with gaps.
Proof the loaves
- Cover the pan loosely with a shower cap or large reusable bag so the dough does not dry out.
- Proof at room temperature (75°F / 24°C) for 2–3 hours.
- For an overnight option, refrigerate the covered loaves 8–12 hours, then let them sit at room temperature for 45–60 minutes before baking.
+ Show details− Hide details
Ready when: Loaves look puffy, about 1½ times larger, and a floured fingertip pressed in leaves a dent that springs back slowly
Tip: If the dent springs back immediately, proof longer. If it stays and does not move, bake right away.
Preheat and egg washOven 350°F / 175°C
- About 30 minutes before the end of proofing, preheat the oven to 350°F (175°C) with a rack in the center.
- Whisk the wash egg and wash water until completely smooth.
- Brush the loaves gently, covering all the crevices without letting wash pool on the pan.
- Let it sit 10 minutes, then brush a second time.
- Sprinkle with seeds if using.
+ Show details− Hide details
Ready when: Loaves are evenly glossy with no dry spots
Tip: Brush gently. Pressing deflates the proofed dough.
Bake the challahOven 350°F / 175°C
- Bake at 350°F (175°C) for 35–40 minutes, rotating the pan once at the 20-minute mark.
- If the tops are browning too fast, tent loosely with foil for the last 10 minutes.
- Bake until deep golden-brown and a thermometer inserted into the center of the thickest part reads 190–195°F (88–90°C).
+ Show details− Hide details
Ready when: Deep mahogany-gold crust, hollow sound when tapped on the bottom, and internal temperature of 190–195°F (88–90°C)
Tip: Pale challah is underbaked inside. Trust the thermometer, not just the color.
Cool completely
- Transfer the loaves to a wire rack right away.
- Cool for at least 1 hour before slicing.
- Cutting early makes the crumb gummy because the interior is still setting.
+ Show details− Hide details
Ready when: Loaves feel just barely warm to the touch at the bottom
Tip: For the cleanest slices, use a serrated knife and a gentle sawing motion.
Good to know
Tips
- Use a starter at its peak. If a spoonful floats in water, it is ready. If it sinks, feed it again and wait.
- Weigh the strands so the braid is even and the loaves bake at the same rate.
- For a deeper, darker crust, add one extra egg yolk to the egg wash.
- Dough temperature controls timing. Warmer dough (78°F / 26°C) ferments faster, while cooler dough takes longer but tastes tangier.
Make ahead
"Shape the loaves, cover, and refrigerate for 8–12 hours (see step 6). Let them sit at room temperature for 45–60 minutes, then egg wash and bake. You can also freeze the baked loaves (see storage)."
Storage & reheating
"Room temperature: wrap tightly or keep in a bread bag for up to 3 days. Fridge: not recommended, since it dries out the crumb. Freezer: slice or leave whole, wrap well, and freeze up to 3 months. Thaw at room temperature, then reheat in a 300°F (150°C) oven for 8–10 minutes for whole loaves, or toast slices."
Substitutions
- bread flour → all-purpose flour. Gives a slightly softer, less chewy crumb. Reduce the water to 145 ml if the dough feels too slack.
- honey → granulated sugar. Use 90 g sugar for a milder, less floral sweetness and slightly lighter crust color.
- neutral oil (such as sunflower or avocado) → melted unsalted butter, cooled. Use 80 g. The flavor is richer, but the loaf is no longer pareve (non-dairy).
- sesame or poppy seeds → flaky salt, or everything bagel seasoning. Sprinkle on right after the second egg wash.