
Pantry Staple Bean Curry
A quick, aromatic one-pot curry built on pantry essentials: canned beans, tomatoes, and coconut milk, finished with warm spices and fresh garlic-ginger. Ready in under 30 minutes with deep, rounded flavors—serve over rice or with flatbread.
- Prep
- 10 min
- Cook
- 18 min
- Total
- 28 min
- Makes
- 4 servings (about 1½ cups each)
Steps
Before you start
- Gather all spices and have them ready—they go in quickly
- Drain and rinse the canned beans
- Have rice or flatbread ready to serve
Heat oil, sauté aromatics
- Pour 2 tablespoons oil into a large pot (5-quart) set over medium heat.
- Once shimmering, add the diced onion and cook for 4–5 minutes, stirring occasionally, until softened and just beginning to turn golden at the edges.
+ Show details− Hide details
Ready when: Onion is soft and lightly golden
Tip: Don't skip this step—it builds a flavor base. If onion browns too fast, reduce heat to medium-low.
Add garlic and ginger
- Stir in the minced garlic and ginger, cooking for about 1 minute until fragrant.
- The mixture should smell warm and aromatic, not burned.
+ Show details− Hide details
Ready when: Garlic and ginger are fragrant
Tip: If the mixture starts to stick, add a splash of water. Burnt garlic tastes bitter.
Bloom spices
- Add the curry powder, cumin, turmeric, and red chili powder all at once.
- Stir constantly for about 1 minute to toast the spices and release their flavors.
- The mixture should be very fragrant.
+ Show details− Hide details
Ready when: Spices are toasted and very aromatic
Tip: Toasting spices in fat deepens their flavor significantly. Keep stirring so they don't burn.
Add tomato sauce and beans
- Pour in the 15-ounce can of tomato sauce and stir to combine with the spice mixture, scraping up any browned bits from the pot.
- Add both cans of drained beans (chickpeas and kidney beans).
- Stir well to coat the beans with the spiced sauce.
+ Show details− Hide details
Ready when: Beans are evenly coated and mixture looks cohesive
Tip: Rinsing the canned beans removes excess sodium and starch, preventing a gummy curry.
Add coconut milk and simmer
- Pour in the 13.5-ounce can of coconut milk and stir until fully incorporated.
- Bring the mixture to a gentle simmer, then reduce heat to medium-low and simmer uncovered for 8–10 minutes.
- The curry should bubble gently and thicken slightly.
+ Show details− Hide details
Ready when: Curry is fragrant, sauce coats the beans loosely, beans are heated through
Tip: Simmering gently for a few minutes lets the spices marry with the coconut milk. Too rapid a boil can cause the milk to break.
Season to taste
- Taste the curry and adjust seasoning with kosher salt and freshly ground black pepper.
- Start with ½ teaspoon salt and add more as needed.
- The curry should be well-seasoned but not overly salty.
+ Show details− Hide details
Ready when: Flavors are balanced and pleasant
Tip: Taste before serving; spices can fade slightly during cooking, and salt brings everything into focus.
Serve and garnish
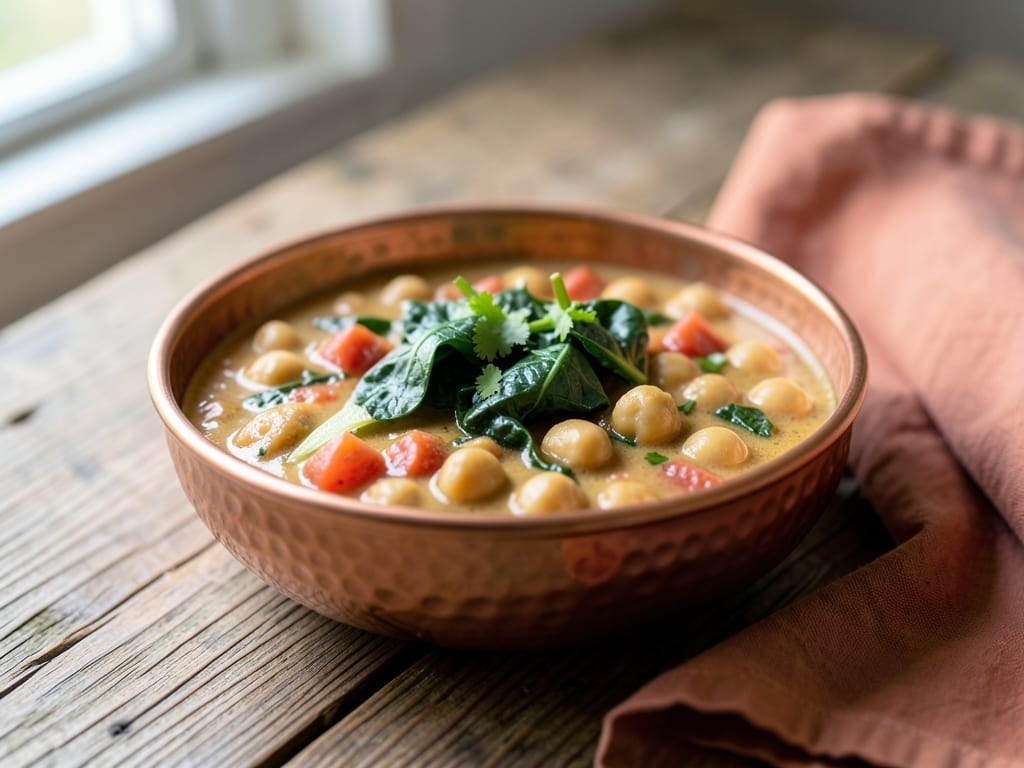
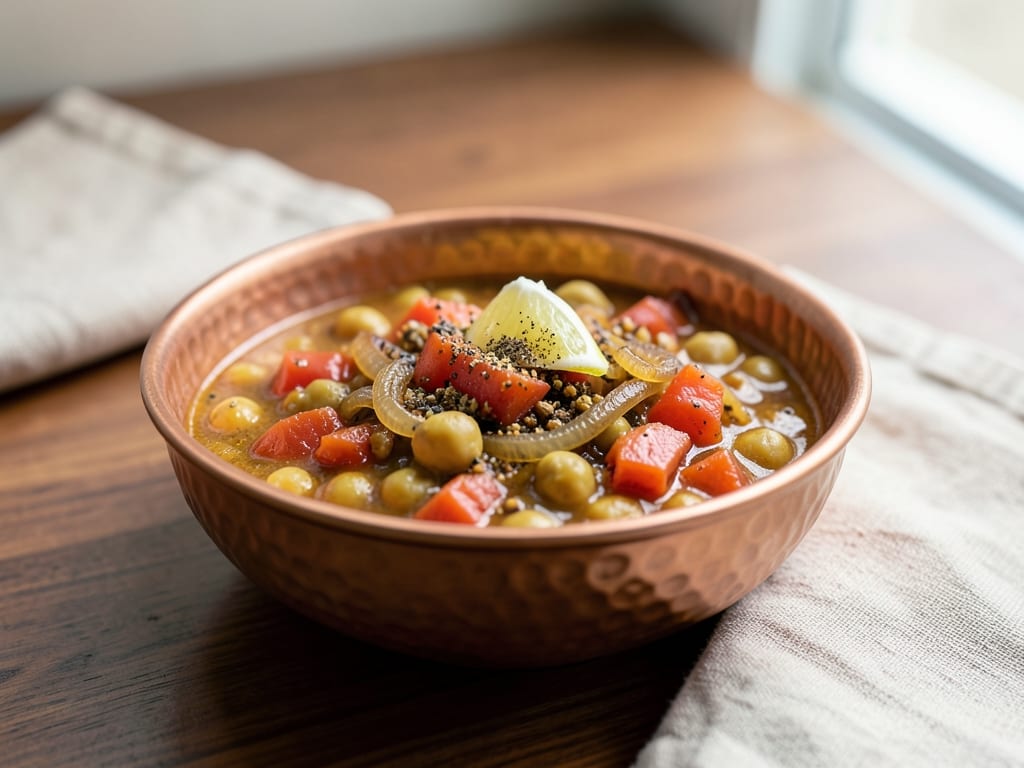
- Ladle the curry into bowls and serve over steamed rice, with quinoa, or alongside warm flatbread (naan or chapati).
- Garnish with chopped fresh cilantro and a lime wedge if desired.
- Squeeze lime juice over the top just before eating.
+ Show details− Hide details
Tip: Cilantro and lime add brightness and cut through the richness of the coconut milk—don't skip them even if optional.
Good to know
Tips
- Toast whole cumin seeds in a dry pan for 30 seconds before grinding them—this elevates the curry's depth; use ¾ teaspoon in place of ground cumin.
- If the curry seems too thick after simmering, add ¼ cup water or vegetable broth and stir gently to loosen it.
- For extra richness, add 1 tablespoon peanut butter at the end (off heat) and stir to combine. It adds depth without making the curry taste like peanuts.
- Double the recipe easily—it freezes well and tastes even better the next day as flavors deepen.
Make ahead
Prepare the aromatics (onion, garlic, ginger) and measure all spices into a small bowl up to 4 hours ahead. Store in the refrigerator until ready to cook. The full curry can be made 1 day ahead, covered, and refrigerated—reheat gently on the stovetop with a splash of water or coconut milk to restore the sauce consistency.
Storage & reheating
Room temperature: up to 2 hours in a sealed container. Refrigerator: up to 3 days in an airtight container. Reheat gently on the stovetop over medium heat, adding 2–3 tablespoons water or coconut milk to loosen the sauce if it has thickened. Freezer: up to 3 months. Thaw overnight in the refrigerator and reheat as above.
Substitutions
- canned chickpeas, drained and rinsed → canned cannellini beans. Milder flavor and creamier texture; reduce simmering time by 1–2 minutes if using only one bean type.
- canned kidney beans, drained and rinsed → canned black beans. Earthier flavor. Use in place of kidney beans, or use only black beans (one can total) and add 1 cup vegetable broth to maintain liquid consistency.
- curry powder → 1 teaspoon ground coriander + ½ teaspoon turmeric + ¼ teaspoon fenugreek. If you have individual spices, this blend is fresher than pre-mixed curry powder.
- coconut milk (full-fat, canned) → Greek yogurt (½ cup) stirred in at the end, off heat. Creates a tangier, lighter sauce. Add after simmering to prevent curdling.
More curries
See all →



Find more like this
- Meal
- Dinner
- Cuisine
- Indian
- Main ingredient
- ChickpeasKidney Beans
- Method
- Stovetop