Korean Hotteok Sweet Pancake Buns
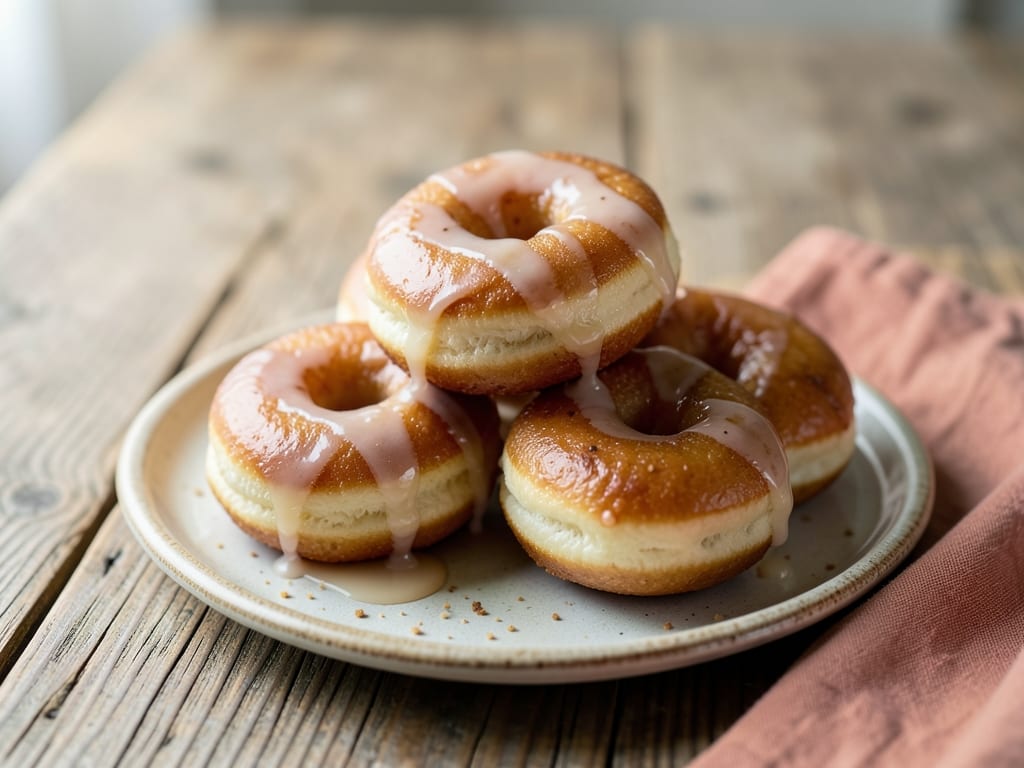
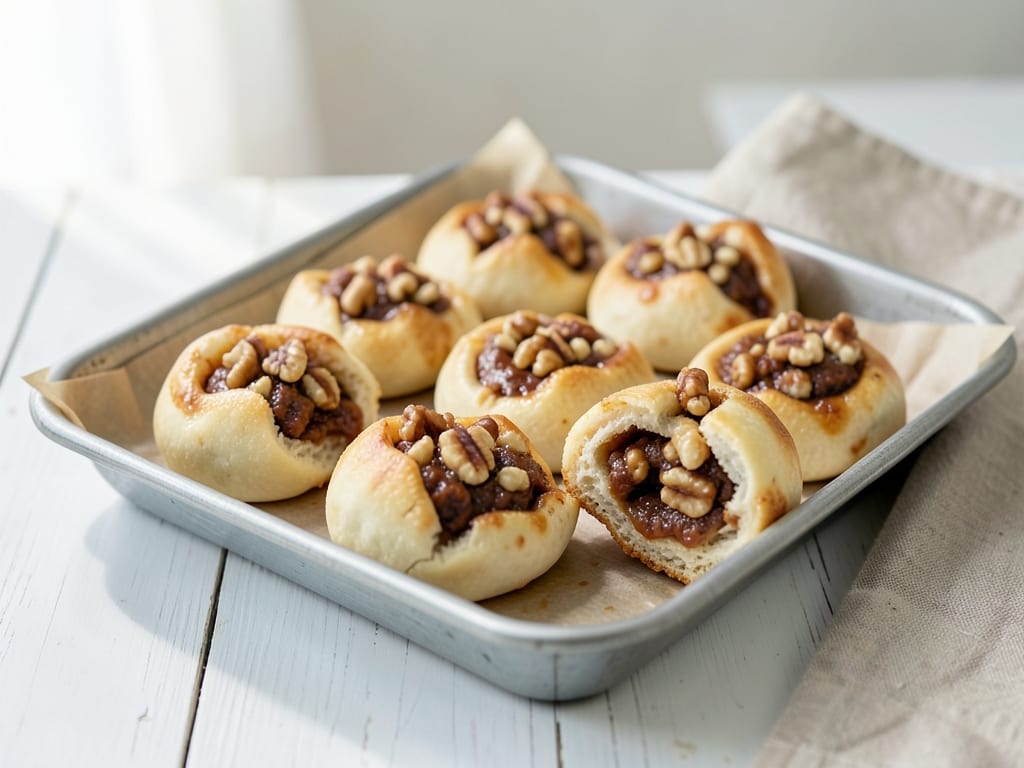
Soft and chewy fried pastry buns filled with warm cinnamon, brown sugar, and walnuts. These golden-brown Korean street snacks are crispy on the outside with a tender, slightly pillowy interior and molten filling that oozes when broken open—perfect for breakfast, dessert, or a satisfying snack.
- Prep
- 35 min
- Cook
- 20 min
- Wait
- 1 hr 45 min
- Total
- 2 hr 40 min
- Makes
- 8 hotteok
Steps
Before you start
- Warm your water to 110°F (43°C)—too hot will kill the yeast, too cool won't activate it
- Preheat your 10-inch skillet for about 1 minute before frying so the oil reaches the right temperature
- Have all ingredients measured and ready (mise en place); once you start, the dough moves quickly
- Ensure you have a warm spot for the dough to rise—an unheated oven with the light on, a proofing box, or a warm corner works well
Bloom the yeast
- In a large mixing bowl, combine warm water (110°F/43°C), instant yeast, and granulated sugar.
- Stir gently with a spoon until the yeast dissolves.
- Let sit undisturbed for 5 minutes until the surface becomes foamy—this indicates the yeast is active and alive.
+ Show details− Hide details
Ready when: Top of mixture is foamy and bubbly
Tip: If the yeast doesn't foam, it's dead—start over with fresh yeast from a new package or container
Mix and knead dough
- Add the all-purpose flour and salt to the foamed yeast mixture.
- Stir with a wooden spoon until a shaggy dough forms and no dry flour remains, then knead in the vegetable oil.
- Transfer the dough to a lightly floured work surface.
- Knead by hand for 8–10 minutes (or 5 minutes in a stand mixer with the dough hook), pushing the dough away with the heel of your hand, folding it back, and rotating it.
- The dough is ready when it's smooth, slightly elastic, and springs back slowly when you poke it.
- It should be soft but not sticky—if it sticks, dust with a little more flour.
+ Show details− Hide details
Ready when: Dough is smooth, slightly elastic, and springs back slowly when poked
Tip: Don't overknead—overworked dough makes tough hotteok. Aim for a tender, pillowy texture
Let dough riseOven 200°F / 95°C
- Shape the dough into a ball.
- Lightly oil the mixing bowl, return the dough to it, and cover with a clean, damp kitchen towel.
- Place the bowl in a warm spot (75–80°F is ideal; use an unheated oven with the light on, a proofing box, or a warm corner of your kitchen).
- Let the dough rise undisturbed for 1.5 hours, or until roughly doubled in size.
- It should feel airy and spring back slowly when you gently press your finger into it.
- For cool kitchens (below 70°F), preheat the oven to 200°F (93°C), turn it off, then place the bowl inside to rise.
+ Show details− Hide details
Ready when: Dough is roughly double its original size and springs back slowly when poked
Tip: Keep the dough away from drafts—cold air and air movement inhibit yeast activity and cause uneven fermentation
Prepare filling
- While the dough is rising (you can do this anytime during the 1.5-hour wait), combine the packed brown sugar, ground cinnamon, finely chopped walnuts, and honey (if using) in a small bowl.
- Stir thoroughly until the mixture is evenly combined and there are no lumps of brown sugar.
- Set aside at room temperature.
Divide dough into portions
- Turn out the risen dough onto a lightly floured work surface.
- Using a bench scraper or knife, divide the dough into 8 equal pieces (each should be roughly 2 oz/60g).
- Roll each piece between your palms into a smooth ball.
- This makes shaping and filling easier.
+ Show details− Hide details
Tip: Keep unused dough balls covered with a damp towel so they don't dry out while you work
Flatten and fill hotteok
- Working with one dough ball at a time, flatten it slightly in your palm, then use a rolling pin to roll it into a thin circle about 4 inches (10 cm) across.
- The dough should be thin enough to be translucent at the edges.
- Spoon about 1.5 tbsp (roughly 25g) of the filling mixture into the center of the circle.
- Fold the edges of the dough up and over the filling, overlapping them slightly.
- Pinch the edges firmly together to seal completely—no filling should be visible.
- Gently flatten the sealed hotteok with your hand or a light press with the rolling pin to about 1/2 inch (1.25 cm) thick.
- Repeat with all remaining dough balls and filling.
+ Show details− Hide details
Ready when: Edges are fully sealed with no filling leaking out
Tip: Don't roll the dough too thin, or the filling will burst through during frying. Keep filling away from the edges to prevent leaks
Rest before frying
- Arrange the filled and sealed hotteok on a parchment-lined baking tray in a single layer.
- Cover loosely with a damp kitchen towel.
- Let rest in a warm spot for 10 minutes.
- This allows the dough to relax and proof slightly, making them lighter and airier when fried.
Pan-fry hotteok
- Pour 2 tbsp vegetable oil into a 10-inch nonstick skillet or cast-iron pan and heat over medium heat for about 1 minute until the oil is shimmering and fragrant.
- Working in batches to avoid crowding (2–3 hotteok per batch), carefully place them flat-side down in the hot oil.
- Fry without moving them for 3–4 minutes until the bottom is golden brown and slightly crispy.
- Using a spatula or small tongs, carefully flip each hotteok and fry the second side for another 3–4 minutes until it's also golden brown.
- The filling should feel warm and slightly soft when you gently press the hotteok with a spatula.
- Transfer cooked hotteok to a wire rack or paper towels to cool slightly.
- Repeat with remaining hotteok, adding more oil if the pan looks dry.
+ Show details− Hide details
Ready when: Both sides are deep golden brown, filling feels warm and soft inside
Tip: Don't flip too early or the seal may break and filling will escape. Let the bottom fry undisturbed for the full 3–4 minutes. If the oil starts smoking, reduce heat to medium-low to avoid burning the exterior before the inside cooks through
Good to know
Tips
- The filling is very hot when the hotteok comes out of the pan—let them cool for at least 1–2 minutes before eating to avoid burning your mouth
- For extra indulgence, dust the warm hotteok immediately after frying with a mixture of cinnamon and granulated sugar
- If the dough begins to stick while shaping, dust it lightly with a tiny amount of additional flour, but avoid using too much—excess flour makes them dry and tough
- A 10-inch pan typically fits 2–3 hotteok comfortably; crowding the pan causes steaming instead of proper frying and crispy results
Make ahead
Prepare the dough up to 1 day ahead: wrap it tightly and refrigerate. Shape and fill the hotteok, then freeze them on a tray for up to 3 months in a freezer bag. Fry directly from frozen, adding 1–2 minutes to each side.
Storage & reheating
Room temperature: up to 2 hours uncovered. Refrigerator: up to 3 days in an airtight container; reheat in a 300°F (150°C) oven for 5 minutes until warmed through. Freezer: uncooked hotteok for up to 3 months (fry from frozen); cooked hotteok for up to 1 month—reheat in a 300°F oven for 8 minutes.
Substitutions
- walnuts → Chopped peanuts or pecans. Use the same amount; peanuts give a more savory note, while pecans are slightly sweeter and more buttery
- ground cinnamon → 2 tsp ground cinnamon plus 1 tbsp toasted sesame seeds. Reduces the cinnamon intensity while adding a nutty, earthy Korean flavor note
- light brown sugar, packed → Granulated white sugar plus 1 tsp molasses. Provides sweetness without the molasses depth, or omit molasses for a cleaner sugar flavor
- honey → 1 tbsp melted butter. Adds richness instead of moisture; the result will be less sticky but more indulgent