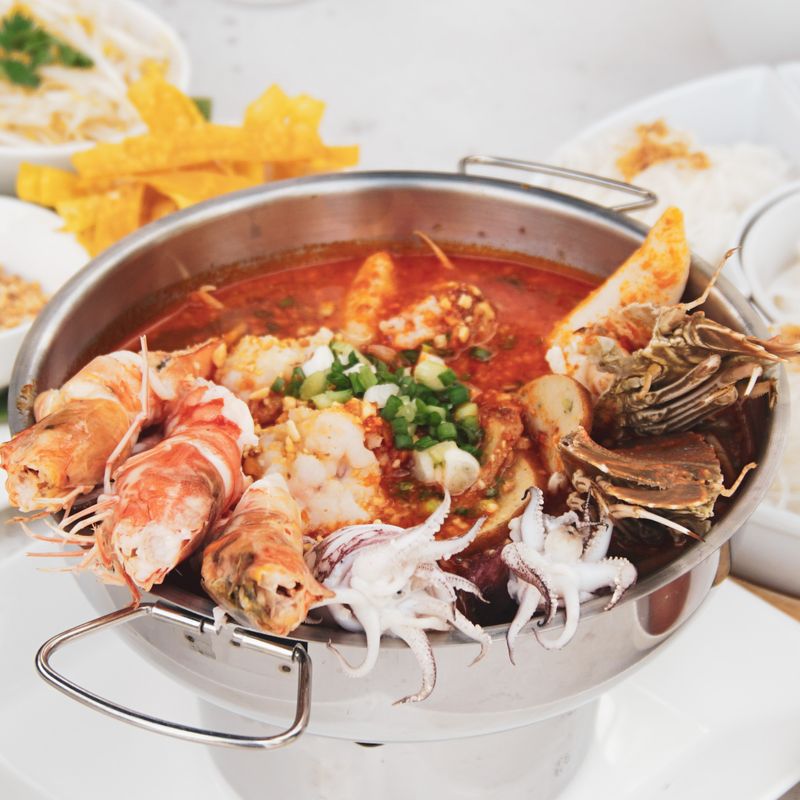
Instant Pot Lobster Broth
This elegant lobster broth captures the sweet, delicate flavor of lobster shells in just 20 minutes under pressure. Sautéing the shells with aromatic vegetables develops deep complexity, while white wine adds subtle acidity. The result is a refined, golden broth perfect as a base for seafood soups, risotto, and luxurious sauces—or simply served on its own with a touch of cream and fresh herbs.
- Prep
- 15 min
- Cook
- 20 min
- Wait
- 30 min
- Total
- 1 hr 5 min
- Makes
- 1 quart (32 oz) lobster broth
Steps
Before you start
- Clean lobster shells thoroughly and remove any cartilage, organs, or meat debris
- Have your Instant Pot on hand with a clean inner pot
- Measure all ingredients before starting (mise en place)
- Prepare a fine-mesh strainer and a large bowl for catching the finished broth
Prep shells and vegetables
- Clean the lobster shells thoroughly under cold running water, removing any remaining meat, organs (coral, tomalley), and cartilage.
- Chop the shells into 2–3 inch pieces.
- Roughly chop the celery stalks into 1-inch pieces (no need to peel).
- Cut the onion in half lengthwise, leaving the papery skin on—it adds color and flavor to the broth.
- Roughly chop the carrot into 1-inch pieces (no need to peel).
+ Show details− Hide details
Ready when: All vegetables and shells are roughly chopped and ready to use
Tip: Clean the shells thoroughly to avoid any grit or viscera that could cloud the broth
Sauté shells and aromatics
- Turn the Instant Pot to sauté mode on high heat.
- Add the butter (or neutral oil if not using butter) and allow it to melt, about 1 minute.
- Add the chopped lobster shells and all the vegetables (celery, onion, carrot).
- Stir occasionally for 3–4 minutes until the vegetables are slightly softened and the shells are fragrant, beginning to turn pink or translucent, and smell sweet and savory.
- The kitchen should smell wonderful.
+ Show details− Hide details
Ready when: Shells are fragrant and beginning to change color; vegetables are softened
Tip: Don't skip this sautéing step if you want rich lobster flavor—it develops much deeper complexity than skipping straight to water
Deglaze with wine
- Pour in the white wine and use a wooden spoon to scrape the bottom and sides of the Instant Pot, releasing any browned bits and caramelized flavors stuck to the pot.
- Let the mixture simmer on high for about 1 minute, stirring occasionally.
- The wine should become fragrant and reduce slightly.
+ Show details− Hide details
Ready when: Wine is fragrant, liquid has reduced slightly, bottom of pot is clean
Tip: This step extracts maximum flavor from the shells and adds a subtle acidity that balances the broth—don't skip it even if using stock
Add water and aromatics
- Pour in the water (or stock if you prefer extra richness).
- Add the fresh thyme sprigs, bay leaf, and whole black peppercorns.
- Stir well to combine, making sure all the lobster shells are submerged in liquid.
- Turn off the sauté function (press the sauté button or the off button, depending on your Instant Pot model).
+ Show details− Hide details
Ready when: All ingredients are submerged and well combined; sauté function is off
Tip: Do not add salt now; season at the very end so you can taste and adjust based on how you'll use the broth (soups need less salt than reduction-based sauces)
Pressure cook broth
- Close the Instant Pot lid and ensure the pressure release valve on top is set to "sealing" (not "venting").
- Select high pressure and set the timer for 20 minutes.
- The Instant Pot will take approximately 7–10 minutes to build pressure before cooking begins; you'll hear hissing sounds, which is normal.
- Do not walk away, but you don't need to do anything—just listen and wait.
+ Show details− Hide details
Ready when: Instant Pot beeps when the 20-minute pressure cooking cycle is complete
Tip: The Instant Pot will make hissing, gurgling, and clicking sounds while building pressure—this is completely normal and not a sign of malfunction
Natural pressure release
- When the cooking cycle completes and the Instant Pot beeps, do not immediately open the lid.
- Instead, allow the pressure to release naturally for 10 minutes.
- After 10 minutes have passed, carefully rotate the pressure release valve from "sealing" to "venting" to release any remaining steam.
- Wait until the float valve (the small pin on the top of the lid) has dropped all the way down, indicating all pressure has been released.
- Only then is it safe to open the lid.
+ Show details− Hide details
Ready when: Float valve has dropped completely; no steam escapes when the lid is opened
Tip: Never use quick release for lobster broth—the slow natural release keeps the broth clearer, more refined, and prevents the liquid from splattering inside the pot
Strain broth
- Open the lid and carefully ladle or pour the broth through a fine-mesh strainer (or chinois) set over a large bowl or measuring pitcher, working in batches if needed.
- Once most of the liquid has drained, gently press on the solids (shells and vegetables) with the back of a ladle to extract any remaining flavorful liquid, but do not pulverize them.
- Discard all solids.
- You should have about 1 quart (4 cups) of golden broth.
+ Show details− Hide details
Ready when: All liquid is strained, solids are separated and discarded, broth is golden and clear
Tip: For a crystal-clear presentation, line your fine-mesh strainer with a double layer of cheesecloth or coffee filters, though slight cloudiness is harmless and doesn't affect flavor
Good to know
Tips
- Use shells from fresh or recently cooked lobsters (within 1–2 days) for the best flavor. Frozen shells work but may be less aromatic.
- Don't salt the broth during cooking; season at the end with kosher salt or sea salt to taste, depending on how you'll use it. Soups typically need less salt than reduction-based sauces.
- For an even richer, more gelatinous broth, add a Parmesan rind or a small piece of kombu (dried seaweed) along with the water. Remove before straining.
- Freeze lobster broth in ice cube trays (about 2 tablespoons per cube) for easy portions for finishing sauces, enriching soups, or making lobster risotto.
Make ahead
Yes. Lobster broth can be made 3–4 days ahead and is actually improved by making it the day before—the flavors deepen and meld overnight. It also freezes beautifully for up to 3 months, making it ideal for advance meal prep or batch cooking. You can freeze it in standard containers or in ice cube trays for easy 2-tablespoon portions for finishing sauces and risotto.
Storage & reheating
Room temperature: Up to 2 hours (if fat is being skimmed). | Refrigerator: Up to 4 days in an airtight glass or plastic container. The broth may gel or become slightly cloudy when cold due to natural gelatin from the lobster shells—this is a sign of quality. Gently reheat on the stovetop over medium heat, breaking up the gel as it warms. | Freezer: Up to 3 months in airtight containers or ice cube trays. Thaw overnight in the refrigerator before using. | To reheat: Warm gently on the stovetop in a saucepan over medium heat, stirring occasionally, or microwave in a covered microwave-safe container in 1-minute intervals, stirring between intervals.
Substitutions
- unsalted butter → neutral oil (vegetable, canola, or light olive oil). Use the same amount (1 tablespoon). This makes the broth dairy-free if you prefer.
- dry white wine (Sauvignon Blanc or Pinot Grigio) → shellfish stock or vegetable stock. Use 1 cup of stock instead of wine. This adds depth and umami but removes the wine's delicate acidity; the broth will be richer and less bright.
- fresh thyme sprigs → 1 teaspoon dried thyme or 2 bay leaves. Dried thyme is more concentrated, so use less. Bay leaves alone give a cleaner, more subtle herbal note without fresh thyme's anise-like complexity.
- carrot → omit entirely. Carrots add subtle sweetness. Leaving them out yields a cleaner, less sweet broth—still excellent as a neutral base, just more savory.
More broths
See all →
Find more like this
- Meal
- Dinner
- Cuisine
- French
- Method
- Instant Pot
- Quick & Easy
- One-PotMeal PrepMake AheadFreezer Friendly