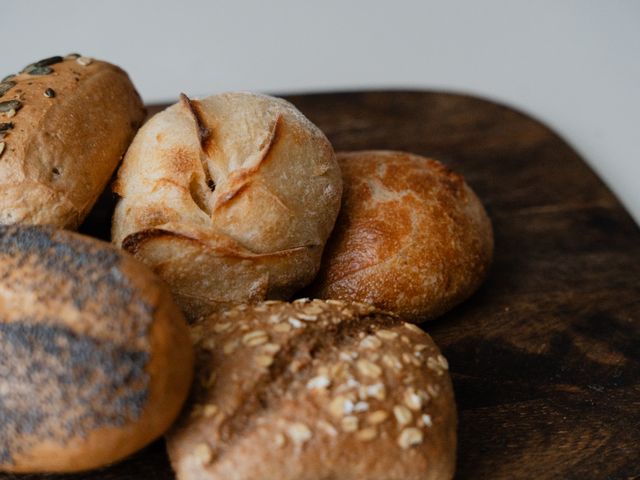
Spanish Pan Integral con Nueces
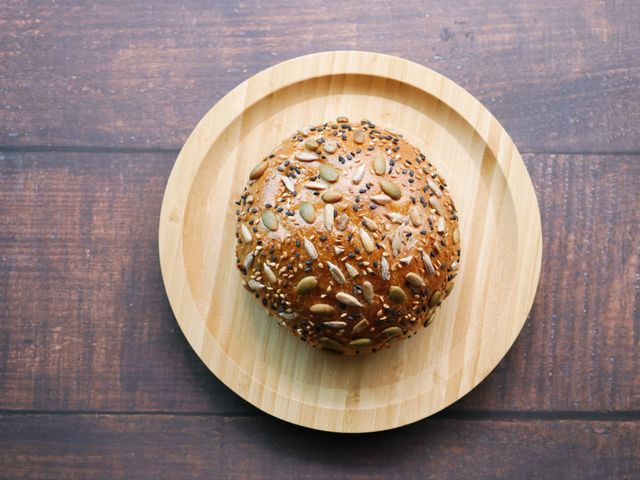
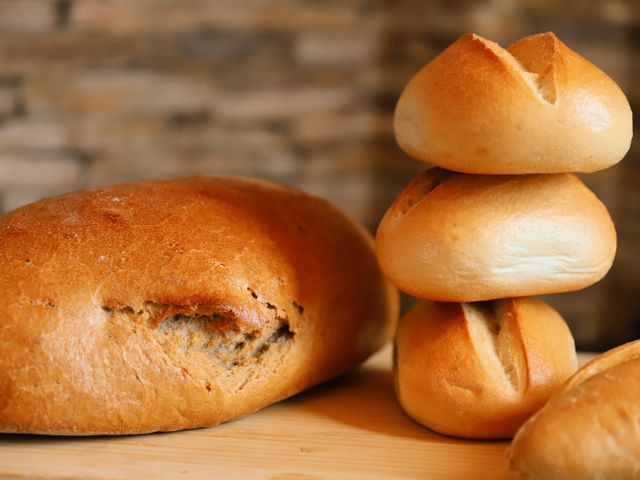
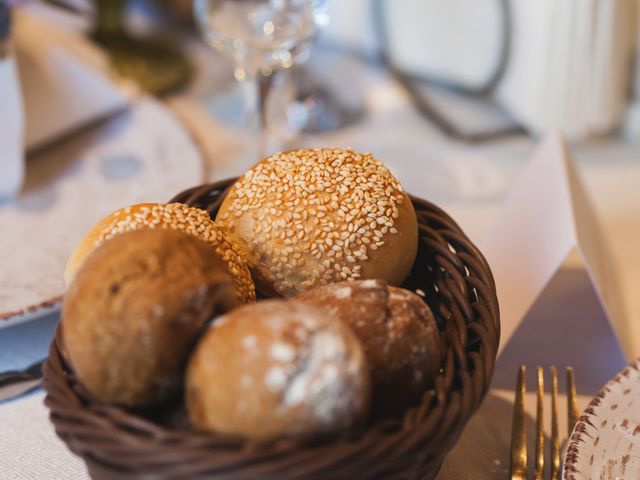
Rustic Spanish whole grain rolls studded with toasted walnuts and touched with honey. These substantial, nutty buns have a tender crumb with a light crust, perfect for breakfast or alongside soups and stews. The dough uses a simple overnight cold fermentation to develop deep flavor without commercial improvers.
Steps
Before you start
- Read through the full recipe—the dough rises overnight in the fridge, then at room temperature before baking
- Toast the walnuts 10 minutes ahead if using raw nuts; let them cool completely before mixing into dough
- Set up your work surface and gather all ingredients to streamline the brief active steps
Mix the dough
- In a large bowl, whisk together 2.5 cups (350 g) whole wheat flour, 1 cup (130 g) all-purpose flour, 1/2 teaspoon (2 g) instant yeast, and 1.5 teaspoons (9 g) sea salt.
- Add 1.25 cups (300 ml) cold water and 1 tablespoon (20 g) honey.
- Using a wooden spoon or dough whisk, stir until a shaggy, wet dough forms.
- There should be no dry flour visible.
- This dough will be sticky and loose—this is correct.
+ Show details− Hide details
Ready when: All dry flour incorporated, dough is shaggy and wet
Tip: Do not knead. A sticky, wet dough develops more extensibility during fermentation than one that is kneaded early.
First rise—overnight cold fermentation
- Cover the bowl loosely with plastic wrap or a kitchen towel.
- Refrigerate for at least 12 hours and up to 24 hours at 40°F (4°C).
- The dough will rise slowly and develop flavor.
- You should see visible bubbles and the dough may increase by 30–50%.
+ Show details− Hide details
Ready when: Dough has risen slightly, shows bubbles on the surface
Tip: Cold fermentation is not just convenient—it creates a more complex, less yeasty flavor than a warm rise.
Fold in walnuts
- Remove the dough from the fridge.
- Gently fold in 1 cup (120 g) coarsely chopped toasted walnuts and 1 tablespoon (15 ml) extra virgin olive oil using a few broad, gentle folds.
- The walnuts should be evenly distributed but the dough should not be overworked.
- This will take 1–2 minutes.
+ Show details− Hide details
Ready when: Walnuts are evenly scattered throughout the dough
Tip: Fold gently to preserve the gas bubbles already developed. Overworking will deflate the dough.
Shape the rolls
- Line a baking sheet with parchment paper.
- Lightly flour your work surface.
- Turn the dough out onto the floured surface—it will be quite wet.
- Using wet hands rather than flouring your hands (flour can toughen the dough), gently divide the dough into 8 equal pieces.
- Shape each piece into a loose round by cupping it gently and tucking the edges underneath.
- Place each roll on the prepared baking sheet, seam side down, spacing them 2 inches (5 cm) apart.
- They will have an irregular, rustic appearance.
+ Show details− Hide details
Ready when: Eight rolls are shaped and resting on the baking sheet
Tip: Wet hands work better than flouring for this wet dough. If the dough sticks to your hands, dip them in water and continue.
Second rise at room temperatureOven 450°F / 230°C
- Loosely cover the baking sheet with a plastic bag or towel.
- Let the rolls rise at room temperature (68–72°F / 20–22°C) for 1 to 1.5 hours.
- The rolls should visibly increase in size and feel pillowy when gently poked.
- Preheat the oven to 450°F (232°C) after about 45 minutes of rising so it reaches temperature by the time the rolls are ready.
+ Show details− Hide details
Ready when: Rolls are noticeably larger and soft; a gentle poke slowly springs back partway
Tip: If your kitchen is cooler than 68°F (20°C), the rise may take 1.5–2 hours. If warmer, check at 45 minutes. Do not proof so long that the rolls look overripe or flat.
Score and mist the rolls
- Using a sharp knife or bread lame, make a single slash across the top of each roll at a slight angle.
- Mist the entire surface of the rolls and the sides of the baking sheet generously with water using a spray bottle.
- This creates steam for a crisper crust.
+ Show details− Hide details
Ready when: Rolls are visibly wet; each has a single slash
Tip: Scoring allows controlled expansion. The water-spray mist is essential for crust development.
Bake the rollsOven 450°F / 230°C
- Transfer the baking sheet to the preheated 450°F (232°C) oven.
- Bake for 20–25 minutes, until the rolls are deep golden brown and sound hollow when tapped on the bottom.
- The internal temperature should reach 205–210°F (96–99°C) when measured with an instant-read thermometer inserted into the thickest part of a roll.
- Mist the rolls with water again after the first 10 minutes of baking for extra crust crispness.
+ Show details− Hide details
Ready when: Deep golden-brown color; hollow sound when tapped on bottom; internal temperature 205–210°F (96–99°C)
Tip: Do not open the oven door during the first 15 minutes—escaping steam will reduce crust crispness. A second mist at 10 minutes gives the best crust.
Cool and serve
- Transfer the rolls to a wire cooling rack.
- Let cool for at least 15 minutes before serving.
- This allows the crumb to set.
- The rolls can be served warm, at room temperature, or toasted the next day.
+ Show details− Hide details
Ready when: Rolls have cooled and crust has firmed
Tip: Cooling on a rack (not sitting on the baking sheet) prevents the bottom from becoming soggy.
Good to know
Tips
- Toast your own walnuts if possible—raw walnut pieces often taste bland and slightly bitter. Spread them on a baking sheet and toast at 350°F (175°C) for 8–10 minutes until fragrant, then cool completely before adding to the dough.
- The long, cold fermentation is what makes these rolls special. Do not skip it or shorten it significantly. It allows wild yeasts and bacteria to develop deeper, more complex flavor than warm, fast fermentation.
- Use a wet-hands technique rather than flouring your work surface. This dough is intentionally wet for a tender, open crumb. Excess flour will toughen the final rolls.
- Spanish integral breads are traditionally rustic and irregular in appearance. If a roll looks slightly lopsided or rough, that is authentic. Do not feel pressure to make them perfectly uniform.
Make ahead
The dough can be mixed and refrigerated up to 24 hours ahead. Shape and proof at room temperature as directed the next day. Fully baked rolls can be frozen up to 1 month; reheat gently in a 350°F (175°C) oven for 8–10 minutes.
Storage & reheating
Store cooled rolls at room temperature in a breathable bag or cloth for up to 2 days. For longer storage, wrap individually in foil and freeze for up to 1 month. Reheat from frozen in a 350°F (175°C) oven for 10–12 minutes, or thaw overnight and toast. Refrigeration is not recommended as the crumb will stale quickly.
Substitutions
- instant yeast (or bread machine yeast) → 1/4 teaspoon (0.8 g) active dry yeast (rehydrate in 1 tablespoon of the cold water 5 minutes before mixing). Active dry yeast works but must be rehydrated first. Instant yeast requires no rehydration and is preferred for long, cold fermentation.
- walnuts, toasted → Toasted hazelnuts, almonds, or a mix of nuts (120 g total). Any toasted nut works well. Avoid raw nuts, as they will not toast sufficiently during baking.
- honey → 1 tablespoon (15 g) sugar or 1 tablespoon (20 g) molasses. Honey adds subtle sweetness and aids browning. Sugar works but adds less flavor. Molasses adds earthiness. Amounts may be adjusted to taste.
- whole wheat flour → Spelt flour or einkorn flour (whole grain variety). These ancient grains add nutty flavor but may require slightly more water. Begin with the stated amount and add water 1 tablespoon at a time if the dough is too stiff.