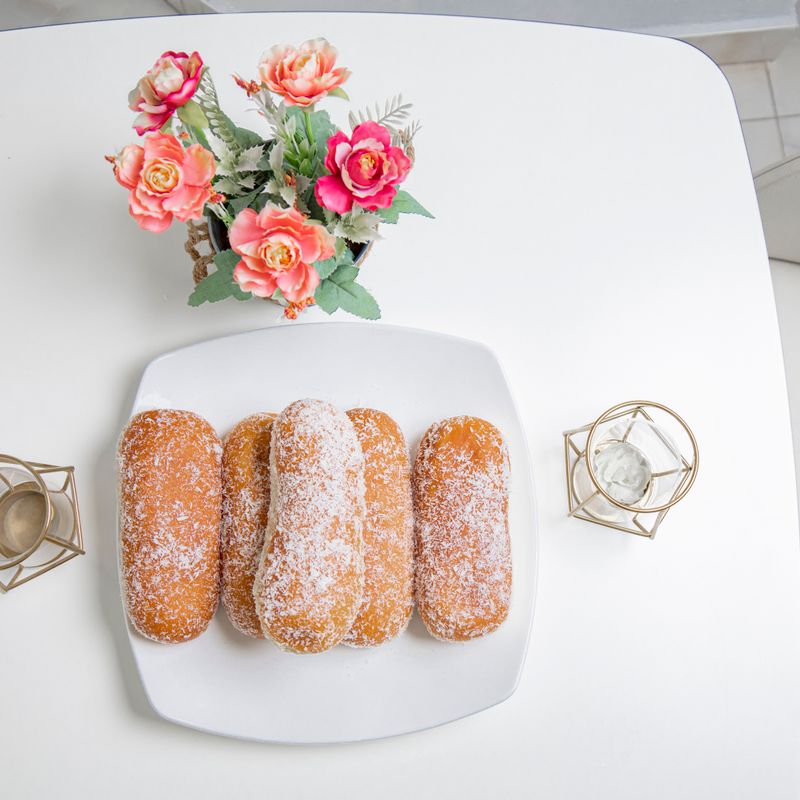
Spanish Bollos de Maíz
Traditional Spanish cornmeal buns enriched with lard and flavored with anise seeds. Light, slightly sweet, and distinctly rustic, these bollos are a classic from central Spain. They have a soft interior and a subtle crisp exterior, perfect for breakfast or as an accompaniment to savory meals.
- Prep
- 20 min
- Cook
- 22 min
- Wait
- 1 hr 40 min
- Total
- 2 hr 22 min
- Makes
- 12 buns
Steps
Before you start
- Bring all ingredients to room temperature (about 70°F / 21°C)
- Preheat oven to 400°F (200°C) 15 minutes before baking
- Have a 9×13-inch (23×33 cm) baking sheet or two 9-inch (23 cm) round pans ready
- If using instant yeast, keep it fresh and stored in a cool, dry place
Mix yeast and dough
- Pour the warm water into a large mixing bowl.
- Sprinkle the instant yeast and sugar over the water and stir gently to dissolve.
- Let sit for 1 minute to bloom.
- Add the all-purpose flour, cornmeal, anise seeds, and salt.
- Mix with a wooden spoon or dough whisk until a shaggy dough forms—all flour should be hydrated, but the dough will be slightly sticky and uneven.
- This should take about 1 minute of stirring.
+ Show details− Hide details
Ready when: All dry ingredients are moistened and a sticky, rough dough forms
Tip: Do not overmix; rough texture is fine at this stage
Incorporate lard
- Add the softened lard to the dough.
- Using your hands or a dough whisk, work the lard into the dough for 2–3 minutes until it is mostly combined and the dough becomes smoother and slightly less sticky.
- It should feel soft and somewhat silky.
- Do not knead aggressively; gentle incorporation is all that is needed.
+ Show details− Hide details
Ready when: Lard is distributed throughout and dough feels soft, slightly silky, and holds together
Tip: Lard must be at room temperature to distribute evenly; cold lard will create lumps
First rise (bulk fermentation)
- Transfer the dough to a clean spot in the bowl (no need to oil it).
- Cover loosely with a damp kitchen towel.
- Let the dough rise at room temperature (70–75°F / 21–24°C) for 60–75 minutes, until it has increased in volume by about 50–60% and feels airy and slightly jiggly when you gently shake the bowl.
+ Show details− Hide details
Ready when: Dough is noticeably puffed and airier, with a slightly domed top
Tip: If your kitchen is cold, place the bowl in an off oven with the light on, or use a proofing box set to 75°F (24°C)
Shape bunsOven 400°F / 205°C
- Preheat your oven to 400°F (200°C).
- Line a 9×13-inch (23×33 cm) baking sheet with parchment paper, or oil two 9-inch (23 cm) round cake pans.
- Gently turn the dough out onto a lightly floured surface.
- Divide it into 12 roughly equal pieces (each about 60–65 g).
- Working with one piece at a time, gently shape it into a round ball by pulling the surface toward the bottom and rotating it in your palms until it is smooth and taut.
- Place each ball seam-side down on the prepared baking sheet, spacing them about 1.5 inches (4 cm) apart.
- If using two round pans, arrange 6 buns in each, with the center of each bun about 2 inches (5 cm) from its neighbors.
+ Show details− Hide details
Ready when: Twelve smooth, round buns are evenly spaced on the pan(s)
Tip: Do not overwork the dough when shaping; gentle, quick shaping keeps the buns tender and prevents tough gluten development
Second rise (final proofing)
- Cover the shaped buns loosely with a damp kitchen towel.
- Let them rise at room temperature for 25–35 minutes, until they have increased in size by about 50%, feel soft and pillowy when you gently press a finger into the dough, and are just touching each other on the baking sheet.
+ Show details− Hide details
Ready when: Buns are puffy, soft, and nearly joined together; a poke leaves a slow-recovering indent
Tip: Do not let them over-proof—they should still have some spring when poked, indicating they will rise in the oven
Apply egg wash (optional)
- If using egg wash, whisk together 1 large egg and 1 tablespoon water in a small bowl.
- Gently brush the top of each bun with the egg wash using a pastry brush.
- This creates a light golden sheen and slight crust.
+ Show details− Hide details
Ready when: Each bun is lightly coated with glossy egg wash
Tip: Egg wash is traditional but optional; plain buns are equally authentic and will develop a softer crust without it
Bake bunsOven 400°F / 205°C
- Place the baking sheet in the preheated 400°F (200°C) oven.
- Bake for 20–22 minutes, until the buns are golden brown on top and the sides are set and lightly firm to the touch.
- The buns should smell warm and slightly sweet, with a hint of anise.
+ Show details− Hide details
Ready when: Buns are evenly golden brown; tapping the base produces a hollow sound; they spring back slowly when lightly pressed on the side
Tip: If the tops brown too quickly (before 15 minutes), loosely tent the pan with foil to prevent over-browning
Cool and serve
- Remove the baking sheet from the oven and let the buns cool on the sheet for 5 minutes.
- Transfer them to a wire rack or serving basket and let cool for a further 10–15 minutes before serving.
- Bollos de maíz are best enjoyed warm or at room temperature, with a slight squeeze of softness still in the crumb.
+ Show details− Hide details
Ready when: Buns have cooled enough to handle and are no longer steaming
Tip: Do not skip the cooling step—the interior continues to set and firm slightly as they cool
Good to know
Tips
- Anise seeds can be lightly toasted in a dry skillet for 1 minute before adding to the dough to deepen their flavor.
- If you do not have a kitchen scale, use the spoon-and-level method for flour: spoon flour into the measuring cup and level with a knife; do not scoop directly from the bag, which compacts the flour.
- Lard creates the most authentic, tender crumb; if you choose butter, the buns will still be delicious but slightly less rich and have a finer texture.
- These buns pair beautifully with Spanish chorizo, cured ham, or soft cheeses, or simply enjoyed plain with butter and jam for breakfast.
Make ahead
Dough can be mixed and refrigerated for up to 12 hours after the first rise. Bring to room temperature before shaping and proceeding with the second rise. Alternatively, shaped buns can be covered and refrigerated overnight; let them come to room temperature and proof at room temperature for 45–60 minutes before baking.
Storage & reheating
Store cooled bollos at room temperature in an airtight container or bread bag for up to 3 days. Refresh in a 350°F (175°C) oven for 5–7 minutes before serving. Freeze cooled buns in a freezer bag for up to 3 months; thaw at room temperature or reheat from frozen in a 350°F (175°C) oven for 10–12 minutes until warm.
Substitutions
- lard, at room temperature → Unsalted butter, at room temperature. Butter will create a slightly lighter, less rich crumb and is more accessible to most home cooks. Use the same weight. The flavor will be slightly different but the texture similar.
- polenta or cornmeal (yellow, fine or medium grind) → Fine polenta, or half cornmeal and half additional all-purpose flour. Polenta and cornmeal are interchangeable if the grind is fine to medium. Using more flour will make the buns lighter and less corn-forward in flavor.
- whole anise seeds → Fennel seeds, or omit entirely for plain buns. Fennel seeds have a similar licorice flavor but are slightly more subtle. Plain buns are also authentic; omit the seeds entirely if you prefer no anise flavor.
- instant (bread) yeast → Active dry yeast (use 2 teaspoons / 6 g), or fresh yeast (use ½ oz / 14 g). Active dry yeast requires gentle mixing to avoid lumps; fresh yeast should be dissolved in the warm water. Timing may vary slightly, so watch the dough for readiness rather than relying on clock time alone.
More rolls & buns
See all →
Find more like this
- Meal
- Breakfast
- Cuisine
- Spanish
- Diet
- Dairy-Free
- Method
- Oven