Sourdough Moroccan Rghaif Layered Flatbread
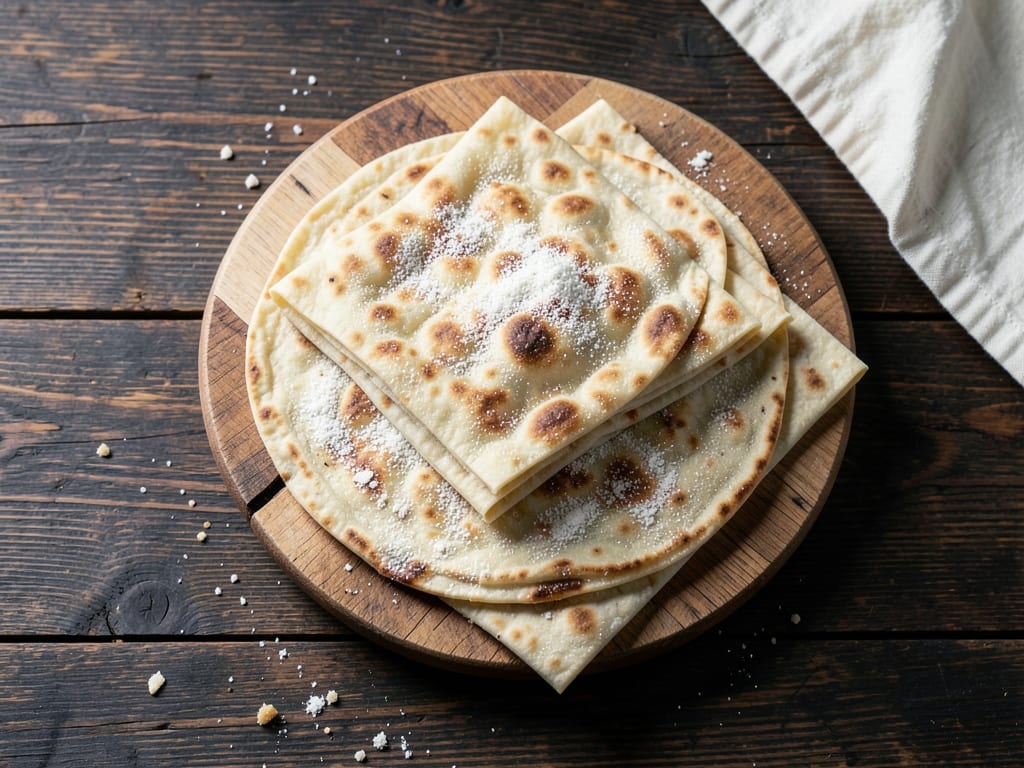
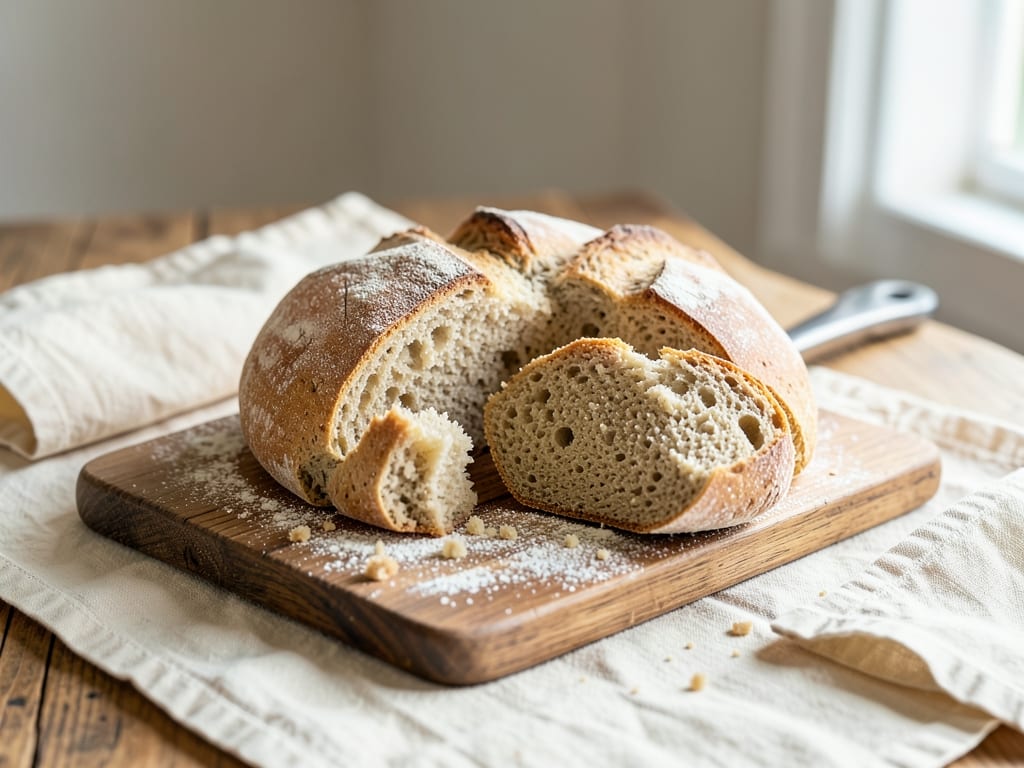
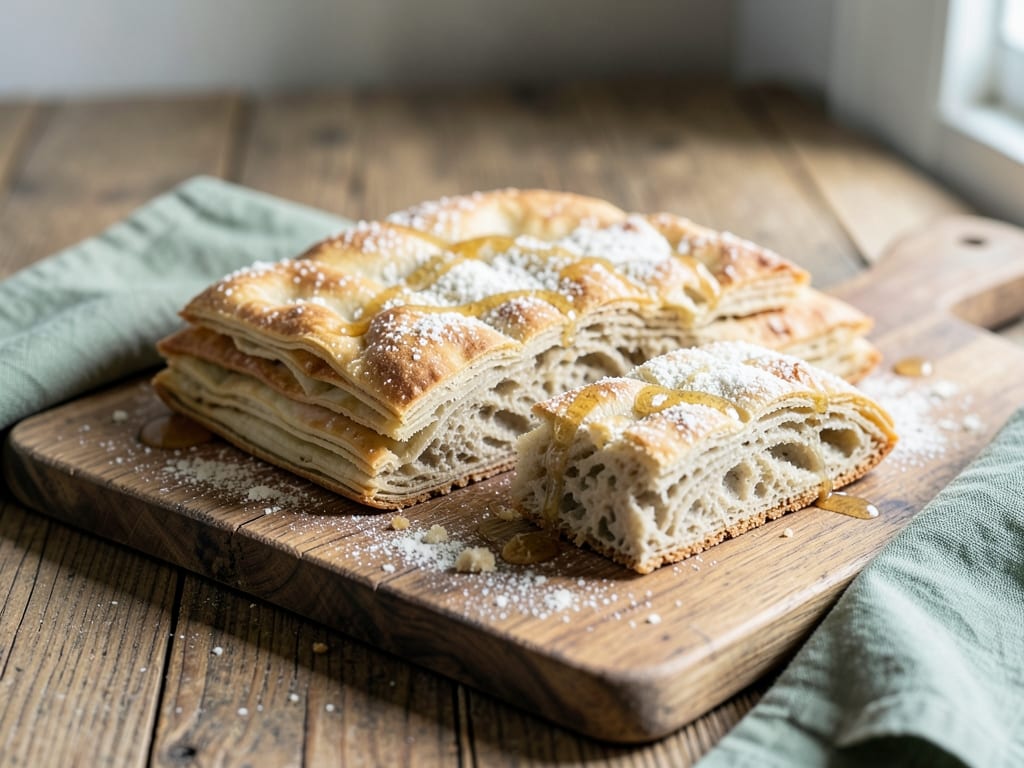
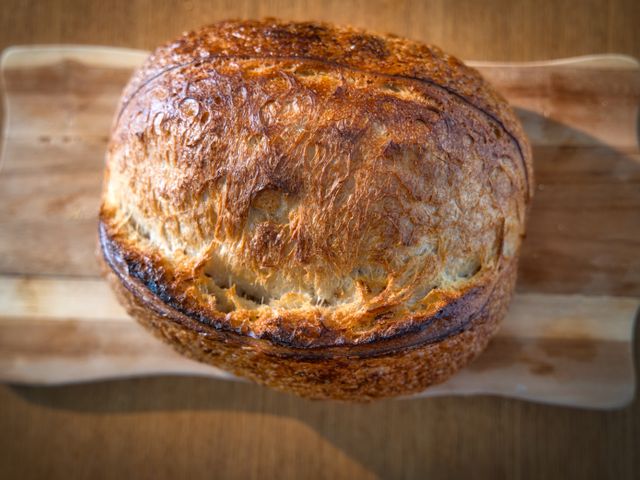
A showstopping flatbread that marries the tanginess of sourdough with Morocco's rghaif tradition—paper-thin layers folded with herbed butter and caramelized onions. The dough ferments overnight for depth of flavor, then gets laminated, hand-stretched, and pan-fried until golden and crispy on the outside, tender within. Serve warm with honey, fresh cheese, or alongside tagine.
- Prep
- 45 min
- Cook
- 40 min
- Wait
- 9 hr
- Total
- 10 hr 25 min
- Makes
- 4 large flatbreads (8–10 inches each)
Steps
Before you start
- Activate or refresh your sourdough starter at least 4–6 hours ahead; it should be bubbly and at peak (doubled or tripled). Have all ingredients at room temperature.
- Read through the lamination and hand-stretching steps before starting—they require a light touch and patience but are not technically difficult.
- Clear a large work surface for stretching and laminating; you'll need about 2 feet × 2 feet of space.
- Have a large cast-iron skillet or nonstick skillet (at least 10 inches) ready and clean.
Mix and autolyse the dough
- In a large mixing bowl, combine the active sourdough starter, lukewarm water (75–80°F / 24–27°C), and bread flour.
- Stir with a wooden spoon or your hand until a shaggy, well-hydrated dough forms with no dry flour visible.
- Cover loosely with plastic wrap and let rest at room temperature for 30 minutes.
- This autolyse period allows the flour to fully absorb water and begins gluten development.
+ Show details− Hide details
Ready when: Dough is unified and shaggy, no dry flour remains
Tip: Keep the water warm (not hot) so fermentation continues gently; too-hot water will kill the starter.
Add salt and knead
- Sprinkle fine sea salt evenly over the dough and incorporate it by squeezing and folding the dough on itself in the bowl for 5–8 minutes.
- The dough will become smoother, more elastic, and slightly firmer.
- It should feel soft, sticky, and well-developed but not wet or ragged.
- Stretch a small piece between your fingers—if it stretches thin without tearing, gluten is ready.
+ Show details− Hide details
Ready when: Dough is smooth, elastic, and passes the windowpane test
Tip: Avoid kneading on a floured surface; the dough should remain slightly sticky to develop gluten evenly.
Bulk ferment overnight
- Shape the dough into a rough ball, return it to the bowl, and cover tightly with plastic wrap.
- Let ferment at cool room temperature (68–72°F / 20–22°C) for 12–16 hours.
- The dough should expand by 50–75% and show visible bubbles on top and sides; it will be jiggly when poked but not fully doubled.
- This long fermentation builds deep sourdough flavor and allows the dough to relax before lamination.
+ Show details− Hide details
Ready when: Dough has expanded 50–75%, with visible bubbles and a slight dome; poke gently—it should spring back slowly
Tip: If your kitchen is warm (75°F+), shorten fermentation to 10–12 hours; if cool, extend to 16–18 hours. A cold oven with the light on is ideal.
Caramelize onions for filling
- While the dough ferments, heat 1 tablespoon of ghee in a large cast-iron skillet over medium heat.
- Add the thinly sliced onions and stir occasionally for 20–25 minutes, until they turn deep golden brown and very soft.
- They should smell sweet and caramel-like, not burnt.
- Transfer to a small bowl and let cool completely.
- Once cool, stir in the ground cumin, paprika, finely chopped cilantro, and parsley.
- Season to taste with sea salt and black pepper.
- Set aside.
+ Show details− Hide details
Ready when: Onions are deep golden, very soft, and smell sweet and caramelized
Tip: Stir frequently toward the end to prevent burning on the bottom. Onions should be melt-in-your-mouth tender.
Divide and pre-shape dough
- Turn the fermented dough onto a lightly floured work surface.
- Using a bench scraper, gently divide it into 4 equal pieces (about 170 g each).
- Shape each piece into a loose round by folding the edges toward the center; don't worry about tightness.
- Let them rest, uncovered, for 15 minutes while you prepare the lamination station.
+ Show details− Hide details
Ready when: Dough pieces have relaxed and are slightly puffy
Tip: Keep your hands and bench scraper lightly floured but not wet; the dough is already moist and will tear if sticky.
Stretch and laminate first flatbread
- Take the first dough round and place it on a clean, unfloured work surface.
- Using only your fingertips and palms, gently stretch it into a thin, irregular disk about 10–12 inches across and roughly the thickness of a coin.
- Work from the center outward, rotating as needed; don't tear it, but it's okay if it's slightly uneven.
- Dust lightly with flour if it sticks.
- Once stretched, spread about 1.25 tablespoons (18 g) of softened butter evenly over the surface, leaving a 0.5-inch border.
- Sprinkle one-quarter of the caramelized onion mixture over the butter.
- Fold the dough in half, then in half again, creating a rough square.
- Gently stretch this folded bundle into a 7–8 inch square, being careful not to blow through the layers.
- Place on a floured plate and cover loosely with a kitchen towel while you laminate the remaining three flatbreads.
+ Show details− Hide details
Ready when: Dough is stretched thin without tearing, butter and onions are evenly distributed, and layers are folded
Tip: Stretch slowly and patiently; if the dough tears, pinch it closed and continue. The goal is thin, tender layers, not a thick crust.
Laminate remaining three flatbreads
- Repeat the stretching and lamination process for the remaining three dough rounds, using 1.25 tablespoons of butter and one-quarter of the onion filling for each.
- Stack the finished flatbreads on a floured plate, separating each layer with parchment or a floured kitchen towel.
- Cover the stack loosely with a kitchen towel.
+ Show details− Hide details
Ready when: All four flatbreads are stretched, buttered, filled, and folded
Tip: If the dough becomes too warm or elastic during lamination, refrigerate the finished flatbreads for 15–20 minutes before pan-frying.
Pan-fry the first flatbread
- Heat a large cast-iron skillet over medium-high heat until a drop of water sizzles quickly on contact (about 1 minute).
- Add 0.5 tablespoon of ghee and swirl to coat the bottom.
- Carefully place the first laminated flatbread into the hot skillet.
- Fry for 3–4 minutes on the first side, gently pressing it with a spatula occasionally to ensure even contact and browning.
- The flatbread will puff slightly and develop golden-brown, crispy spots.
- Flip and fry for another 2–3 minutes on the second side until golden, crispy, and cooked through.
- The interior should be tender but not doughy.
- Transfer to a paper towel–lined plate.
+ Show details− Hide details
Ready when: Flatbread is golden-brown and crispy on both sides, puffed, and cooked through without being dry
Tip: Don't flip too early; wait until the first side is well-browned and crispy to avoid tearing the delicate layers.
Pan-fry the remaining three flatbreads
- Repeat the pan-frying process with the remaining three laminated flatbreads, adding 0.5 tablespoon of ghee to the skillet before each one.
- Work in batches to avoid crowding.
- Keep finished flatbreads warm on a paper towel–lined plate, loosely covered with a clean kitchen towel.
+ Show details− Hide details
Ready when: All four flatbreads are golden-brown, crispy, and cooked through
Tip: Maintain medium-high heat throughout; if the skillet cools, the flatbreads will absorb too much ghee and become greasy rather than crispy.
Rest and serve
- Let the flatbreads rest for 2–3 minutes on the paper towels.
- Serve warm, whole or torn into pieces.
- Accompany with warm honey, labneh (Lebanese strained yogurt), crumbly fresh cheese, or alongside a savory tagine.
+ Show details− Hide details
Ready when: Flatbreads have cooled enough to hold together but are still warm to the touch
Tip: Serve immediately for the crispiest texture; flatbreads will soften as they cool but remain delicious for several hours.
Good to know
Tips
- Sourdough starter timing is critical: refresh it 4–6 hours before mixing so it's at peak (bubbly, doubled, with visible bubbles on top and sides). A weak or inactive starter will result in dense, flat flatbreads.
- Stretching technique is key to thin, layered rghaif: work gently with your fingertips and palms from the center outward, rotating the dough. If you knead or use a rolling pin, you'll compress the layers and lose the delicate, flaky texture.
- Keep the lamination butter cool but soft (60–65°F / 15–18°C); if it's too cold, it won't spread easily, and if it's too warm, it will soak into the dough instead of creating distinct layers.
- Pan-frying temperature matters: medium-high heat ensures a crispy, golden crust without burning. If the skillet is too cool, the flatbread will absorb excess ghee; if too hot, it will brown too fast and stay doughy inside.
Make ahead
You can prepare the caramelized onion filling up to 2 days ahead and store it in the refrigerator. You can also divide and pre-shape the dough up to 1 hour ahead of lamination. The laminated flatbreads can be refrigerated on a floured plate, covered, for up to 4 hours before pan-frying; let them come to room temperature for 15 minutes before cooking.
Storage & reheating
Store cooled leftover flatbreads in an airtight container at room temperature for up to 2 days or frozen for up to 1 month. Reheat by wrapping in foil and warming in a 350°F (175°C) oven for 5–7 minutes, or by pan-frying in a hot skillet for 1–2 minutes on each side until crispy again.
Substitutions
- fresh cilantro, washed and dried → fresh mint or additional parsley. If cilantro is not available or disliked, use fresh mint for a different herbaceous note or double the parsley for a more subtle flavor.
- ghee or clarified butter, for pan-frying → unsalted butter or olive oil. Ghee is preferred for its high smoke point and rich flavor, but unsalted butter or olive oil work; butter may brown slightly more, and olive oil will add a different flavor profile.
- bread flour → all-purpose flour (13% protein minimum). All-purpose flour produces a slightly less chewy flatbread but is perfectly acceptable if bread flour is unavailable.
- active sourdough starter, bubbly and at peak → 0.5 tsp (2.5 g) instant yeast mixed with 0.75 cup (180 ml) water. This replaces the long fermentation with a flavor compromise; reduce overnight fermentation to 6–8 hours and increase yeast amount slightly to compensate for lost sourness.