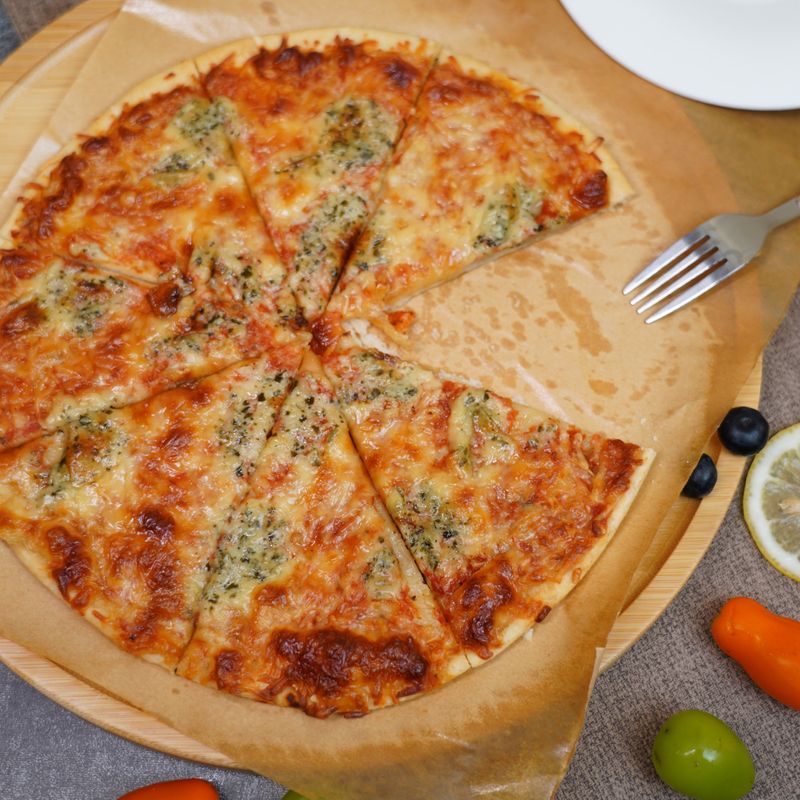
Lemon Herb Flatbread Dough
A Mediterranean flatbread dough brightened with fresh lemon zest and aromatic herbs. This simple dough—made from just flour, water, salt, and olive oil—is kneaded until silky-smooth, then given time to rest and develop flavor. The result is four tender, rustic flatbreads perfect for serving warm alongside Mediterranean meals, dipping in oil, or topping with spreads.
- Prep
- 28 min
- Cook
- 10 min
- Wait
- 1 hr 15 min
- Total
- 1 hr 53 min
- Makes
- 4 flatbreads (8–9 inches / 20–23 cm each)
Steps
Before you start
- Measure all ingredients and zest the lemons before beginning.
- Finely chop all fresh herbs and have them ready to mix in.
- Have a cast iron skillet or griddle (10–12 inches) ready for cooking.
- Read through the recipe to understand the timing—there are two rest periods during which you can step away.
Mix dry ingredients
- In a large mixing bowl, whisk together 3 cups (375 g) all-purpose flour, 1.5 teaspoons (9 g) fine sea salt, 1.5 tablespoons (9 g) finely grated fresh lemon zest, 1 tablespoon (3 g) chopped fresh oregano, 1 tablespoon (3 g) chopped fresh thyme, and 1 tablespoon (3 g) chopped fresh basil.
- Whisk vigorously for about 30 seconds to distribute the herbs and zest evenly throughout the flour.
+ Show details− Hide details
Ready when: Herbs and zest are evenly distributed throughout the flour with no streaks of pure flour visible.
Tip: Take a moment to whisk thoroughly—this distributes the flavorings evenly so no bites of the flatbread are herb-heavy or zest-light.
Add liquid and oil
- Pour 1.25 cups (300 ml) warm water (around 110°F / 43°C, pleasantly warm to the touch) and 2 tablespoons (30 ml) extra-virgin olive oil into the flour mixture.
- Stir with a wooden spoon or your hands until a shaggy, rough dough forms with no dry flour visible.
- The dough will be slightly wet and sticky at this stage—this is correct for a tender flatbread.
+ Show details− Hide details
Ready when: All flour is moistened; no dry flour streaks remain, and the dough is a rough, shaggy mass.
Tip: Don't worry if the dough seems very wet. The hydration will develop as you knead, and the gluten will strengthen and absorb the water.
Knead the dough
- Turn the dough onto an unfloured work surface (or lightly flour if it's very sticky).
- Knead by hand for 10 minutes, using the heel of your hand to push the dough away from you, then fold it back over itself and rotate.
- Alternatively, knead in a stand mixer with the dough hook on medium-low speed for 6–7 minutes.
- The dough is ready when it's smooth, elastic, and springs back quickly when poked.
- To test, perform the windowpane test: tear off a small piece and gently stretch it thin—it should stretch to near-transparency without tearing.
+ Show details− Hide details
Ready when: Dough is smooth and elastic; it springs back quickly when poked and passes the windowpane test (a small piece stretches thin without tearing immediately).
Tip: Don't over-knead. Once the dough is silky and elastic, stop. Over-kneading without yeast won't improve flavor and can make the dough tough.
First rest
- Place the kneaded dough in a lightly oiled large bowl, turning it gently to coat all sides with a thin layer of oil.
- Cover the bowl with plastic wrap or a damp kitchen towel.
- Let rest at room temperature for 60 minutes.
- The dough won't rise dramatically without yeast, but it will relax and puff slightly as it hydrates.
+ Show details− Hide details
Ready when: Dough is noticeably puffed and has increased slightly in volume (about 25–30%); when poked gently, it springs back slowly rather than immediately.
Tip: This rest is essential for flavor development. Even if you're in a rush, don't skip it—60 minutes is the minimum. The rest also makes the dough much easier to shape.
Divide and pre-shape
- Turn the rested dough onto a lightly floured work surface.
- Gently divide it into 4 equal pieces (each about 190 g).
- Work gently to avoid deflating the dough too much.
- Loosely shape each piece into a ball and let rest uncovered on the work surface for 5 minutes.
+ Show details− Hide details
Ready when: Dough is divided into 4 roughly equal pieces, each loosely shaped into a ball.
Tip: Work gently when dividing—you've built up nice gluten structure and slight puffiness. Aggressive handling will deflate the dough.
Second rest
- Cover the dough pieces loosely with plastic wrap or a damp towel.
- Let rest for 15 minutes at room temperature.
+ Show details− Hide details
Ready when: Dough pieces are visibly puffier and feel airy and pillowy when gently prodded with a finger.
Tip: This short rest makes a huge difference in how easily the dough stretches. It's worth the 15 minutes.
Shape flatbreads
- Take one dough ball and gently flatten it with your fingers, starting from the center and working outward.
- Stretch it into a thin disk about 1/4 inch (6 mm) thick and roughly 8–9 inches (20–23 cm) in diameter.
- You can use your hands, the heel of your hand to stretch, or gently run a rolling pin over it.
- Repeat with the remaining three pieces.
- If the dough springs back and resists shaping, let the piece rest for 2–3 minutes and try again—the gluten is simply relaxing.
+ Show details− Hide details
Ready when: Four flatbreads are shaped to roughly 1/4-inch thickness and 8–9 inches in diameter, with reasonably even thickness across.
Tip: If dough resists, let it rest a few minutes rather than forcing it. The gluten will relax and stretching will become easier.
Cook the flatbreads
- Heat a cast iron skillet or griddle (10–12 inches wide) over medium-high heat for 1–2 minutes until very hot.
- You should feel significant heat radiating about 1 inch above the surface.
- Lay one shaped flatbread into the hot pan—it should sizzle immediately on contact.
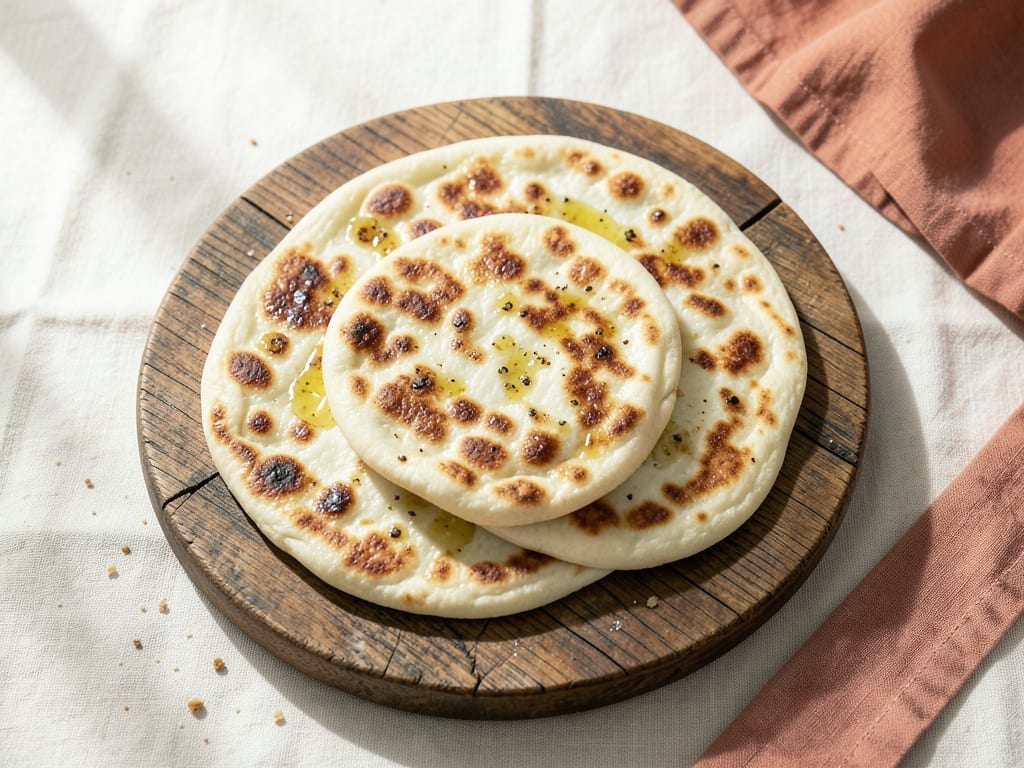
- Cook without moving for 2–3 minutes until the bottom is golden-brown with some light charring and the dough has puffed slightly.
- Use tongs or a wide spatula to carefully flip the flatbread.
- Cook the other side for 1–2 minutes until lightly golden.
- Transfer to a plate and repeat with the remaining three flatbreads, cooking one at a time.
- Keep finished flatbreads in a stack on a plate.
+ Show details− Hide details
Ready when: Both sides of each flatbread are golden-brown to light tan with some light charring on the bottom; the interior is cooked through but still soft and slightly chewy when squeezed gently.
Tip: Keep the skillet very hot and don't crowd it. One flatbread at a time ensures good browning and heat. If the skillet cools down between flatbreads, let it heat for 30–60 seconds before cooking the next one.
Finish and serve
- While the flatbreads are still hot, brush or lightly rub each one with a small amount of extra-virgin olive oil.
- Optionally, sprinkle with fleur de sel or a pinch of flaky sea salt, or garnish with a tiny amount of fresh chopped herbs if desired.
- Serve warm, while they're still tender.
+ Show details− Hide details
Ready when: Flatbreads are lightly glossy with olive oil and still warm to the touch.
Good to know
Tips
- Don't over-knead: Once the dough is smooth and elastic, stop. Over-kneading a dough without yeast won't improve flavor and can make the dough tough. You're looking for silky, slightly tacky dough that springs back when poked.
- Herbs are forgiving: If you prefer one herb over another or only have two of the three, simply adjust amounts to equal 3 tablespoons total. This dough is flexible and delicious with different herb combinations.
- Water temperature matters: Warm water around 110°F (43°C)—pleasantly warm to the touch—helps the dough hydrate and develop properly. Cold water will slow development significantly.
- Make ahead for better flavor: Preparing the dough through the first rest, then refrigerating for 12–24 hours actually improves the flavor as the herbs and lemon continue to infuse. Proceed with shaping and cooking as directed after bringing to room temperature.
Make ahead
Yes. You can prepare the dough through the first rest (step 4), then refrigerate it in a covered bowl or airtight container for up to 24 hours. When ready to proceed, let it sit at room temperature for 20–30 minutes to take the chill off, then divide, shape, and cook as directed. Refrigerating the dough overnight actually improves the flavor as the herbs and lemon continue to infuse.
Storage & reheating
Room temperature: Best enjoyed warm or at room temperature on the day made, ideally within 2–3 hours. Once cooled completely, store in a paper bag at room temperature for up to 1 day. Refrigerator: Keep flatbreads in an airtight container for up to 3 days. Reheat gently: wrap in foil and warm in a 300°F (150°C) oven for 5–7 minutes, or place in a skillet over low heat for 1–2 minutes per side. Freezer: Freeze for up to 1 month by layering flatbreads with parchment paper and sealing tightly in a freezer bag. Thaw at room temperature for 30 minutes before reheating using the methods above.
Substitutions
- Fresh oregano → Fresh parsley, marjoram, or mint. Use the same amount, finely chopped. Any Mediterranean herb works well.
- Fresh thyme → Fresh dill, oregano, or additional basil. Use the same amount. Dill gives an herbaceous note that pairs nicely with the lemon.
- Fresh basil → Fresh parsley or mint. Use the same amount. Parsley is milder and more neutral; mint adds brightness.
- Fresh lemon zest → Lime zest, orange zest, or grated fresh ginger. Use 1.5 tablespoons of lime or orange; use 1 tablespoon of ginger as it's spicier. Each brings a different character.
- Extra-virgin olive oil → Neutral oil like vegetable, canola, or grapeseed oil. The flatbread will work fine but loses the Mediterranean character. Use the same amount (2 tablespoons).
More flatbread doughs
See all →
Find more like this
- Meal
- Dinner
- Cuisine
- Mediterranean
- Method
- Stovetop
- Quick & Easy
- Easy