Sourdough Holiday Pomegranate and Walnut Seed Bread
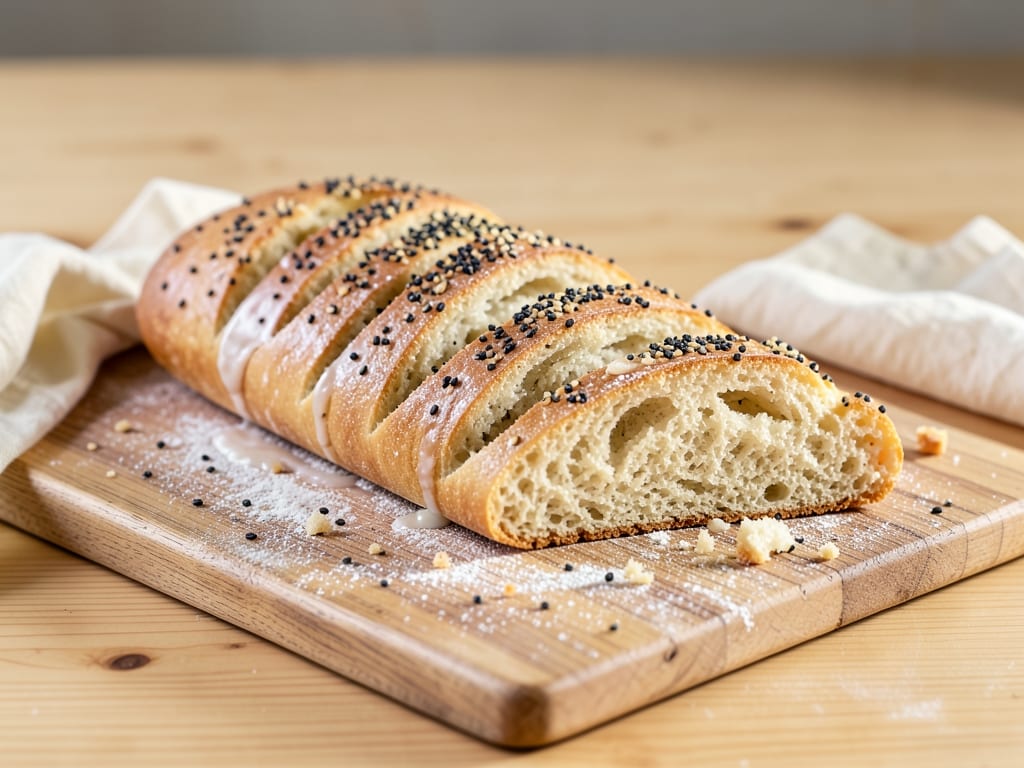
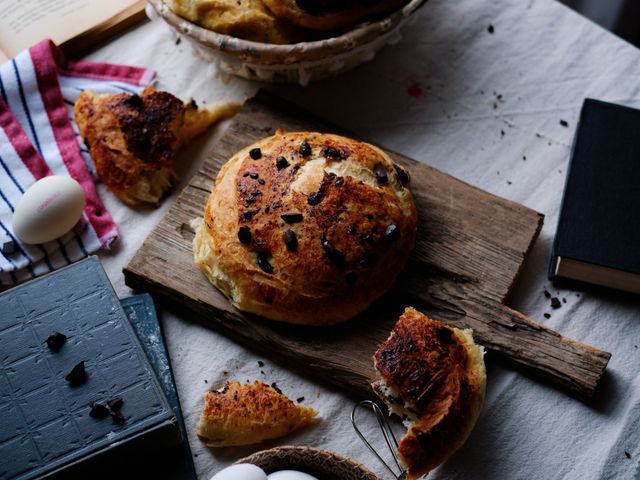
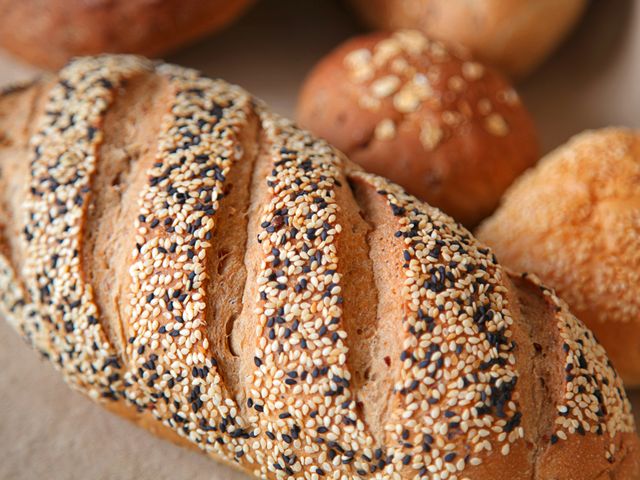
A rustic Persian-inspired sourdough loaf studded with toasted walnuts, pomegranate molasses, and a blend of sesame and sunflower seeds. The pomegranate molasses adds subtle tanginess and complexity, while the seeds create a nutty, crunchy crust. Perfect for holiday tables, this bread develops deep flavor through long fermentation and pairs beautifully with cheese, herbs, or eaten plain.
- Prep
- 30 min
- Cook
- 40 min
- Wait
- 15 hr
- Total
- 16 hr 10 min
- Makes
- 1 loaf (10–12 slices)
Steps
Before you start
- Feed your sourdough starter 4–6 hours ahead and bring it to room temperature so it's bubbly and active at peak rise.
- Toast the walnuts and seeds separately (walnuts 8–10 min at 350°F, seeds 5–7 min) and let them cool completely before mixing into the dough.
- Clear your schedule: this bread requires roughly 15 hours total, including two bulk fermentation periods and a final proof. Plan to start in the morning or afternoon.
Mix the dough
- In a large bowl, combine the 200 g active sourdough starter, 340 ml lukewarm water, and 45 ml pomegranate molasses.
- Stir until fully incorporated.
- Add the 480 g bread flour and mix by hand or with a stand mixer on low speed until a shaggy dough forms with no dry flour visible, about 3–4 minutes.
- Let it rest uncovered for 30 minutes at room temperature (autolyse).
- This allows the flour to fully hydrate and develops gluten structure without mechanical work.
+ Show details− Hide details
Ready when: No dry flour remains; dough is shaggy and cohesive
Tip: Keep the water warm but not hot—above 78°F and yeast activity accelerates too fast; below 70°F and fermentation stalls.
Add salt and incorporate seeds
- Sprinkle the 10 g salt over the dough.
- Using a stand mixer on low speed (or hand-kneading), work the salt into the dough for 1 minute until it no longer slides on the surface.
- Next, add the cooled toasted walnuts (120 g), sesame seeds (60 g), and sunflower seeds (60 g).
- Mix on low speed for 2–3 minutes until the nuts and seeds are evenly distributed throughout the dough.
- The dough will look ragged but should hold together.
+ Show details− Hide details
Ready when: Nuts and seeds are visibly distributed throughout; dough is elastic and slightly sticky
Tip: Add seeds only after salt is incorporated; salt can interfere with gluten development if added simultaneously with inclusions.
First bulk fermentation
- Transfer the dough to the same bowl.
- Cover loosely with a damp kitchen towel or beeswax wrap.
- Let it rest at room temperature (68–72°F / 20–22°C) for 4–5 hours.
- Perform a series of stretch-and-folds: at the 30-minute, 1-hour, 1.5-hour, and 2-hour marks, wet your hand and grasp one side of the dough, stretch it up and over the center, rotate the bowl, and repeat 4 times in all directions.
- By the end of the ferment, the dough should increase by 50–75% in volume, feel airy, and have visible bubbles on the surface and sides when you tilt the bowl.
+ Show details− Hide details
Ready when: Dough increased 50–75% in volume; surface shows visible bubbles; jiggles when bowl is shaken gently
Tip: Stretches in the first 2 hours strengthen the gluten without mechanical mixing; skipping them results in weak, flat loaves.
Pre-shape and rest
- Turn the dough out onto a lightly floured work surface.
- Using a bench scraper, gently shape it into a loose round by pulling the edges toward the center.
- Let it rest uncovered for 20–25 minutes.
- During this time, the dough will relax and you'll see a slight increase in height and air inside.
- This bench rest prevents excessive degassing when you perform the final shape.
+ Show details− Hide details
Ready when: Dough surface shows light tension; when poked gently, indent springs back halfway in 2–3 seconds
Tip: Do not flour the dough heavily during rest—it can dry out and stick awkwardly during shaping.
Final shape
- Flip the dough over so the smoother, skin-side is on the work surface and the seedy side faces down.
- Working from the top edge, fold the dough down and toward you in thirds, sealing with your heel of your hand with each fold to create tension.
- When you reach the bottom, use your palms to roll and tuck the dough toward you once or twice, creating final sealing tension.
- The goal is a boule (round loaf) with a taut, sealed seam on the underside.
- If you'd like, lightly brush the top with water and sprinkle the optional seed topping (mixed sesame and sunflower seeds) to enhance visual appeal.
+ Show details− Hide details
Ready when: Dough forms a taut round with a sealed seam underneath; top is smooth and cohesive
Tip: Tension on the shaped boule gives the loaf a good oven spring and round shape; loose shaping results in flat, sprawling loaves.
Final proof (cold retard)
- Place the shaped dough seam-side up into a well-floured banneton or a bowl lined with a floured kitchen towel.
- Cover the banneton loosely with plastic wrap or a plastic bag to prevent drying and condensation drip.
- Refrigerate at 38–40°F (3–4°C) for 10–14 hours.
- Cold fermentation develops complex flavor, makes scoring easier, and allows you to bake on your schedule.
- The dough will increase slightly but visibly during this time.
+ Show details− Hide details
Ready when: Dough is noticeably firmer but not rock-solid; a gentle poke leaves a slow, slight indent
Tip: A longer cold proof (up to 18 hours) is fine and adds more sour flavor; shorter than 10 hours reduces complexity.
Preheat oven and prepareOven 450°F / 230°C
- Remove the loaf from the refrigerator 20–30 minutes before baking (optional; baking cold also works).
- Place a Dutch oven or covered baking vessel (at least 3.5 qt capacity) in the oven and preheat to 450°F (232°C) for 45 minutes.
- The heat builds steam in the enclosed space, which develops a crispy, shattered crust and supports oven spring.
- Have your lame or sharp knife ready for scoring.
+ Show details− Hide details
Ready when: Oven thermometer reads 450°F and Dutch oven is very hot (carefully test with a hand held a few inches above for 1–2 seconds—it should feel intense)
Tip: Preheating the Dutch oven is crucial; a cold or warm vessel will not generate enough steam to develop a proper crust.
Score and loadOven 450°F / 230°C
- Carefully remove the Dutch oven from the oven (it is extremely hot).
- Invert the banneton and gently slide the chilled dough directly into the hot pot seam-side down.
- Using a lame or a very sharp knife held at a 45-degree angle, score the top with one or two decisive slashes about ¼ inch (6 mm) deep and 4–5 inches (10–13 cm) long.
- Score with confidence; hesitation produces a ragged, ineffective cut.
- Quickly cover the Dutch oven and place it back in the oven.
+ Show details− Hide details
Ready when: Dough sits in hot pot; scoring is clean and visible
Tip: Work quickly to minimize heat loss. If you are nervous about scoring, practice on a piece of paper first—one decisive motion is better than multiple tentative cuts.
First bake (covered)Oven 450°F / 230°C
- Bake covered for 20 minutes at 450°F (232°C).
- The dough will expand rapidly (oven spring) and the interior will cook in the trapped steam.
- You should hear the dough 'crackling' slightly as gluten sets and gas expands.
- Look through the oven window if possible—the loaf should have risen noticeably and the exterior should be turning golden.
+ Show details− Hide details
Ready when: Loaf has risen visibly; exterior is pale golden to light brown; steam escapes when you briefly open the pot (do so carefully)
Tip: Resist the urge to open the lid during the first 15 minutes—releasing steam prematurely weakens the crust.
Second bake (uncovered)Oven 425°F / 220°C
- Remove the lid from the Dutch oven and return it to the oven.
- Reduce the heat to 425°F (218°C) and bake for another 18–22 minutes.
- During this phase, the steam escapes, the crust crisps and darkens, and the interior finishes cooking.
- The loaf should develop a deep mahogany-brown color with visible caramelization on the walnut and seed-studded surface.
- The crust should sound hollow when you tap it, and the internal temperature (measured with an instant-read thermometer inserted into the thickest part, avoiding seeds and nuts) should reach 205–210°F (96–99°C).
+ Show details− Hide details
Ready when: Crust is deep brown; bottom sounds hollow when tapped; internal temperature 205–210°F (96–99°C)
Tip: If the top is browning too quickly before the inside is done, tent loosely with foil for the final few minutes; conversely, if the loaf is pale after 15 minutes uncovered, increase heat to 450°F.
Cool completely
- Transfer the finished loaf to a wire cooling rack and let it rest at room temperature for at least 1 hour, ideally 2–3 hours, before slicing.
- During cooling, the crumb (interior structure) sets as starches firm up.
- Cutting too early releases steam and results in a gummy, underdone interior.
- The pomegranate molasses flavor will mellow and integrate as the loaf cools.
+ Show details− Hide details
Ready when: Loaf is warm but not hot to the touch; interior is fully set when sliced and shows no wet dough
Tip: Patience here is essential—a warm loaf sliced too early will be dense and gluey despite baking correctly.
Good to know
Tips
- Starter vitality is the foundation. A weak, sluggish starter results in slow fermentation and flat loaves. Always feed your starter at least 4–6 hours ahead and bake when it shows bubbles and has at least doubled from its fed state.
- Temperature control matters: sourdough ferments best at 68–72°F (20–22°C). If your kitchen is warmer, shorten the bulk fermentation; if cooler, extend it. Cold-retarding (step 6) is your secret weapon for flavor and baker convenience.
- Stretch-and-folds develop strength without mechanical mixing, crucial for a light, open crumb. Don't skip them or rush through—they are your intervention during bulk fermentation.
- The Dutch oven creates steam, which is essential for crust development. Without it, the loaf will bake in dry heat and develop a thin, pale crust instead of a shattered, caramelized one. If you don't have a Dutch oven, use a covered baking vessel (covered baking stone + roasting pan inverted, or a cloche).
Make ahead
Store the shaped dough (step 5) covered in the refrigerator for up to 3 days before the final proof. Frozen, the unbaked dough keeps for up to 3 weeks when wrapped tightly; thaw in the refrigerator overnight and bake as directed.
Storage & reheating
Room temperature, wrapped in a towel or bread bag, for up to 2 days. Refrigerated in an airtight container or bag for up to 5 days; reheat wrapped loaf at 350°F (175°C) for 10–12 minutes to restore crust crispness. Freezer: slice or leave whole, wrap tightly in plastic wrap and foil, and freeze for up to 3 months. Toast frozen slices directly from the freezer or thaw in the refrigerator and gently reheat.
Substitutions
- pomegranate molasses (unsweetened) → Date molasses or a blend of balsamic reduction and honey (2 tbsp balsamic reduced to 1.5 tbsp + 0.5 tbsp honey). Pomegranate molasses provides a tart, fruity note. Date molasses is earthier and slightly sweeter; balsamic adds complexity without the acidity. Adjust to taste.
- walnuts, coarsely chopped → Roasted pistachios, coarsely chopped, or a mix of walnuts and sliced almonds. Pistachios add green speckle and buttery flavor; almonds are milder. Maintain the 120 g weight total.
- sesame seeds (white or mixed) → Poppy seeds or hemp seeds (if using poppy, reduce to 45 g as they are more assertive). Poppy seeds add nuttiness and visual texture; hemp adds earthiness. Adjust quantity to taste and texture preference.
- bread flour (or all-purpose flour) → All-purpose flour or a 50/50 blend of all-purpose and whole wheat flour. Bread flour has higher protein, resulting in a chewier crumb. All-purpose yields a softer, less extensible dough. Whole wheat adds nuttiness but requires slightly more water—add 10 ml if using a 50/50 blend.