Sourdough Flatbread Dough
A long-fermented sourdough dough with deep tangy flavor and chewy, airy crumb. The 6-hour bulk fermentation develops complex flavors while high hydration (75%) creates an open, bubbly structure. Excellent for pan-frying, baking, or grilling into rustic flatbreads.
- Prep
- 20 min
- Cook
- 12 min
- Wait
- 8 hr 15 min
- Total
- 8 hr 47 min
- Makes
- 4 flatbreads (250g each after fermentation)
Steps
Before you start
- Feed your sourdough starter 4–8 hours ahead until it's doubled in volume and bubbly at the top
- Bring all water to room temperature (68–72°F / 20–22°C)
- Ensure your kitchen is cool enough (68–72°F) for even fermentation; if warmer, bulk fermentation will finish faster (check at 4 hours)
Combine flour and water
- In a large mixing bowl, combine all-purpose flour and room-temperature water.
- Using a damp hand or wooden spoon, mix until all flour is hydrated and no dry streaks remain (about 1–2 minutes of stirring).
- The dough will be shaggy and lumpy.
- Cover the bowl with a damp towel and let rest undisturbed at room temperature for 30 minutes.
- This rest, called an autolyse, allows flour to fully absorb water and gluten to develop naturally without any mixing.
+ Show details− Hide details
Ready when: All flour is visibly hydrated with no dry white streaks; dough is unified but lumpy
Tip: The autolyse is crucial: it reduces the amount of hands-on mixing needed later and creates a stronger dough structure for better rise.
Incorporate starter and salt
- After the 30-minute rest, add the active sourdough starter and fine sea salt to the dough.
- Using wet hands (to prevent sticking), squeeze and fold the mixture together for 2–3 minutes, working from the edges toward the center, until the starter and salt are evenly distributed throughout and the dough feels cohesive and slightly sticky.
- You are not trying to develop gluten aggressively here—just combine the ingredients thoroughly.
+ Show details− Hide details
Ready when: Starter and salt are evenly distributed; dough is unified and slightly sticky
Tip: Keep your hands wet throughout; this prevents sticking and makes the dough easier to work. If your starter doesn't smell noticeably sour, it may not be active enough—the dough will ferment slowly.
Bulk fermentation with stretch-and-fold
- Cover the bowl loosely with a damp towel or plastic wrap.
- Let the dough rest at room temperature (68–72°F / 20–22°C) for 30 minutes.
- Then perform the first stretch-and-fold: wet one hand, reach to the side of the bowl, stretch the dough upward, and fold it over the center.
- Rotate the bowl 90° and repeat 4 times around (taking about 1 minute total per set).
- Perform this sequence every 30 minutes for the next 1.5 hours (3 more sets, 4 total).
- After the final stretch-and-fold, cover and let the dough rest undisturbed for 4 hours at room temperature.
- The dough should increase 50–75% in volume and show small bubbles on the surface.
+ Show details− Hide details
Ready when: Dough has increased 50–75% in volume, surface shows visible small bubbles, dough jiggles slightly when the bowl is moved, and it feels airy when gently pressed
Tip: Stretch-and-folds strengthen dough without intensive kneading. If your kitchen is cooler than 68°F, the fermentation will take 7–8 hours instead; warmer kitchens (above 72°F) may finish in 4–5 hours. Check the dough's appearance and feel rather than relying on the timer alone.
Divide into portions
- Turn the bulk-fermented dough onto a lightly floured work surface.
- Using a bench scraper or knife, divide the dough into 4 equal portions (each weighing about 250g if using a scale, or roughly the size of an orange).
- Gently pre-shape each portion into a loose round by folding the edges toward the center and rotating slightly to create light surface tension.
- Place the rounded pieces on the floured surface, cover loosely with a towel, and let rest for 15 minutes.
- This short rest allows the gluten to relax slightly, making the final shaping easier.
+ Show details− Hide details
Ready when: Dough is divided into 4 roughly equal portions, each gently pre-shaped into a round
Tip: Use a scale to divide by weight (250g each) if possible; this ensures all flatbreads cook evenly. If dividing by eye, they should be roughly the same size.
Final shape into flatbread
- Take one pre-shaped round and place it on a piece of parchment paper.
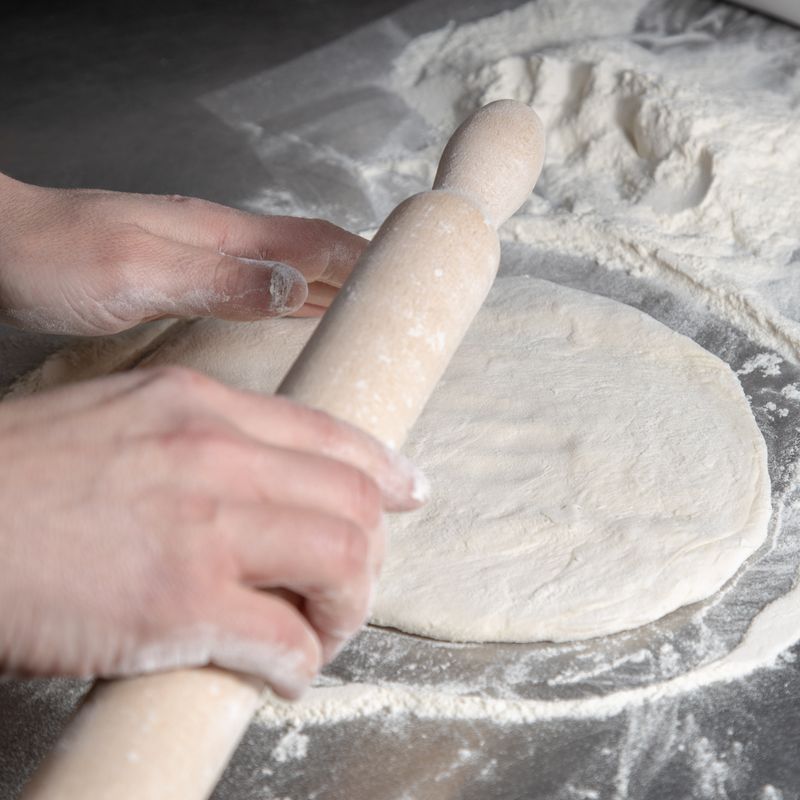
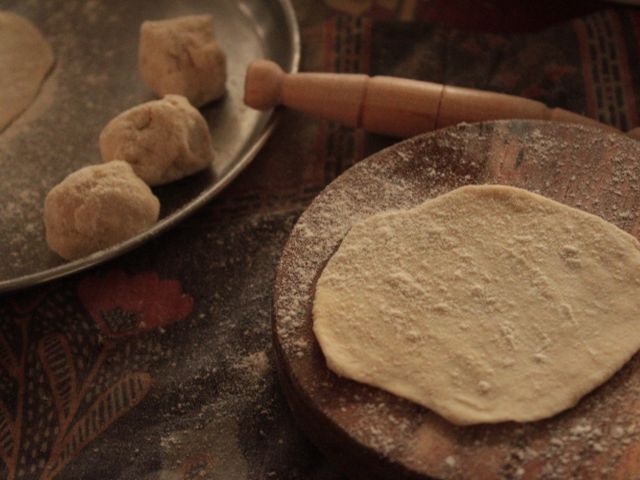
- Using your fingertips and the heel of your hand, gently stretch the dough into a ¼-inch-thick (6 mm) oval or rectangle, working from the center outward.
- If the dough springs back aggressively, rest it for 1–2 minutes and try again—do not force it, or you will deflate the fermented bubbles.
- Repeat with the remaining 3 portions, spacing them on a large baking sheet or parchment-lined surface with a little room between each.
+ Show details− Hide details
Ready when: Flatbreads are stretched into roughly ¼-inch-thick pieces with visible air bubbles and an even thickness
Tip: If dough springs back too much, rest it; this is a sign of strong gluten development and tight fermentation bubbles, both good signs. Gently stretching takes 30–60 seconds per piece.
Final proof at room temperature
- Cover the shaped flatbreads loosely with a damp towel or plastic wrap.
- Let them rest at room temperature (68–72°F / 20–22°C) for 1.5–2 hours.
- The dough should become puffy and light.
- Test readiness by gently poking the surface with your finger: the indent should spring back slowly, leaving a small depression that doesn't disappear completely.
- If it springs back immediately, proof for another 30 minutes; if the indent doesn't spring back at all, it is over-proofed and should be cooked immediately (it will be less puffy but still delicious).
+ Show details− Hide details
Ready when: Flatbreads are visibly puffy, spring back slowly when gently poked, and show bubbles on the surface
Tip: If your kitchen is warm (above 72°F) or your starter is very active, check readiness after 1 hour; over-proofing will make the dough collapse when cooking. A slow spring-back is the ideal sign.
Pan-fry flatbreadsOven 375°F / 190°C
- Heat a large skillet or griddle over medium-high heat for 2 minutes until it reaches 350–375°F (175–190°C).
- Carefully transfer one flatbread (still on its parchment) to the hot skillet, then immediately peel away the parchment.
- Cook for 2–3 minutes until the bottom develops golden-brown spots with light char.
- Flip using a spatula and cook the other side for 1.5–2 minutes until cooked through and lightly speckled.
- Transfer to a wire rack.
- Repeat with the remaining flatbreads, adjusting heat if needed: if they brown too quickly, lower to medium; if they pale and don't brown, increase to medium-high.
+ Show details− Hide details
Ready when: Bottom and top are golden brown with light char spots, interior is cooked through with no raw dough visible when cut open
Tip: If flatbreads puff up dramatically in the pan (a sign of strong fermentation), gently press down with the spatula once during cooking to keep them relatively flat and ensure even cooking throughout. Avoid pressing down excessively or you'll lose the fluffy texture.
Good to know
Tips
- An active, bubbly sourdough starter is essential. If your starter has been dormant or refrigerated, feed it on a regular schedule (1–2 times daily) for 3–5 days until it rises predictably and smells pleasantly sour. A weak starter will ferment the dough very slowly.
- Stretch-and-fold is gentler than kneading and perfect for high-hydration doughs. Wet hands, not a bench. Each set should take about 1 minute; four sets over 2 hours build excellent structure without overworking.
- The long bulk fermentation (6 hours) is where flavor develops. Shorter fermentations (with commercial yeast) produce milder, fluffier flatbreads; longer fermentations (like this one) create deeper, tangier flavor with a chewy crumb.
- Pan-frying in a hot skillet is the quickest method and gives beautiful golden spots. For a lighter texture, bake at 475°F (245°C) on a preheated baking sheet for 8–10 minutes, or grill over medium-high heat for 2–3 minutes per side.
Make ahead
Yes. After the bulk fermentation (step 3), you can refrigerate the dough in an airtight container for up to 24 hours. Bring it to room temperature for 1 hour, then proceed to division and shaping. Alternatively, shape the flatbreads, cover them, and refrigerate for up to 16 hours; let them come to room temperature (30–60 minutes) and re-proof for 30–45 minutes at room temperature before cooking.
Storage & reheating
Room temperature (4 hours): Cover loosely. Refrigerator (5 days): Store in an airtight container; reheat gently in a dry skillet over medium heat for 1–2 minutes per side, or wrap in foil and warm in a 325°F / 163°C oven for 5–8 minutes. Freezer (3 months): Wrap cooled flatbreads individually in plastic wrap and foil; thaw at room temperature for 1–2 hours and reheat as above. Uncooked dough (24 hours): refrigerate as described in make-ahead section.
Substitutions
- all-purpose flour → bread flour (higher protein content). Bread flour will create a slightly chewier, more extensible dough; use the same weight (500g) but reduce water by 5–10ml (roughly 1–2 teaspoons) if the dough feels too wet.
- fine sea salt → kosher salt. Kosher salt has larger crystals, so increase the amount to 2.5 teaspoons (by weight, roughly 12–13g depending on grain size) to achieve the same salinity.
- sourdough starter → active dry yeast. Use 1.5 teaspoons (5g) of active dry yeast instead of sourdough starter. This creates a milder, less tangy dough and significantly reduces fermentation time to 3–4 hours total (skip the long 4-hour rest; ferment with stretches for 2–2.5 hours only).
- water → milk or buttermilk (for richness). Substitute up to 50% of the water (about 185ml / ¾ cup) with milk or buttermilk for a richer, more tender crumb. This will slightly increase fermentation time. Bring milk to room temperature before mixing.
More flatbread doughs
See all →
Find more like this
- Meal
- Dinner
- Method
- Stovetop
- Quick & Easy
- 5 Ingredients or Less