
Japanese Konnyaku and Vegetables Broth
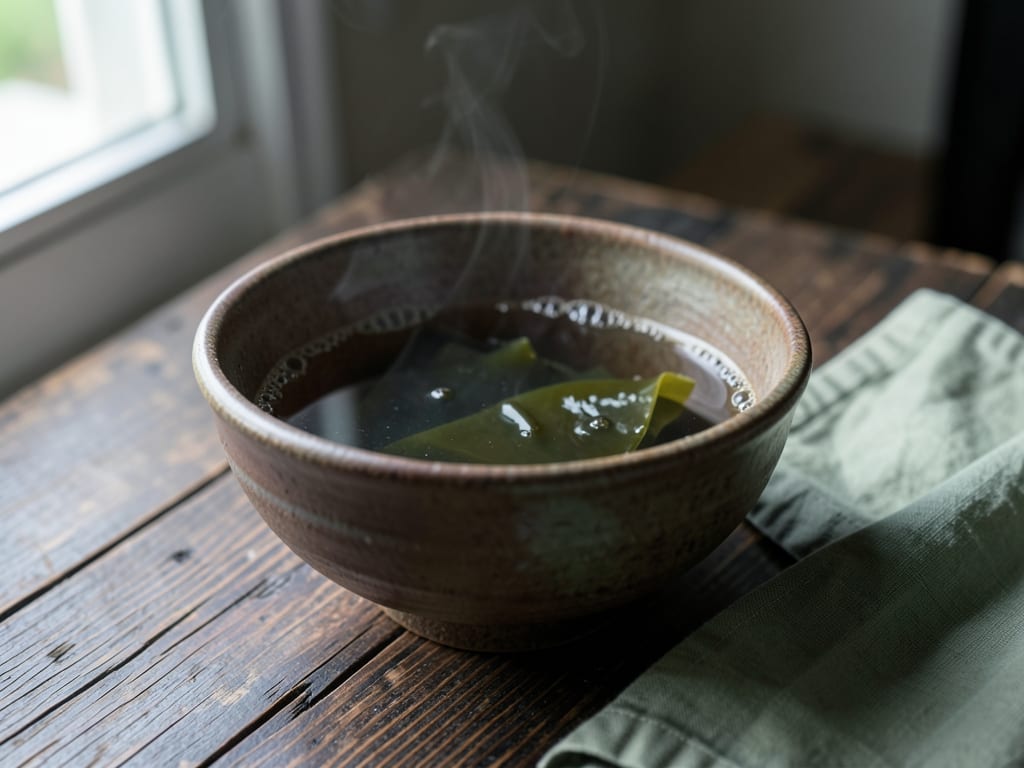
A light, umami-forward Japanese broth featuring silky konnyaku and tender vegetables in a dashi-based stock. The broth pulls deep savory notes from kombu seaweed and bonito flakes, while daikon radish adds subtle sweetness and carrot provides gentle earthiness. This traditional comfort broth is ideal served hot as a light soup or as a component in other Japanese dishes. It takes just 30 minutes from start to table.
- Prep
- 15 min
- Cook
- 20 min
- Total
- 35 min
- Makes
- 4 servings (4 cups / 950 ml broth with vegetables)
Steps
Before you start
- Have all vegetables prepped and ready before you start—the broth comes together quickly
- If using dried kombu, wipe it gently with a dry cloth to preserve the white bloom (umami flavor)
- If you don't have bonito flakes, substitute with additional kombu or use instant dashi powder
Make the dashi stock
- Pour 5 cups (1180 ml) of water into a large pot (3–4 quart) and bring to a bare simmer over medium heat.
- Add the wiped kombu piece and let it steep for 3–4 minutes without boiling—the goal is to extract umami without bitterness.
- Remove the kombu with tongs and discard it.
+ Show details− Hide details
Ready when: Kombu has softened and water is fragrant
Tip: Do not boil the kombu or the broth will taste bitter. Keep heat gentle.
Add bonito flakes
- Remove the pot from heat.
- Sprinkle the bonito flakes (about ⅓ cup / 8 g) into the hot water and let them settle to the bottom.
- Wait 1–2 minutes, then slowly pour the broth through a fine-mesh sieve into a clean pot, leaving the flakes behind.
- Do not press the flakes; let the broth drain naturally.
+ Show details− Hide details
Ready when: Broth is clear and fragrant, bonito flakes have sunk
Tip: Pressing the flakes releases bitter compounds. Gentle straining keeps the broth clean and refined.
Add vegetables and konnyaku
- Return the clean pot of strained dashi to a gentle boil over medium heat.
- Add the daikon radish (about 5 oz / 140 g, cut into ¼-inch half-moons) and carrot (about 3 oz / 85 g, cut into ¼-inch half-moons or matchsticks).
- Simmer for 4–5 minutes until the vegetables are just tender but still slightly firm.
- Then add the konnyaku cubes (about 7 oz / 200 g), stir gently, and continue simmering for another 3–4 minutes.
+ Show details− Hide details
Ready when: Daikon and carrot are soft but not mushy; konnyaku is heated through
Tip: Keep the heat at a gentle simmer—a rolling boil will make the vegetables mushy and cloud the broth. Konnyaku absorbs flavors best when it spends time in the hot liquid.
Season to taste
- Taste the broth carefully.
- If desired, add a small pinch of sea salt (¼–½ teaspoon) to enhance the natural umami.
- Optionally, add ½ teaspoon soy sauce for depth and ½ teaspoon mirin for subtle sweetness.
- Stir gently to combine.
- Adjust seasoning as needed—the broth should be savory and balanced, never overly salty.
+ Show details− Hide details
Ready when: Broth tastes balanced and pleasantly savory
Tip: Add seasoning gradually—it's easier to add more than to remove. The kombu and bonito already provide significant umami, so salt and soy are optional finishing touches.
Finish and serve
- Ladle the broth and vegetables into small bowls.
- If using fresh scallion, sprinkle the sliced white parts over the surface and reserve some green parts for garnish.
- Pour the hot broth over the vegetables and konnyaku.
- Top with the green scallion slices if desired, and serve immediately.
+ Show details− Hide details
Ready when: Broth is steaming, vegetables and konnyaku are tender and visible
Tip: Serve in warmed bowls to keep the broth hot longer. Fresh scallion adds a bright note that balances the umami of the dashi.
Good to know
Tips
- Konnyaku has almost no flavor on its own—it absorbs the umami of the broth beautifully. Cut it into cubes or thin noodles depending on your preference; thinner pieces cook faster and absorb broth more readily.
- The quality of your dashi is crucial. Kombu and bonito are worth sourcing from a Japanese grocery store or online—they deliver a clean, refined umami that instant dashi cannot match.
- Do not rush the kombu infusion or boil it aggressively; high heat extracts bitterness. Similarly, keep the final simmer gentle to preserve the clarity and delicate flavor of the broth.
- This broth can be served as a standalone light soup (ideal for a first course) or used as a base for other Japanese dishes like nabemono (hot pot) or udon noodle soups. Multiply the recipe as needed.
Make ahead
You can prepare the dashi stock (kombu and bonito broth) up to 2 days ahead and store it in the refrigerator. Reheat gently over medium heat before adding vegetables and konnyaku. The finished broth is best served fresh but can be stored and reheated.
Storage & reheating
Room temperature: Do not leave broth at room temperature for more than 1 hour. Refrigerator: Store in an airtight container for up to 3 days. Reheat gently over medium heat on the stovetop or in a microwave until steaming. Freezer: The broth freezes well for up to 3 months (konnyaku texture may soften slightly after freezing). Thaw overnight in the refrigerator and reheat gently.
Substitutions
- kombu (dried kelp) → 2 sheets of instant dashi (dashi pack). Steep the dashi pack for 5 minutes instead of kombu, then remove and discard. This speeds up preparation but produces a lighter umami flavor.
- bonito flakes (katsuobushi) → ¼ teaspoon instant dashi powder stirred in after straining. Instant dashi is convenient and produces similar results, though fresh bonito flakes offer superior aroma and depth.
- konnyaku (konjac jelly block) → tofu (cut into cubes) or shirataki noodles. Tofu provides a softer, silkier texture; shirataki noodles offer a similar chewy quality. Both cook in about 2 minutes rather than 3–4 minutes.
- daikon radish → turnip or white radish (cut the same way). Offers a milder, slightly earthier flavor than daikon but maintains the delicate texture and pale appearance.
More broths
See all →


Find more like this
- Meal
- Lunch
- Cuisine
- Japanese
- Diet
- Dairy-Free
- Method
- Stovetop
- Quick & Easy
- 5 Ingredients or LessEasyBeginner