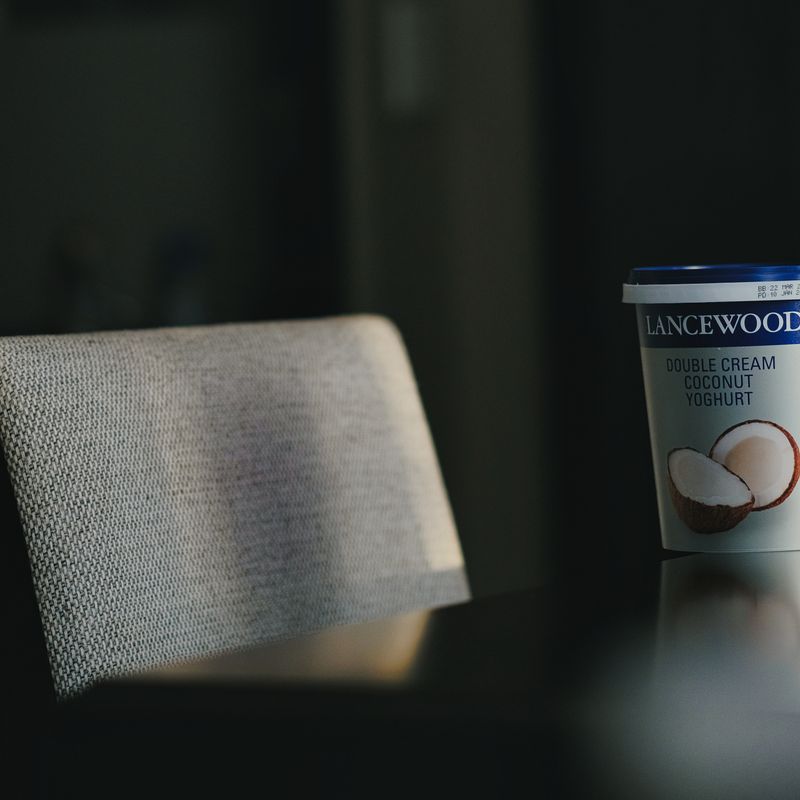
Instant Pot Dairy-Free Coconut Yogurt
Creamy, tangy dairy-free yogurt made with coconut milk and live probiotic cultures in an Instant Pot. The addition of tapioca starch creates a rich texture, while maple syrup adds subtle sweetness. Ready to eat after 8–12 hours of gentle fermentation, this yogurt is perfect for breakfast bowls, smoothies, or as a base for sauces.
- Prep
- 15 min
- Cook
- 5 min
- Wait
- 9 hr
- Total
- 9 hr 20 min
- Makes
- 6 cups (1.4 L) yogurt, about 12 servings
Steps
Before you start
- Ensure your Instant Pot is clean and sanitized; wash the inner pot, lid, and any tools you'll use with hot soapy water
- Open 3–4 probiotic capsules and set them aside at room temperature (do not use refrigerated probiotics unless they've warmed to room temperature first)
- Have 6 clean glass jars or a clean yogurt container ready to hold the finished yogurt
- Read the timing: fermentation takes 8–12 hours depending on how tangy you like the yogurt
Prepare the yogurt base
- In a large bowl, whisk together the shaken coconut milk, tapioca starch, and maple syrup until the starch is fully dissolved and the mixture is smooth and well combined.
- This prevents lumps during heating.
- Pour the mixture into the Instant Pot inner pot.
+ Show details− Hide details
Tip: Whisk well to fully dissolve the tapioca starch; lumps will prevent a smooth yogurt texture.
Heat the coconut mixtureOven 180°F / 80°C
- Close the Instant Pot lid and set the valve to 'sealing'.
- Press the 'Pressure Cook' or 'Manual' button and set to high pressure for 1 minute.
- This gently heats the coconut milk to activate the starch and create a custard-like base, then allows natural pressure release.
- Once the cooking is complete, allow the pot to naturally release pressure for 5 minutes, then carefully open the lid.
- The mixture should be warm and slightly thickened.
- If you have a thermometer, the temperature should be around 180°F (82°C).
+ Show details− Hide details
Ready when: Coconut mixture is warm, slightly thickened, and steaming
Tip: Use natural release rather than quick release to prevent splattering and preserve the texture.
Cool to fermentation temperature
- Remove the inner pot from the Instant Pot housing and set it on a heat-safe surface or counter.
- Allow the coconut mixture to cool to between 105–115°F (40–46°C).
- This typically takes 20–30 minutes.
- You can speed this by placing the pot in a shallow ice bath, but avoid rapid cooling.
- Stir occasionally.
- If using a thermometer, aim for closer to 105°F (40°C) to avoid killing the probiotics.
+ Show details− Hide details
Ready when: Mixture is warm to touch but not hot; thermometer reads 105–115°F (40–46°C)
Tip: If the mixture cools below 100°F (37°C), it's too cold and may not ferment well. If it's hotter than 120°F (49°C), you risk killing the probiotics.
Activate and mix in probiotics
- In a small bowl, combine the probiotic powder (from 3 opened capsules) with the lukewarm filtered water.
- Stir gently to dissolve the powder, creating a thin slurry.
- Let it sit for 1 minute to fully activate.
- Once the coconut mixture has cooled to 105–115°F (40–46°C), whisk or stir the probiotic mixture into the coconut milk until evenly distributed.
- If using vanilla extract, add it now and stir well.
+ Show details− Hide details
Ready when: Probiotic powder is fully dissolved and mixed into yogurt base
Tip: Stir gently but thoroughly; uneven distribution of probiotics will result in inconsistent fermentation.
Pour into jars
- Carefully pour the inoculated coconut milk mixture into your clean glass jars or yogurt container, filling each to within ½ inch of the rim.
- Cover each jar loosely (a simple glass lid, or a paper towel secured with a rubber band) to allow air exchange while keeping out dust and debris.
+ Show details− Hide details
Ready when: Yogurt base is poured evenly into jars and loosely covered
Tip: Do not seal tightly; fermentation produces CO₂ and the yogurt needs air circulation.
Set up the Instant Pot for fermentation
- Pour 1½ cups (360 ml) of hot water into the bottom of the Instant Pot inner pot.
- Place the trivet (rack) that came with your Instant Pot inside, or create a makeshift rack using aluminum foil balls to elevate the jars above the water.
- Carefully arrange the jars on the trivet so they do not touch the bottom of the pot or each other.
- Insert the glass lid (or regular Instant Pot lid) and set the Instant Pot to 'yogurt' mode at 105°F (40°C) for 8 hours to start.
- This creates a warm, stable environment for fermentation.
+ Show details− Hide details
Ready when: Jars are placed on the trivet and Instant Pot is set to yogurt mode
Tip: If your Instant Pot does not have a 'yogurt' mode, use the 'Low' setting or keep the inner pot at around 105°F (40°C) using the 'Keep Warm' button.
Ferment the yogurt
- Allow the yogurt to ferment for 8–12 hours, depending on your desired tanginess.
- For a milder, creamier yogurt, ferment for 8–9 hours.
- For a more tangy, tart yogurt, ferment for 10–12 hours.
- Do not open the Instant Pot or disturb the jars during fermentation.
- The longer fermentation time also allows the probiotics to consume more of the coconut milk's natural sugars, resulting in a lower-sugar product.
+ Show details− Hide details
Ready when: Yogurt is visibly thickened, opaque, and coats a spoon; a tart or tangy aroma is present
Tip: Avoid opening the Instant Pot during fermentation; this drops the temperature and can result in thin yogurt.
Check doneness and cool
- After 8 hours, carefully open the Instant Pot and gently tilt one jar to check the consistency.
- The yogurt should be set like custard and coat the spoon.
- If it's still too thin, reseal the Instant Pot and ferment for another 1–2 hours.
- Once the yogurt reaches your desired thickness, carefully remove the jars and set them on the counter to cool to room temperature, about 1 hour, before refrigerating.
+ Show details− Hide details
Ready when: Yogurt is set and creamy; it coats a spoon and separates slightly when tilted
Tip: If the yogurt is too thin, don't discard it—return the jars to the Instant Pot for another 1–2 hours of fermentation. The longer it ferments, the thicker and more tart it becomes.
Refrigerate and store
- Once cooled, cover the jars tightly and transfer to the refrigerator.
- The yogurt will continue to set slightly and thicken as it cools.
- It will keep for up to 2 weeks in the refrigerator.
+ Show details− Hide details
Ready when: Yogurt is chilled and ready to serve
Tip: Store yogurt in clean, airtight containers to prevent mold growth and off-flavors.
Good to know
Tips
- Sanitize all equipment thoroughly with hot soapy water or a dilute bleach solution (1 tablespoon bleach per gallon of water) and rinse well. Clean equipment prevents contamination and off-flavors.
- The temperature is critical: keep the Instant Pot between 100–115°F (37–46°C) during fermentation. Too cold and the culture won't activate; too hot and you'll kill the probiotics.
- If your yogurt turns out too thin, increase the tapioca starch to 4 tablespoons (32 g) and extend fermentation to 10–12 hours. You can also strain the yogurt through cheesecloth for 4–8 hours to thicken it further.
- Fermentation time varies based on the strength of your probiotic culture, room temperature, and personal preference. Start with 8 hours and taste; ferment longer if you like it tangier.
Make ahead
Yogurt can be made 1 day ahead and kept covered in the refrigerator. It continues to thicken and develop tang as it ages.
Storage & reheating
Store in airtight glass jars or containers in the refrigerator for up to 2 weeks. The yogurt will become slightly more tart over time. Do not freeze; the probiotics are inactive when frozen, and freezing damages the texture. To reheat or thin, gently warm in a saucepan over low heat or stir in a splash of coconut milk or milk alternative.
Substitutions
- multi-strain probiotic capsules (refrigerated or shelf-stable) → ½ cup (120 ml) of store-bought dairy-free yogurt with active cultures (unsweetened). Use yogurt that is less than 1 week old for best results. Mix it into the cooled coconut milk instead of the probiotic powder and water.
- tapioca starch → 3 tablespoons (18 g) of cornstarch or 2 tablespoons (14 g) of arrowroot powder. Cornstarch creates a slightly glossier texture; arrowroot powder is lighter and more delicate. Both work well for thickening.
- pure maple syrup → 2 tablespoons (24 g) of sugar, honey, or agave nectar. These feed the probiotics during fermentation. Avoid artificial sweeteners, as they do not ferment well.
- full-fat canned coconut milk → Oat milk, cashew cream (1 cup raw cashews blended with 2 cups water), or a 1:1 blend of coconut milk and oat milk. Each alternative produces a slightly different texture; oat milk yields a thinner yogurt, while cashew cream creates a richer product. You may need to adjust fermentation time by 1–2 hours.
More yogurt & granola
See all →


Find more like this
- Meal
- Breakfast
- Method
- Instant Pot
- Quick & Easy
- 5 Ingredients or LessMeal PrepMake Ahead