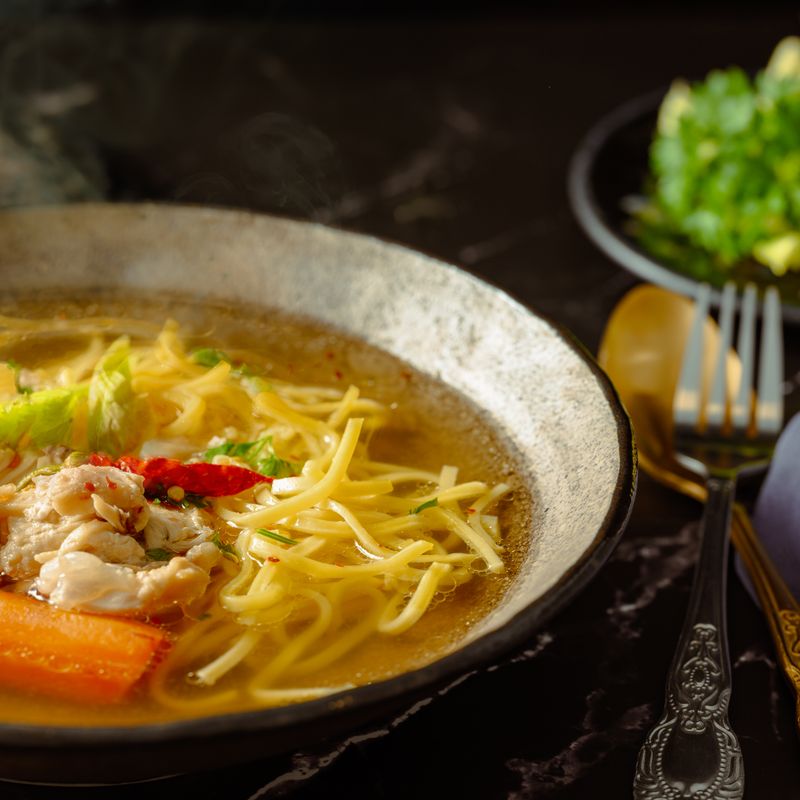
Instant Pot Chicken Broth
A clear, deeply flavored chicken broth made in the pressure cooker from chicken wings, onion, carrot, garlic, and parsley. Wings are rich in collagen, so the broth turns silky and sets to a light jelly in the fridge, all in about an hour of pressure cooking.
- Prep
- 15 min
- Cook
- 1 hr 15 min
- Wait
- 45 min
- Total
- 2 hr 15 min
- Makes
- About 2 quarts (1.9 liters) broth, 8 cups
Steps
Before you start
- Use a 6-quart or 8-quart Instant Pot. Do not fill past the PC MAX line (about two-thirds of the pot).
- Chicken wings can go in raw and straight from the fridge, or thawed if frozen. Do not add them frozen solid, because the pot may take much longer to come to pressure.
- Timing: about 15 minutes to come to pressure, 60 minutes at pressure, and about 20 minutes of natural release, plus straining and cooling.
- Leave the salt until the end. This way you can season the finished broth to the strength you want.
Load the pot
- Place the chicken wings in the inner pot of a 6- or 8-quart Instant Pot.
- Add the quartered onion, carrot chunks, smashed garlic, parsley sprigs, peppercorns, and bay leaves.
- Add the apple cider vinegar if using; it helps draw collagen and minerals from the bones.
+ Show details− Hide details
Ready when: Ingredients sit in a loose, even pile in the pot.
Tip: Don't brown the wings for a light, clean broth. For a deeper, roasted flavor, brown them first on Sauté for 5 minutes.
Add the water
- Pour in about 8 cups (1.9 liters) cold water, just enough to cover the wings.
- Check that the level is at or below the PC MAX line (two-thirds full).
- Do not add salt yet.
+ Show details− Hide details
Ready when: Wings are just submerged and the water is below the PC MAX line.
Tip: Overfilling can cause sputtering through the valve and cloudy broth.
Seal and set pressure
- Lock the lid and turn the steam release handle to Sealing.
- Select Pressure Cook (Manual) on High and set the time to 60 minutes.
- The pot will take about 15 minutes to come to pressure before the countdown starts.
+ Show details− Hide details
Ready when: The float valve pops up and the display begins counting down from 60.
Tip: Check that the silicone sealing ring is seated in the lid, or the pot won't come to pressure.
Pressure cook
- Let the broth cook at high pressure for the full 60 minutes without opening or moving the pot.
+ Show details− Hide details
Ready when: The timer reaches zero and the pot beeps.
Natural release
- Leave the pot alone and let the pressure release naturally for 20 minutes.
- After that, carefully turn the valve to Venting to release any remaining steam, keeping your hands and face away from the steam.
+ Show details− Hide details
Ready when: The float valve drops and the lid unlocks and turns freely.
Tip: A quick release can spray fatty liquid from the valve and cloud the broth.
Strain the broth
- Set a fine-mesh strainer (lined with damp cheesecloth for extra clarity) over a large heatproof bowl or pot.
- Use tongs to lift out the wings and vegetables, then ladle the broth through the strainer.
- Discard the solids, or pick the meat off the wings for another use.
- Don't press on the solids, which can cloud the broth.
+ Show details− Hide details
Ready when: Broth is golden and mostly clear with no bits of vegetable or bone.
Tip: The wings will be very tender and may fall apart. Lift them gently with a slotted spoon or spider.
Season to taste
- Stir 1½ tsp (6 g) kosher salt into the warm broth, then taste.
- Add more salt a pinch at a time until the broth tastes savory and well rounded.
- Use less if you plan to reduce it or use it in salty dishes.
+ Show details− Hide details
Ready when: Broth tastes clearly chicken-y and savory, not flat.
Tip: Season lightly if the broth will be used in recipes that are later salted or reduced.
Cool and defat
- Let the broth cool at room temperature for about 25 minutes (no more than 1 hour total), then refrigerate uncovered or loosely covered until cold, about 4 hours or overnight.
- Lift off the solid layer of fat from the top with a spoon, or skim off warm fat with a ladle.
- Save the fat (schmaltz) for cooking if you like.
+ Show details− Hide details
Ready when: Broth is cool to the touch, and chilled broth has a firm white fat cap on top.
Tip: Chilled broth may set to a soft jelly, which is a sign of plenty of collagen. It melts when reheated.
Good to know
Tips
- Keep the onion skin on for a deeper golden color, but wash the onion well first.
- For a clearer broth, start with cold water, avoid stirring, and don't press the solids when straining.
- Freeze broth in 1-cup (240 ml) portions or in ice cube trays for easy use in sauces and soups.
- Use the Sauté function to simmer and reduce strained broth by one-third for a more concentrated flavor.
Make ahead
"Broth can be made up to 4 days ahead and kept chilled in the fridge, or frozen for up to 3 months."
Storage & reheating
"Refrigerator: up to 4 days in airtight containers. Freezer: up to 3 months in freezer-safe containers or jars, leaving 1 inch (2.5 cm) of headspace for expansion. Room temperature: no more than 2 hours total. Reheat on the stovetop over medium heat until steaming hot and bubbling at the edges (165°F / 74°C), or thaw overnight in the fridge before reheating."
Substitutions
- chicken wings → chicken drumsticks, backs, or a mix of bony chicken parts. Keep the same weight. Wings, backs and feet give the most collagen and body.
- fresh flat-leaf parsley → fresh thyme sprigs (4 to 5). Gives a more herbal, savory flavor.
- apple cider vinegar → lemon juice (1 tbsp / 15 ml). Or simply omit it. The broth will still be good.
- carrots → celery stalks (2 medium). Adds a more savory, slightly vegetal note and less sweetness.
More broths
See all →

Find more like this
- Meal
- Lunch
- Main ingredient
- Chicken Wings
- Method
- Instant Pot
- Quick & Easy
- EasyOne-PotMake AheadFreezer Friendly