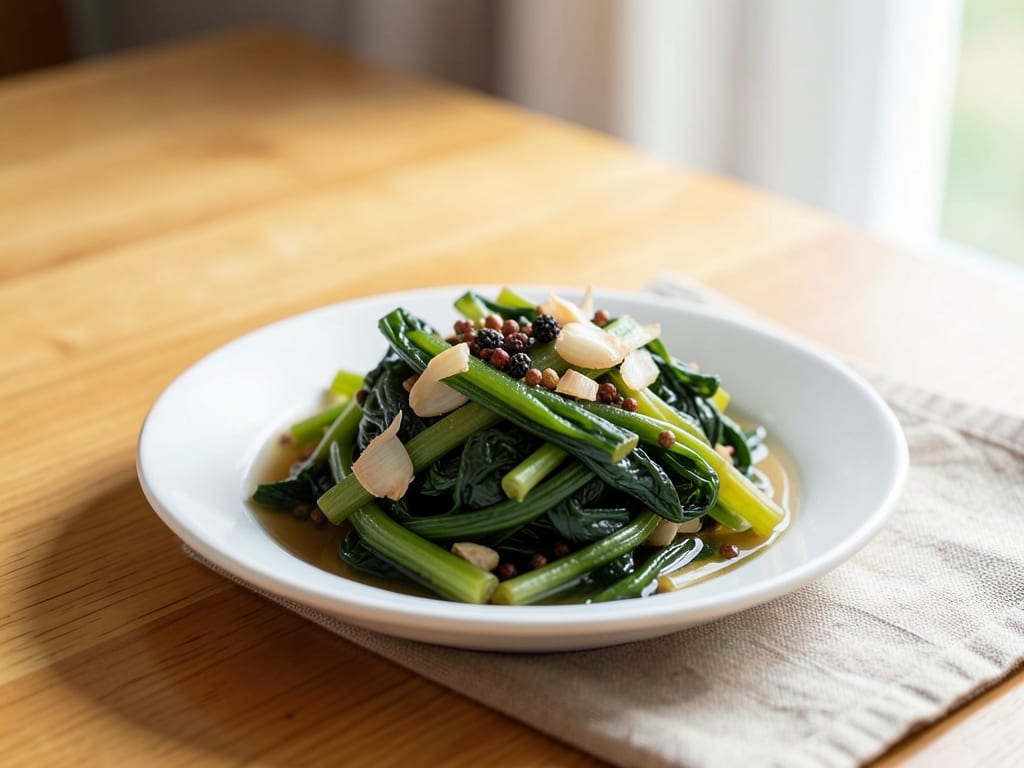
Chinese Pickled Mustard Greens (Suan Cai)
Crisp-tender, tangy and gently funky suan cai made by salt-wilting mustard greens and fermenting them in a light brine with ginger, garlic and Sichuan peppercorn. They're ready in about 5 days. Stir-fry them, simmer them into noodle soup, or serve them straight from the jar.
- Prep
- 32 min
- Cook
- 5 min
- Wait
- 5.1 days
- Total
- 5.1 days
- Makes
- 1 two-quart jar (about 10 side-dish servings)
Steps
Before you start
- Plan on about 5 days of fermenting at room temperature (68–75°F / 20–24°C). Cooler kitchens may need 7 days or more.
- Wash the jar, lid and weight in hot soapy water and rinse well. Any soap or oil residue can spoil the batch.
- Use non-iodized salt (fine sea salt or pickling salt). Iodized salt can slow fermentation and cloud the brine. Measure salt by weight if you can, because crystal sizes vary.
- Use boiled-and-cooled water or filtered water. Heavily chlorinated tap water can inhibit fermentation.
Trim and cut greens
- Peel off any yellowed or damaged outer leaves from the mustard greens and trim about ½ inch (1 cm) off the base of each head.
- Wash well under cold running water, since grit hides between the leaf folds.
- Shake off the water and pat roughly dry.
- Cut the thick stems and leaves crosswise into 2-inch (5 cm) pieces.
- Cut very wide stems in half lengthwise so all the pieces are similar in size.
- Put everything in a large bowl.
+ Show details− Hide details
Ready when: All pieces are roughly 2 inches (5 cm) long, with no pieces much thicker than a thumb.
Tip: Water clinging to the leaves dilutes the salt, so drain and shake the pieces well.
Salt and wilt
- Sprinkle the 12 g (2 tsp) massage salt over the greens.
- With clean hands, squeeze and toss the greens for 2 minutes, bruising them lightly, until they begin to release liquid.
- Cover the bowl loosely and let the greens sit for 2 hours at room temperature.
- Toss them once halfway through.
- Make the brine (next step) while they rest.
+ Show details− Hide details
Ready when: The greens are visibly wilted and limp, and a pool of green liquid has collected at the bottom of the bowl.
Tip: Don't skip the wilting. Greens packed without it stay bulky and release water later, which dilutes the brine.
Make the brine
- Combine the 750 ml (3¼ cups) water, 24 g (4 tsp) brine salt and the sugar in a small saucepan.
- Bring to a boil over high heat, stirring, for about 3 minutes until the salt and sugar fully dissolve.
- Remove from the heat, add the ginger, garlic, Sichuan peppercorns and dried chilies (if using), and let the brine cool completely.
- This takes about 1 hour, which fits within the wilting time.
- Test with a clean finger: the brine must feel neutral or cool, not warm.
+ Show details− Hide details
Ready when: Salt and sugar crystals have disappeared, and the brine is at room temperature before it touches the greens.
Tip: Hot brine will cook the greens and kill the good bacteria, so make sure it's cool before you use it.
Drain and squeeze
- Take handfuls of the wilted greens and squeeze them firmly over the bowl to remove as much liquid as you can.
- Don't rinse the greens, since the salt that clings to them is part of the cure.
- Discard the squeezed-out liquid, which is bitter and very salty.
- Return the greens to the bowl.
+ Show details− Hide details
Ready when: The greens have shrunk to about two-thirds of their original volume, feel limp and damp but don't drip when squeezed.
Pack the jar
- Pack the greens into the clean 2-quart (2 L) jar a handful at a time, pressing each layer down firmly with your fist or a clean spoon.
- Tuck the ginger, garlic, peppercorns and chilies from the cooled brine between the layers as you go, and set the brine aside.
- Stop packing when the greens are about 1½ inches (4 cm) below the rim.
+ Show details− Hide details
Ready when: The greens are tightly packed with 1½ inches (4 cm) of headspace, and the aromatics are spread through the layers.
Tip: Strain the aromatics out of the brine with a spoon or small sieve. The brine itself stays in the pan.
Add brine and weigh down
- Pour the cooled brine over the greens until they are completely submerged, with at least 1 inch (2.5 cm) of space left at the top.
- Press a fermentation weight onto the greens to keep them under the brine.
- Alternatively, fill a small zip-top bag with some leftover brine, seal it, and lay it on top.
- Close the lid, then loosen it a quarter turn so gas can escape.
- Set the jar on a plate to catch any overflow, out of direct sunlight.
+ Show details− Hide details
Ready when: No green leaf is exposed above the brine line.
Tip: Any piece poking above the brine can grow mold. Keep everything submerged.
Ferment 5 days
- Leave the jar at 68–75°F (20–24°C) for 5 days.
- Once a day, press the greens down under the brine with a clean spoon and check the jar.
- By day 2 you should see small bubbles rising and the brine turning cloudy.
- This is normal.
- The greens will shift from bright green to olive or yellow-green and smell pleasantly sour.
- Taste a piece on day 4 and continue until it's as tangy as you like.
+ Show details− Hide details
Ready when: The brine is cloudy and bubbly, the greens are olive-yellow, and the flavor is clean, tangy and sour, with no off smell.
Tip: A thin white film can be yeast. Skim it off, but discard the batch if you see fuzzy mold (green, black, pink or blue) or smell rot.
Chill and store
- Once the pickles taste right, tighten the lid and move the jar to the refrigerator.
- Chilling nearly stops fermentation and keeps the crunch.
- Take out only what you need with clean tongs, keeping the remaining greens under the brine.
- The flavor keeps improving for another week.
+ Show details− Hide details
Ready when: The jar is cold, the lid is tight, and the greens are still submerged.
Tip: Rinse very salty pieces briefly before cooking, and slice them thinly for stir-fries and soups.
Good to know
Tips
- Keep the greens submerged at all times. Submerged greens ferment safely, and exposed ones can grow mold.
- A brine of about 3% salt is a good balance. Less risks spoilage, and much more slows fermentation and makes the greens too salty.
- Warmer rooms ferment faster. In a kitchen above 78°F (26°C), check at day 3 so the pickles don't turn too sour.
- Try the pickles chopped and stir-fried with ground pork and chilies, or simmered with tofu and pork ribs in soup.
Make ahead
"The pickles are best made 5–7 days ahead. Their flavor keeps developing in the refrigerator for up to a week after fermentation."
Storage & reheating
"Room temperature: only during the 5-day ferment. Refrigerator: keeps in the brine, submerged, for up to 2 months. The flavor becomes more sour over time. Freezer: not recommended, because it softens the crunch. To serve, eat cold from the jar. To cook, slice and stir-fry for 2–3 minutes in a hot wok with oil, or simmer in soup for 5 minutes."
Substitutions
- mustard greens (gai choy / jie cai) → Napa cabbage or green cabbage. Cut into 2-inch (5 cm) pieces. The result is milder and less pungent. Napa will need only 3–4 days to ferment.
- Sichuan peppercorns → black peppercorns. Use 1 tsp (3 g). You will lose the numbing tingle but keep a peppery warmth.
- granulated sugar → rock sugar. Use 12 g and dissolve it in the hot brine. The flavor is slightly cleaner.
- dried red chilies → fresh red chilies. Use 2 sliced chilies. The heat is brighter and fresher.
More pickles & chutneys
See all →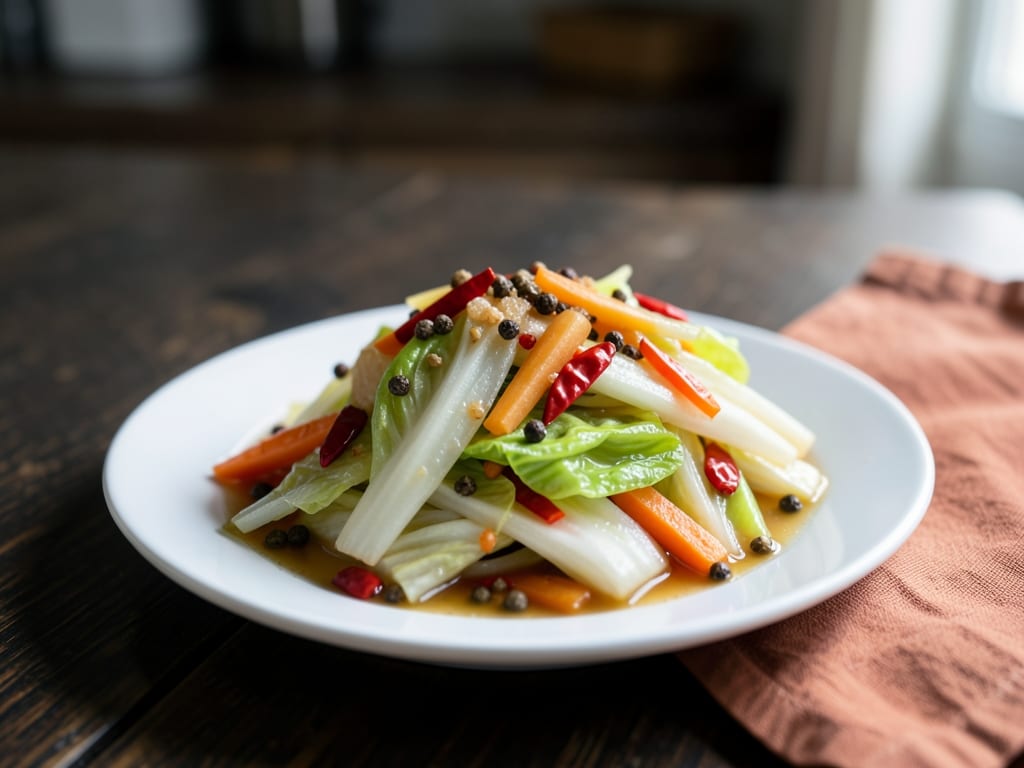
Find more like this
- Meal
- Lunch
- Cuisine
- Sichuan
- Method
- Stovetop
- Quick & Easy
- EasyMake Ahead