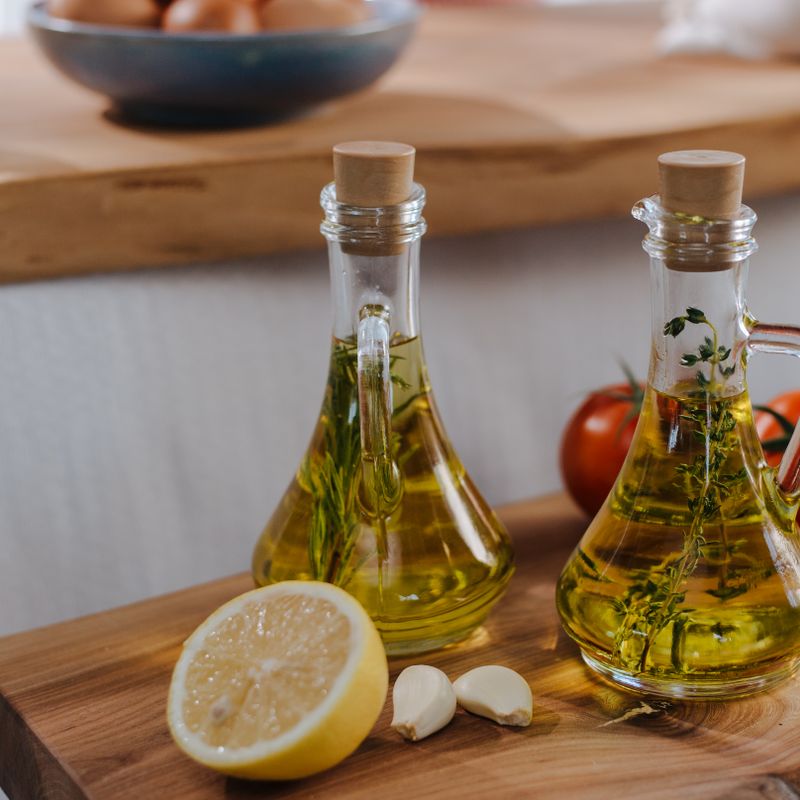
30-Minute Charred Garlic Oil
A quick stovetop infusion of slowly coaxed garlic cloves charred until golden and sweet, steeped in quality olive oil with a hint of heat from red pepper flakes and brightness from fresh lemon juice. Ready in 30 minutes, this versatile oil is perfect for finishing soups, drizzling over crusty bread, dressing vegetables, or enriching simple pasta. The low heat transforms raw garlic into caramel-colored morsels that soften completely and perfume the oil with nutty, slightly sweet notes.
Steps
Before you start
- Use fresh, firm garlic cloves—avoid any that are sprouted or soft
- Have a glass jar or bottle ready for storage
- Read through the steps so you understand the slow-cooking technique; rushing the heat will burn the garlic
Prep and begin charring
- Peel and halve 16 garlic cloves lengthwise, keeping the flat sides intact.
- Add 1 cup (240 ml) olive oil to an 8- or 10-inch (20 or 25 cm) skillet or small saucepan and place over medium-low heat.
- Once the oil is warm (not hot), add the garlic halves, flat side down, in a single layer.
- Do not stir yet.
+ Show details− Hide details
Tip: The flat side of each garlic clove should touch the hot surface to char and caramelize properly.
Char the garlic undisturbed
- Let the garlic rest, undisturbed, for 8 to 10 minutes.
- You'll hear gentle bubbling; resist the urge to stir.
- The flat sides should turn golden amber and begin to caramelize.
- Peek at one clove after 7 minutes—if it's deep golden brown, it's ready; if pale, give it another minute or two.
+ Show details− Hide details
Ready when: Flat sides of garlic turn deep golden amber and feel soft when pierced with a fork
Tip: Medium-low heat is essential—too high and the garlic burns black instead of turning sweet and golden.
Gently stir and continue cooking
- Using a wooden spoon or spatula, carefully stir the garlic cloves so they tumble and the rounded sides can char as well.
- Lower the heat to low and continue cooking, stirring gently every 2 minutes, for another 8 to 10 minutes.
- The garlic should soften completely and turn caramel-colored all over.
+ Show details− Hide details
Ready when: Garlic cloves are uniformly caramel-colored, very soft, and collapse easily when pressed
Tip: Stir frequently but gently—you want the garlic to break apart naturally as it softens, not shatter into tiny pieces.
Add pepper flakes and final aromatics
- Sprinkle in ¼ teaspoon (0.5 g) red pepper flakes and 1/8 teaspoon (0.75 g) fine sea salt.
- Stir gently to distribute the heat and salt throughout the oil.
- Keep the heat at low and let the oil infuse for 2 minutes, allowing the pepper flakes to bloom and release their flavor.
+ Show details− Hide details
Ready when: Pepper flakes are fully rehydrated and fragrant; oil smells warm and spicy
Tip: Adding the heat ingredient near the end prevents it from burning while the garlic cooks slowly.
Finish and cool
- Remove the skillet from heat.
- Stir in 1½ teaspoons (7 ml) fresh lemon juice, which will brighten the deep, sweet garlic flavors.
- Let the oil cool in the pan for 5 minutes, stirring occasionally.
- The mixture should still be warm but comfortable to handle.
+ Show details− Hide details
Ready when: Oil is warm but no longer steaming; garlic cloves have settled to the bottom
Tip: Add the lemon juice off heat so its bright acidity isn't muted by prolonged warmth.
Pour into storage jar
- Carefully pour the warm garlic oil (including all the soft garlic pieces) into a clean glass jar or bottle with a tight-fitting lid.
- Seal while still warm so the oil can create a slight vacuum as it cools, helping preserve it.
- Store at room temperature or in a cool, dark place.
+ Show details− Hide details
Ready when: All oil is transferred and jar is sealed
Tip: Use a glass jar to store and display this oil—it's beautiful, and glass won't absorb flavors or discolor.
Good to know
Tips
- For a smokier oil, add a small pinch of smoked paprika along with the red pepper flakes.
- Strain out the garlic pieces if you want a clear oil for drizzling on soup, or leave them in for a chunky, rustic finish that's wonderful spooned over toast or into a grain bowl.
- This oil is spectacular on finishing touches: swirl into minestrone, drizzle over whipped ricotta and crostini, dress warm white beans, or toss with roasted vegetables.
- Do not store in tin or metal containers—the acidity of the lemon and the compounds released from the garlic can react with metal over time.
Make ahead
Prepare 1 to 2 days ahead. The flavors deepen and mellow slightly as it sits, making it even more delicious.
Storage & reheating
Room temperature in a sealed glass jar: up to 2 weeks (it's most flavorful in the first week). Refrigerator: up to 4 weeks (the oil may solidify slightly when cold; warm gently before using). Freezer: not recommended, as olive oil doesn't freeze solidly. Reheat by placing the sealed jar in a bowl of warm water for 1 to 2 minutes before pouring.
Substitutions
- red pepper flakes → a pinch of cayenne pepper or finely minced fresh chili. Use half the amount of cayenne. Fresh chili adds more texture; strain it out if you prefer a smooth oil.
- fresh lemon juice → fresh lime juice or white wine vinegar. Lime adds a citrus note; vinegar brings deeper acidity. Use the same amount.
- extra-virgin olive oil → grapeseed oil, avocado oil, or light sesame oil. Choose a neutral oil if you want the garlic to shine without the fruity notes of extra-virgin olive oil. The infusion will be lighter in flavor.
- garlic cloves, peeled and halved lengthwise → shallots, sliced thin, or a combination of half garlic and half shallot. Shallots char more quickly (reduce cooking time by 3 to 4 minutes) and yield a sweeter, more delicate infusion.
More sauces
See all →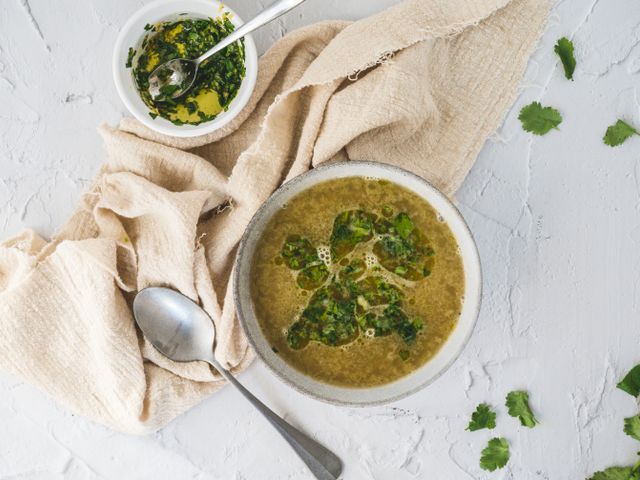


Find more like this
- Method
- Stovetop