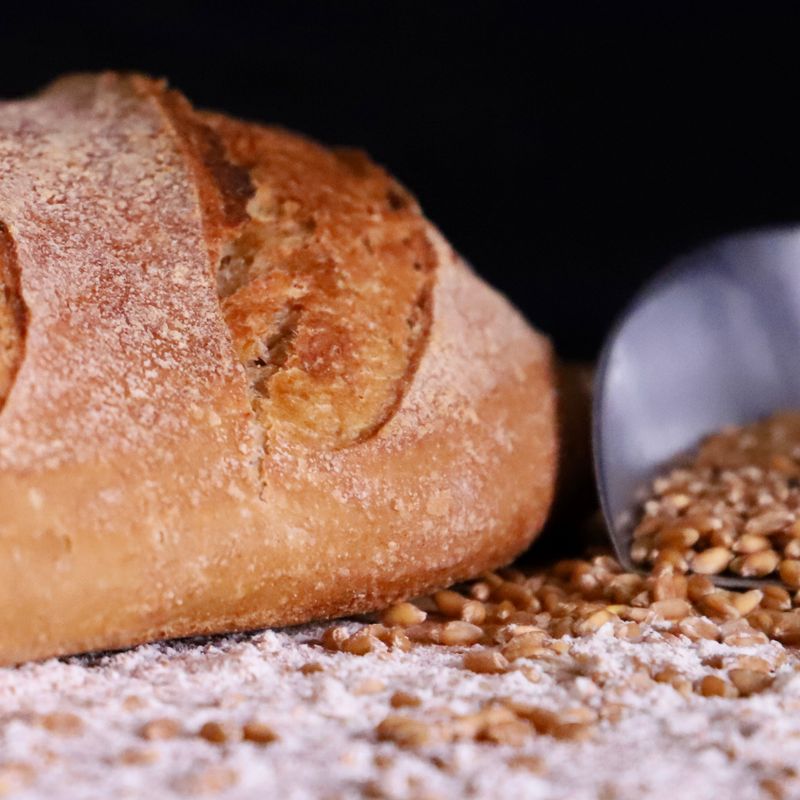
Sourdough Whole Wheat Honey Loaf
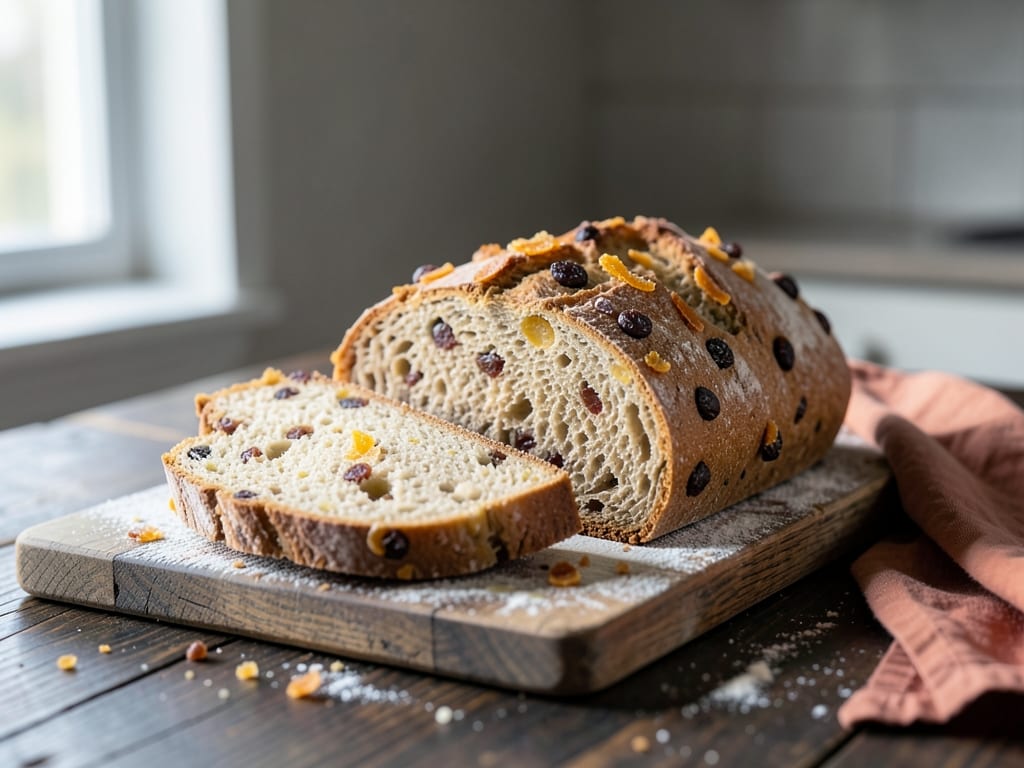
A rustic, nutty sourdough loaf made with a blend of whole wheat and bread flours, lightly sweetened with honey. The long cold fermentation develops complex, deeply sour flavor while whole wheat flour adds earthiness and nutrition. Perfect for toast, sandwiches, or alongside soup. Requires 18–20 hours total time (mostly passive).
- Prep
- 30 min
- Cook
- 1 hr
- Wait
- 1 days
- Total
- 1.1 days
- Makes
- 1 loaf (8–10 slices)
Steps
Before you start
- Feed your sourdough starter 4–8 hours ahead of time—it should be bubbly, doubled in volume, and at peak with a pleasant sour aroma before you begin mixing.
- Gather a banneton proofing basket (or a bowl lined with a floured linen towel) and a 4–5 quart Dutch oven; these are essential for proper shaping and baking.
- Use a kitchen scale for ingredient quantities—sourdough baking is precise, and weight measurements ensure consistency.
- Read through the entire recipe and timeline before starting; you'll want to plan for fermentation and overnight proofing.
Mix dough and autolyse
- In a large bowl, combine the active sourdough starter, whole wheat flour, bread flour, and water.
- Mix with your hands or a dough whisk until there are no dry flour pockets and everything is incorporated into a shaggy, wet mass—about 3–5 minutes.
- The dough will be quite sticky; that's normal.
- Whole wheat flour absorbs water more slowly than white flour, so the dough may firm up slightly over time.
- Cover the bowl with plastic wrap and let rest at room temperature for 30 minutes.
- This autolyse allows the flour to fully hydrate and gluten to begin developing naturally, without salt.
+ Show details− Hide details
Ready when: All dry flour incorporated into a wet, shaggy mass
Tip: Don't worry about the sticky texture. Whole wheat flour continues to absorb water over the next 30 minutes, and you'll feel the dough firm up slightly.
Add salt and initial stretches
- Add the honey and salt to the dough.
- Using wet hands or a dough scraper, perform 6–8 vigorous stretches and folds: pull the dough up from one side of the bowl and fold it over itself, working around the entire bowl.
- Keep your hands wet to prevent sticking—this takes about 3–5 minutes.
- You'll notice the dough becomes slightly less sticky and more cohesive as you work it.
- It will start to pull away from the sides of the bowl.
+ Show details− Hide details
Ready when: Salt fully distributed, dough feels cohesive and pulls away from sides of bowl
Tip: Wet hands work much better than flour when doing stretches and folds—they prevent excessive sticking and are easier to keep clean.
Bulk fermentation with stretches and folds
- Cover the bowl with plastic wrap and let the dough sit at room temperature (68–75°F / 20–24°C is ideal).
- Every 30 minutes for the first 2 hours, uncover the bowl and perform 4–6 stretches and folds using the same motion as before—each set takes about 1 minute.
- After 2 hours, cover the bowl again and let it rest undisturbed for the remaining 2–3 hours (total bulk time: 4–5 hours).
- The dough should increase in volume by 50–75%, look puffy with visible bubbles on the surface, and pass the poke test: gently poke your finger ¼ inch into the dough and it should spring back slowly—not immediately and not slowly.
- This indicates proper fermentation, good gluten structure, and adequate yeast activity.
+ Show details− Hide details
Ready when: 50–75% volume increase, visible bubbles on surface, poke test shows slow spring-back
Tip: If your kitchen is cold (below 65°F), bulk fermentation may take 5–6 hours instead. Patience is essential—rushing this stage results in weak, underfermented dough.
Pre-shape and bench rest
- Turn the dough out onto a lightly floured work surface using whole wheat or all-purpose flour for dusting.
- Using a bench scraper or your hands, gently pre-shape the dough into a round by folding the edges toward the center and creating light tension.
- Don't overwork it—the goal is to tighten the surface without deflating.
- Let the dough rest, uncovered, on the counter for 20 minutes.
- This bench rest relaxes the gluten after the stretches and makes shaping easier without tearing the dough.
+ Show details− Hide details
Ready when: Dough is visibly relaxed, slightly flattened but maintains a gentle dome
Tip: Dust lightly with flour so the dough doesn't stick, but avoid excess—too much flour can prevent good sealing when you shape.
Final shape and place in banneton
- Lightly flour the top of the dough and flip it seam-side down onto your work surface.
- Working gently, pull the top edge of the dough toward you and fold it down, then fold in the left side, right side, and top again, creating light tension and sealing the seams.
- Fold the whole dough in half toward you so the seam faces upward toward you.
- Transfer the dough seam-side up into a well-floured banneton basket or a bowl lined with a floured linen kitchen towel.
- Make sure the seam is clearly facing up.
- This takes about 4–5 minutes of gentle work.
+ Show details− Hide details
Ready when: Dough is in banneton seam-side up with a taut, smooth surface
Tip: A banneton or cloth-lined bowl is essential—it prevents the dough from spreading outward and helps it rise upward. Without one, your loaf will be flat and wide.
Cold overnight proof in refrigerator
- Cover the banneton loosely with plastic wrap or place it inside a plastic grocery bag.
- Place it in the refrigerator at 38–40°F (3–4°C) and let it proof overnight for 12–18 hours.
- The cold temperature dramatically slows fermentation, allowing complex flavors to develop while gluten relaxes.
- The dough will rise slightly but not dramatically—most of the visible rise happens during baking (called oven spring).
- The cold also makes the dough firmer and easier to score without deflating.
+ Show details− Hide details
Ready when: Dough is cold and firm, slightly risen in banneton, gently springs back when gently poked
Tip: Cold fermentation is the secret to deep, complex sourdough flavor. You can proof for up to 24 hours if needed—longer proofs intensify the sour notes.
Preheat oven, score dough, and bake coveredOven 475°F / 245°C
- Remove the banneton from the refrigerator about 10 minutes before baking.
- Place your Dutch oven (with the lid on) in the oven and preheat to 475°F (245°C) for 30 minutes.
- While the oven preheats, let the dough come close to room temperature.
- Carefully turn the dough out onto a piece of parchment paper.
- Using a bread lame, sharp knife, or single-edge razor blade, score the dough with a bold slash about ¼ inch (6 mm) deep across the top, or make a cross pattern.
- The score allows the dough to expand in the oven without bursting at random points.
- Once the oven is fully preheated (it will be very hot and may smell like it's smoking), carefully transfer the scored dough (on parchment) into the Dutch oven, place the lid on, and bake at 475°F (245°C) for 45 minutes.
- Do not open the oven during this time—the trapped steam is crucial for a crispy, golden crust.
+ Show details− Hide details
Ready when: Light to medium golden-brown crust with a toasty aroma
Tip: The Dutch oven traps steam, which creates the signature crispy, caramelized sourdough crust. If you don't have a Dutch oven, you can use a covered baking stone with a pan of hot water for steam, but a Dutch oven is superior.
Bake uncovered, then cool completelyOven 475°F / 245°C
- Carefully remove the Dutch oven lid (steam will escape—protect your hands from burns).
- Return the Dutch oven to the oven and bake uncovered for another 10–15 minutes, until the crust is a deep mahogany brown.
- The loaf should sound hollow when you tap it on the bottom.
- Using an instant-read thermometer, check that the internal temperature has reached 205–210°F (96–99°C) in the center.
- Transfer the hot loaf to a cooling rack using a tea towel to protect your hands.
- Allow the bread to cool completely at room temperature for at least 1 hour (preferably 2) before slicing.
- During cooling, the crumb sets and firms up—slicing too early results in a gummy, dense interior.
+ Show details− Hide details
Ready when: Deep mahogany-brown crust, hollow tap sound on bottom, internal temp 205–210°F (96–99°C)
Tip: Resist the urge to slice while warm—this is when the crumb is most fragile. A warm loaf will tear and compress. Waiting gives you a perfect, open crumb with distinct air pockets.
Good to know
Tips
- Whole wheat flour absorbs water more slowly than all-purpose flour. If the dough feels stiff after mixing, resist adding water immediately—wait 10 minutes and allow hydration to progress naturally.
- Stretches and folds are gentler than kneading and perfect for high-hydration doughs. Wet hands prevent sticking far better than flour and are easier to keep clean.
- Cold fermentation is the key to sourdough flavor depth. A long, slow proof develops sour notes, improves digestibility, and makes the dough easier to shape and score.
- Don't skip the cooling step. The bread continues to cook internally as it cools, and slicing warm bread will compress the crumb and make it feel gummy or dense inside.
Make ahead
You can shape and cold-proof overnight or for up to 24 hours. You can also score and bake straight from the refrigerator without coming to room temperature (the crumb will be slightly tighter, and baking may take an extra 3–5 minutes).
Storage & reheating
Room temperature (cut-side down on a board): 3–4 days. Refrigerator (sealed): up to 1 week (toast before eating). Freezer (sliced or whole): up to 3 months (thaw at room temperature or toast from frozen). To reheat: wrap in foil and warm in a 350°F oven for 10 minutes, or toast slices directly.
Substitutions
- active sourdough starter → Active dry yeast (7 g / 2.25 tsp) mixed with 100 g water and 100 g bread flour, fermented at room temperature for 4–8 hours first. The flavor will be less complex and more yeasty than true sourdough fermentation, but the loaf will still rise and bake successfully.
- whole wheat flour → Replace up to 100 g of whole wheat with spelt, einkorn, or additional bread flour. This changes the earthiness and nuttiness of the loaf. Spelt adds sweetness; einkorn adds deeper flavor. More bread flour yields a lighter, airier crumb.
- honey → Equal weight of maple syrup, brown sugar, or omit entirely. Honey adds browning power and subtle sweetness. Without it, the crust will be lighter brown and the flavor less rounded.
- water → Reduce by 15–30 ml if your kitchen is very warm (above 75°F); increase by 15 ml if very cold (below 65°F). Dough should feel tacky but not sopping wet. Whole wheat flour hydration varies with humidity and freshness, so adjust gradually.
More sourdough
See all →


Find more like this
- Meal
- Lunch
- Method
- Oven
- Quick & Easy
- 5 Ingredients or LessMake Ahead