Rich Veal and White Wine Broth
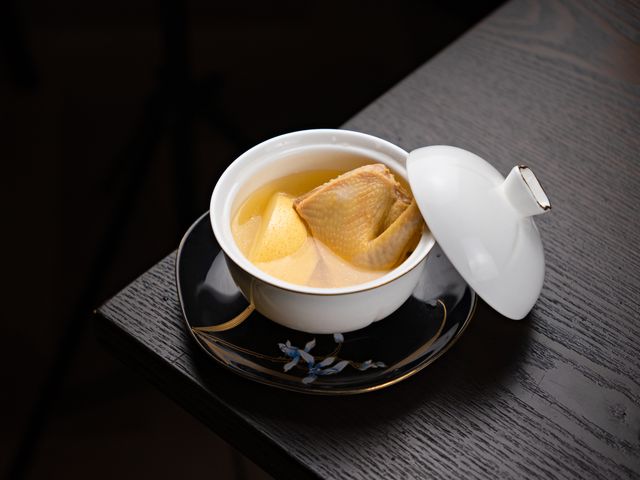
A classic French broth built on roasted veal bones and aromatics simmered gently with white wine. The result is a delicate, deeply flavored broth perfect for consommés, sauces, or as a light soup base. Roasting the bones first creates color and complexity without heaviness.
- Prep
- 15 min
- Cook
- 3 hr
- Wait
- 30 min
- Total
- 3 hr 45 min
- Makes
- About 2 quarts (2 liters)
Steps
Before you start
- Preheat your oven to 400°F (200°C) for roasting the bones
- Have a fine-mesh strainer or cheesecloth ready for the final straining
- Use a 6–8 quart pot with a heavy bottom to prevent scorching during the long simmer
Roast the bonesOven 400°F / 205°C
- Pat the rinsed veal bones dry with paper towels and spread them in a single layer in the roasting pan.
- Roast at 400°F (200°C) for 30 minutes, stirring halfway through, until the bones turn golden brown and the bottom of the pan shows caramelized juices.
- Do not allow them to blacken—this broth should be pale and refined, not dark.
+ Show details− Hide details
Ready when: Bones are light golden brown; pan bottom is caramelized but not charred
Tip: Don't skip rinsing the bones—this removes blood and impurities that would cloud the broth.
Deglaze the roasting pan
- Remove the roasting pan from the oven and place it over medium heat on the stovetop.
- Pour in the white wine, scraping the bottom with a wooden spoon to dissolve all the browned bits (fond).
- Let it simmer for 2 minutes so the wine reduces slightly and the alcohol begins to cook off.
+ Show details− Hide details
Ready when: Wine has reduced by about one quarter and smells less sharp
Tip: Use a wooden spoon to scrape thoroughly—all that fond is flavor.
Combine in the pot
- Transfer the roasted bones and the wine-fond mixture to your 8-quart pot.
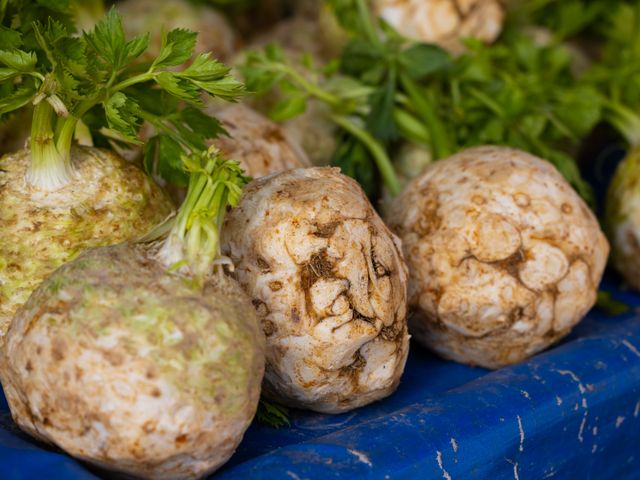
- Add the halved onion, carrot pieces, and celery.
- Pour in the cold water until everything is covered by about 2 inches.
- Bring to a gentle simmer over medium-high heat, watching for the first wisps of steam and small bubbles.
+ Show details− Hide details
Ready when: Small bubbles rise steadily to the surface; the surface begins to steam gently
Tip: Cold water starts the broth off right—it allows proteins to dissolve gradually, creating a clear, refined result.
Skim the broth
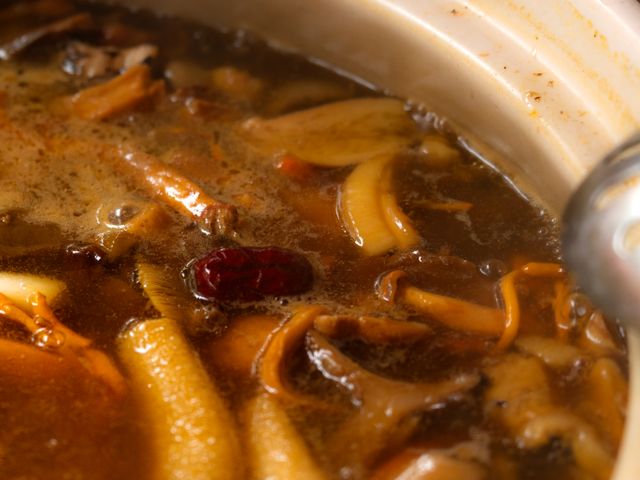
- Once the liquid reaches a simmer, use a shallow metal spoon or skimmer to remove the gray-white foam that rises to the surface.
- Skim continuously for the first 10 minutes as impurities rise.
- The broth will gradually become clearer.
- This is essential for clarity and purity of flavor.
+ Show details− Hide details
Ready when: Foam no longer accumulates significantly at the surface; broth is noticeably clearer
Tip: Do not stir the broth during skimming—stirring clouds it. Let impurities rise undisturbed and skim them off gently.
Add aromatics and reduce heat
- Add the thyme sprigs, bay leaf, and black peppercorns to the pot.
- Reduce the heat to low so the broth simmers very gently—you should see only occasional lazy bubbles breaking the surface, not a rolling boil.
- This low, slow simmer extracts maximum flavor without boiling away delicate compounds.
+ Show details− Hide details
Ready when: Broth simmers with small, infrequent bubbles; steam rises gently
Tip: A vigorous boil will cloud the broth and make the vegetables disintegrate. Gentle is always better for stock.
Simmer for depth
- Let the broth simmer gently for 2.5 to 3 hours, partially covered with the lid ajar (this prevents steam from condensing and dripping back in, which could make the broth cloudy).
- The bones will have given up their gelatin and flavor, and the liquid should have a rich, subtle aroma.
- The vegetables will begin to lose their structure.
+ Show details− Hide details
Ready when: Broth is rich in color and aroma; vegetables are very soft and beginning to fall apart; bones feel soft when pressed
Tip: Resist the urge to stir. The less you disturb the pot, the clearer the broth will be.
Strain the broth
- Line a fine-mesh strainer with cheesecloth and set it over a large clean pot or bowl.
- Carefully pour the broth through, leaving the solids behind.
- Work slowly to avoid splashing, which can cloud the broth.
- Discard the bones, vegetables, and aromatics—they have given all they have to give.
- You should have about 2 quarts (2 liters) of liquid.
+ Show details− Hide details
Ready when: All broth has passed through the strainer; solids remain behind
Tip: Cheesecloth makes a huge difference in clarity—don't skip it. Pour gently and let gravity do the work rather than pressing on the solids.
Cool and final strain
- Allow the strained broth to cool to room temperature, about 30 minutes.
- If desired, you can strain it once more through clean cheesecloth for extra refinement.
- Once cool, season carefully with kosher salt—start with a pinch and taste as you go, remembering that the broth will be used as a base for other dishes and may receive additional seasoning later.
+ Show details− Hide details
Ready when: Broth is cool enough to taste comfortably; if strained again, second batch is completely clear
Tip: Season lightly—you want the pure, delicate veal flavor to shine. Additional salt can always be added when the broth is used.
Good to know
Tips
- Invest in quality veal bones from a butcher—they are far superior to those from a supermarket. Ask for knuckles and neck bones, which have abundant gelatin.
- The key to a clear, refined broth is patience and gentleness. A slow simmer, thorough skimming, and careful straining are what separate homemade broth from mediocre stock.
- Once your broth is made, save the fat that rises to the top and hardens in the refrigerator—it is excellent for sautéing vegetables or making pastry.
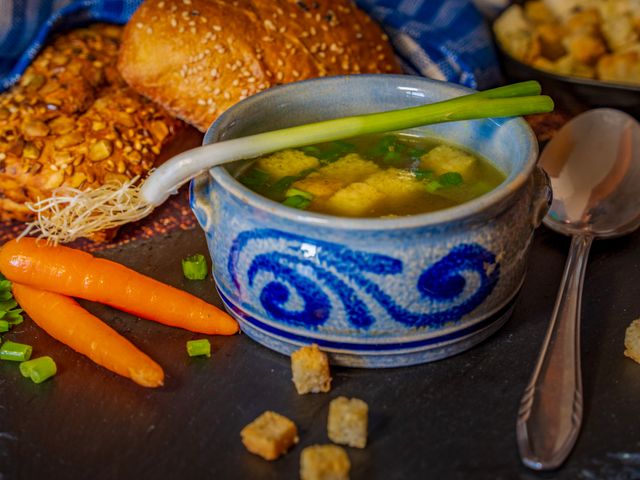
- This broth is the perfect base for French-style consommé, velouté sauces, or light soups. Use it anywhere you would use a refined stock.
Make ahead
This broth actually improves after a day or two as flavors continue to meld. Make it 2–3 days ahead if planning to use it in a refined dish like consommé or velouté.
Storage & reheating
Refrigerate in airtight containers for up to 5 days. A layer of fat will solidify on top as it cools—you can skim it off before reheating, or leave it as a seal to extend shelf life. Freeze in ice cube trays, then transfer cubes to freezer bags for up to 3 months. To reheat, bring gently to a simmer on the stovetop over medium heat, or thaw overnight in the refrigerator and reheat gently. Do not boil when reheating, as this will cloud the broth.
Substitutions
- dry white wine (Sauvignon Blanc or Pinot Grigio) → Dry vermouth or additional cold water. If you prefer to avoid alcohol, use vermouth (which has subtle herbaceous notes) or simply omit the wine and add an extra ½ cup of water. The broth will be slightly less complex but still excellent.
- veal bones, cut into 2–3 inch pieces (knuckles, neck, shoulder) → Chicken bones or a mix of chicken and pork bones. Veal bones are ideal for their delicate gelatin, but chicken bones will work well for a lighter broth. Pork bones add richness. The cooking time remains the same.
- fresh thyme sprigs → Fresh parsley stems, tarragon, or a combination. Thyme is classic, but tarragon adds an elegant anise note. Parsley stems are more neutral. Do not use dried herbs—they will make the broth taste stale.
- bay leaf → Omit entirely. Bay leaf is optional and adds a subtle earthy note. If you don't have it, the broth will still be delicious without it.