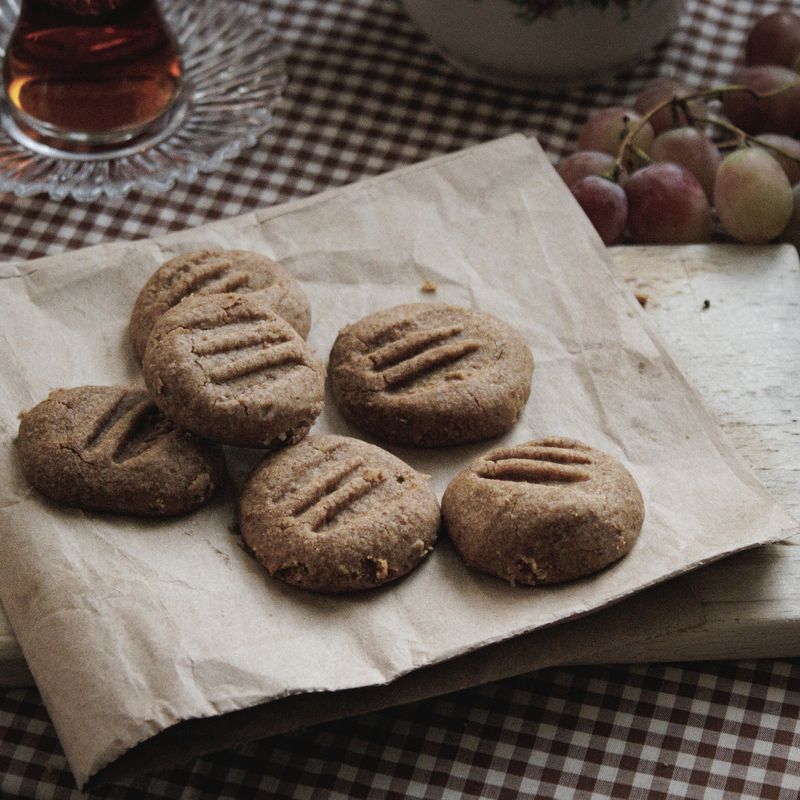
No-Butter Olive Oil Cookies
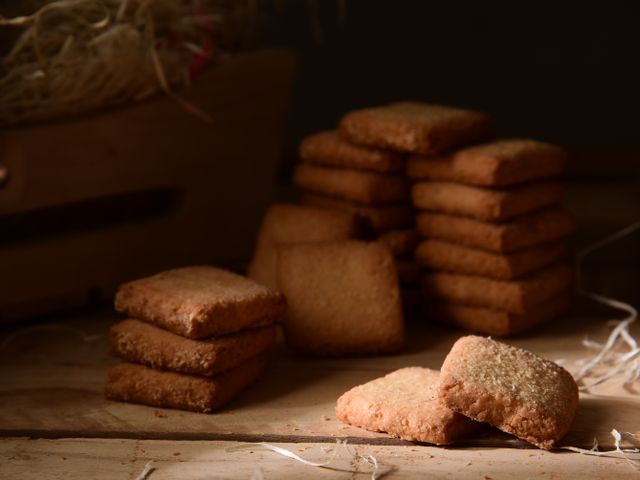
Tender, delicately crumbly cookies made with fruity olive oil instead of butter, brightened with fresh lemon zest and a whisper of vanilla. These Mediterranean-inspired treats have a subtle richness and a melt-in-your-mouth texture that improves over a day or two. Ideal for coffee, tea, or as a simple finish to a light meal.
Steps
Before you start
- Preheat oven to 350°F (175°C) for at least 10 minutes
- Line two large baking sheets with parchment paper
- Bring eggs to room temperature (about 20 minutes out of the fridge)
- Zest the lemon before juicing it, if using the juice
Mix wet ingredients
- In a large mixing bowl, whisk together the room-temperature egg, olive oil, and vanilla extract until well combined and slightly pale, about 1 minute.
- The mixture should look emulsified and homogeneous.
+ Show details− Hide details
Ready when: Mixture is pale and fully combined
Tip: Room-temperature egg helps the dough emulsify smoothly without the oil separating.
Add sugar and zest
- Add the granulated sugar and lemon zest to the wet mixture.
- Whisk vigorously for 2 to 3 minutes until the mixture looks lighter, fluffier, and the lemon zest is evenly distributed.
- You're incorporating air and dissolving the sugar slightly.
+ Show details− Hide details
Ready when: Mixture looks lighter and fluffy; no visible sugar granules
Tip: This step is key to a tender crumb—whisking builds structure without gluten.
Combine dry ingredients
- In a medium mixing bowl, whisk together the flour, baking powder, salt, and polenta if using.
- Whisk for 30 seconds to distribute the leavening evenly.
+ Show details− Hide details
Ready when: Dry ingredients are evenly mixed
Tip: Whisking the dry ingredients ensures the baking powder is evenly distributed so every cookie rises.
Fold dry into wet
- Pour the dry mixture into the wet mixture.
- Using a spatula or wooden spoon, fold gently until just combined—do not overmix.
- Stop as soon as you see no white streaks of flour.
- The dough will be soft and slightly sticky.
+ Show details− Hide details
Ready when: No white flour streaks visible; dough is just combined
Tip: Overmixing develops gluten and makes the cookies tough. Stop while the dough still looks slightly rough.
Portion onto baking sheets
- Using a small cookie scoop (about 1 tablespoon per cookie) or two spoons, drop rounded portions of dough onto the prepared baking sheets, spacing them about 2 inches apart.
- You should have 12 cookies per sheet.
- Gently flatten each cookie slightly with the back of a damp spoon—they should be about ½ inch thick.
+ Show details− Hide details
Ready when: Cookies are evenly spaced and slightly flattened
Tip: Don't press too hard—a gentle touch keeps the cookies tender. A damp spoon prevents sticking.
Bake first batchOven 350°F / 175°C
- Place one baking sheet in the preheated 350°F (175°C) oven.
- Bake for 11 to 13 minutes, until the edges are light golden brown but the centers still look pale and set.
- The cookies should not be dark—they will firm up as they cool.
+ Show details− Hide details
Ready when: Edges are light golden; centers are pale and feel just set when touched lightly
Tip: Check at 11 minutes to avoid overbaking. These cookies continue to firm as they cool, so they should look slightly underdone in the oven.
Cool on sheet and racks
- Remove the baking sheet from the oven.
- Let the cookies rest on the hot baking sheet for 5 minutes to firm up slightly, then carefully transfer them to a cooling rack using a thin metal spatula.
- Cool completely, about 10 minutes.
- Repeat steps 6 and 7 with the second baking sheet while the first batch cools.
+ Show details− Hide details
Ready when: Cookies are fully cooled and have firmed to a tender crumb
Tip: The 5-minute rest on the baking sheet prevents them from breaking. If they seem too soft to move, give them another minute.
Good to know
Tips
- Olive oil cookies are best 1–2 days after baking, when the crumb has set and the flavors have deepened. They don't taste great hot from the oven, so plan ahead.
- Use a fruity extra-virgin olive oil for maximum flavor—the oil is the star here. A delicate or buttery variety will give better results than a peppery one.
- If your kitchen is warm, chill the dough for 15 minutes before baking to prevent excessive spreading.
- These cookies are naturally less sweet than traditional butter cookies. If you prefer sweeter treats, increase the sugar by 1/4 cup, but know this will change the tender crumb.
Make ahead
Dough can be prepared up to 8 hours ahead and refrigerated in an airtight container. Bring to room temperature (about 10 minutes) before scooping and baking. Baked cookies are best on day 2 or 3, after the crumb has set and flavors have melded.
Storage & reheating
Room temperature in an airtight container for up to 5 days (flavor and texture actually improve on days 2–3). Refrigerator for up to 1 week. Freezer in a freezer-safe container for up to 1 month; thaw at room temperature for 30 minutes before serving.
Substitutions
- extra-virgin olive oil → Light or mild olive oil. Use if you prefer a less fruity flavor. Extra-virgin has a stronger olive taste, which is traditional for these cookies.
- fresh lemon zest → Orange zest. Replace or mix 50/50 with lemon zest for a different citrus note.
- polenta (fine cornmeal) → Almond flour or additional all-purpose flour. Omit polenta entirely for a lighter crumb, or add 1/4 cup almond flour for richness. Dough may need 1–2 tablespoons less olive oil if using almond flour.
- pure vanilla extract → Anise extract or fennel seed (1/2 tsp, finely ground). Adds a Mediterranean licorice note if preferred.
More cookies
See all →

Find more like this
- Meal
- Dessert
- Cuisine
- Mediterranean
- Method
- Oven
- Quick & Easy
- Easy