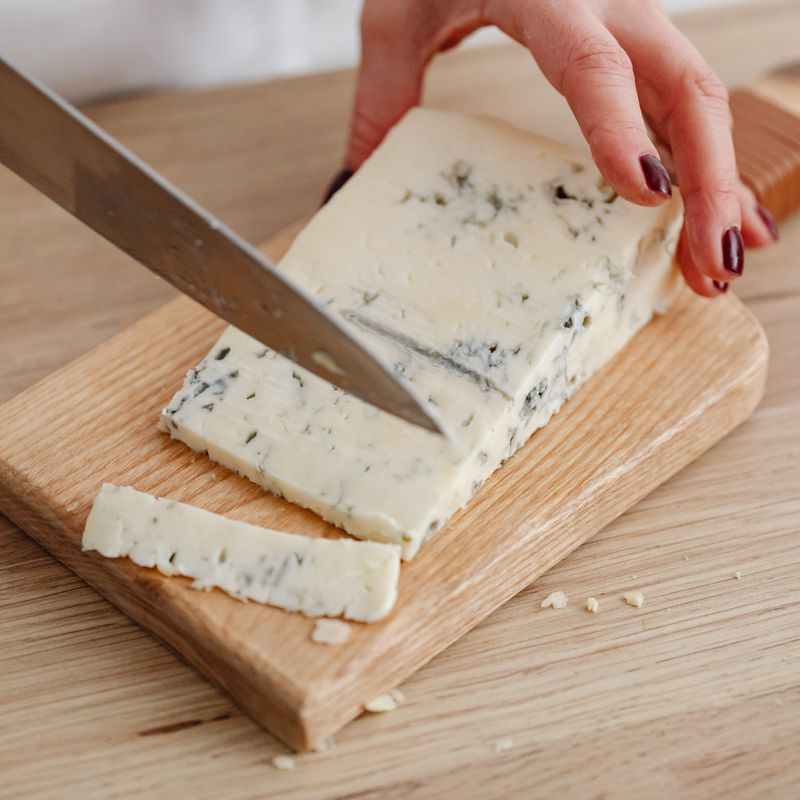
Holiday Spiced Pear and Gorgonzola Discard Hand Pies
Rustic hand pies filled with roasted pears, creamy gorgonzola, toasted walnuts, and warm spices, made with active sourdough discard. The flaky pastry crust bakes until golden, creating elegant individual pastries perfect for holiday gatherings or as a savory-sweet appetizer. These can be served warm or at room temperature.
- Prep
- 45 min
- Cook
- 50 min
- Wait
- 1 hr 15 min
- Total
- 2 hr 50 min
- Makes
- 12 hand pies
Steps
Before you start
- Ensure your sourdough discard is active and fed at room temperature, with visible bubbles
- Dice the cold butter into ½-inch cubes and refrigerate until ready to use
- Have all filling ingredients prepped and at cool room temperature before assembling
- Preheat your oven to 425°F (220°C) for the final bake
Toast the walnuts
- Place walnuts in a dry small saucepan over medium heat.
- Stir frequently for 3–4 minutes until fragrant and lightly browned, watching carefully to prevent burning.
- Transfer to a plate to cool, then coarsely chop.
+ Show details− Hide details
Ready when: Walnuts are fragrant and light brown
Tip: Toast nuts fresh for the best flavor; stale nuts will not add brightness to the filling
Make the dough
- In a large bowl, whisk together flour, salt, and cold butter cubes until the mixture resembles coarse breadcrumbs with some pea-sized butter pieces still visible.
- Pour in the active sourdough discard and cold water, stirring with a wooden spoon until a shaggy dough forms.
- Do not overmix; the dough should be slightly rough.
+ Show details− Hide details
Ready when: Dough is shaggy and holds together when squeezed
Tip: Keep the dough cool and avoid overworking it to maintain flaky layers in the baked pies
Chill the dough
- Press the dough into a rough disk, wrap it tightly in plastic wrap, and refrigerate for at least 30 minutes.
- This resting period allows the gluten to relax and the butter to firm up, essential for flaky pastry.
+ Show details− Hide details
Ready when: Dough is chilled and firm to the touch
Tip: If your kitchen is warm, chill for the full 30 minutes or longer; a cold dough is easier to work with
Roast the pearsOven 400°F / 205°C
- While the dough chills, preheat your oven to 400°F (200°C).
- Toss the diced pears with cinnamon, nutmeg, black pepper, and fresh thyme in a medium bowl.
- Spread on a small baking sheet and roast for 12–15 minutes, stirring halfway through, until the pears are just tender and lightly caramelized at the edges.
- Remove from the oven and let cool to room temperature.
- Once cool, gently fold in the crumbled gorgonzola and toasted walnuts.
+ Show details− Hide details
Ready when: Pears are tender and edges are lightly caramelized; filling has cooled
Tip: Cool the filling completely before filling the pies, or the butter in the pastry will melt and make sealing difficult
Roll and cut the dough
- On a lightly floured work surface, roll the chilled dough into a ¼-inch-thick rectangle, approximately 12 inches by 18 inches.
- Using a 4-inch-diameter biscuit cutter or glass, cut out 12 rounds.
- Gather scraps, re-roll, and cut additional rounds if needed.
- Place cut rounds on parchment paper.
+ Show details− Hide details
Ready when: 12 rounds are cut and ready for filling
Tip: Use a sharp cutter and press straight down without twisting to ensure clean edges that seal properly
Fill and fold the pies
- Working with one dough round at a time, place about 2 tablespoons of pear-gorgonzola filling on one half of the round, leaving a ¼-inch border around the edge.
- Brush the edges with water using your finger or a pastry brush.
- Fold the dough in half over the filling to form a half-moon, pressing the edges firmly to seal.
- Use a fork to crimp and seal the edges for a rustic finish.
- Place each filled pie on a parchment-lined baking sheet, leaving 2 inches between them.
+ Show details− Hide details
Ready when: All 12 pies are sealed and arranged on the baking sheet
Tip: Press gently but firmly when sealing; a tight seal prevents filling from leaking during baking, but too much pressure can toughen the pastry
Brush with egg wash
- Beat the egg with 1 tablespoon water to make an egg wash.
- Using a pastry brush, lightly brush the top of each pie with the egg wash.
- If desired, sprinkle a pinch of fleur de sel over each pie for a finishing touch.
+ Show details− Hide details
Ready when: All pies are evenly coated with egg wash
Tip: A thin, even coat of egg wash creates a beautiful golden sheen; too much will make the crust soggy
Bake the piesOven 425°F / 220°C
- Preheat your oven to 425°F (220°C) if not already at that temperature.
- Bake the hand pies for 18–22 minutes, until the pastry is deep golden brown and the cheese is beginning to ooze slightly from the edges.
- Rotate the baking sheet halfway through baking if your oven has hot spots.
+ Show details− Hide details
Ready when: Pastry is deep golden brown; cheese just begins to ooze from edges
Tip: Watch carefully near the end of baking—every oven is different, and overbaking will dry the pastry while underbaking leaves it doughy
Cool and serveOven 300°F / 150°C
- Remove the baking sheet from the oven and transfer the pies to a wire rack.
- Let cool for 5–10 minutes before serving.
- These pies are delicious warm or at room temperature, and they can be made 2–3 hours ahead and reheated gently in a 300°F oven for 5 minutes if needed.
+ Show details− Hide details
Ready when: Pies are set and warm but cool enough to handle
Tip: A short rest allows the cheese to set slightly, making the pies less likely to leak when you bite into them
Good to know
Tips
- Use sourdough discard that is bubbly and active at room temperature—it adds subtle tangy flavor and creates a more tender crust than all-purpose flour alone
- To prevent filling leakage, ensure the pear mixture is completely cool before assembling, and seal the edges firmly with a fork
- These pies are elegant enough for a holiday cheese board or appetizer spread, but casual enough for a weeknight snack with a simple salad
- For a more rustic presentation, skip the egg wash and simply brush with a tiny bit of water before baking for a matte finish
Make ahead
These hand pies can be assembled 4 hours ahead, covered loosely, and refrigerated. You can also bake them fully 2–3 hours in advance and serve at room temperature, or reheat gently in a 300°F (150°C) oven for 5 minutes before serving.
Storage & reheating
Room temperature: up to 4 hours in an airtight container. Refrigerator: up to 3 days, loosely covered; reheat in a 300°F oven for 5 minutes. Freezer: up to 2 months, wrapped individually in plastic wrap and then in foil; bake from frozen at 425°F for 25–28 minutes, or thaw overnight in the refrigerator and bake as directed.
Substitutions
- gorgonzola cheese → creamy blue cheese or Stilton. Use an equal amount of any crumbly, pungent blue cheese; the flavor will be slightly different but equally delicious
- firm pears (Bosc or Anjou) → firm apples (Granny Smith or Honeycrisp). Apples hold their shape well during roasting; reduce roasting time to 10–12 minutes as they soften faster
- walnuts → pecans or toasted hazelnuts. Use an equal amount; pecans will add a slightly buttery note, while hazelnuts provide earthiness
- fresh thyme leaves → fresh rosemary or dried thyme. Use ½ teaspoon dried thyme or 1 teaspoon fresh rosemary; rosemary will create a more savory, piney flavor
More pastries
See all →



Find more like this
- Meal
- Snack
- Main ingredient
- Cheese
- Method
- Oven
- Quick & Easy
- Make Ahead
- Occasion
- PartiesFamily Gatherings