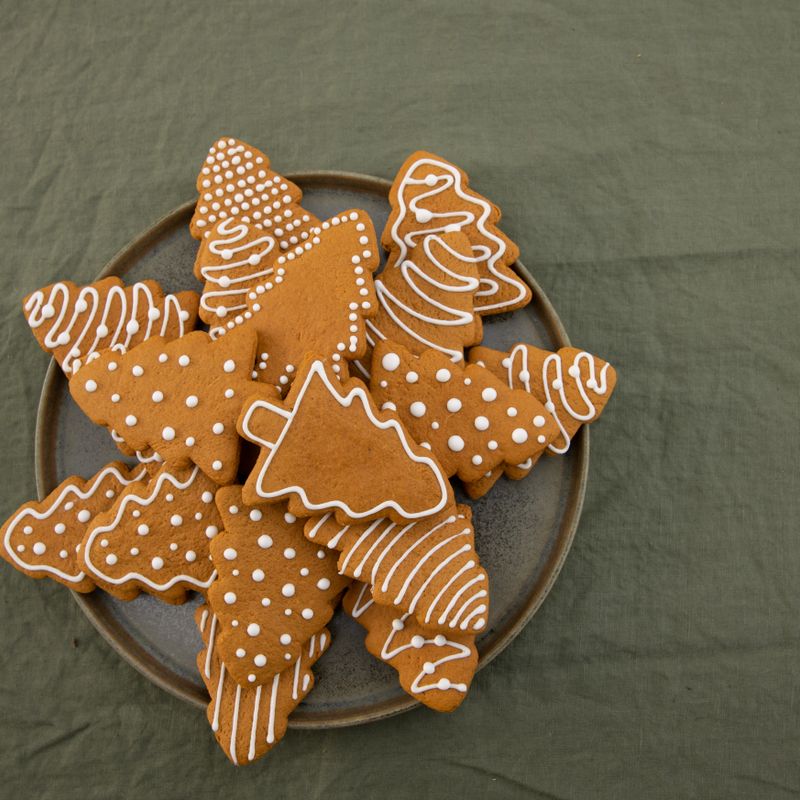
Holiday Gingerbread Molasses Buns
Soft, spiced molasses buns with warm gingerbread flavors—perfect for the holiday season. These tender rolls feature a rich molasses base enhanced by ginger, cinnamon, and cloves, topped with a light cinnamon-sugar glaze. They're ideal for breakfast, brunch, or as a festive addition to any holiday table.
- Prep
- 25 min
- Cook
- 18 min
- Wait
- 1 hr 30 min
- Total
- 2 hr 13 min
- Makes
- 12 buns
Steps
Before you start
- Soften the butter to room temperature (65–70°F) at least 1 hour before starting
- Make sure your eggs are room temperature
- Preheat your oven to 375°F (190°C) about 15 minutes before baking
- Find a warm, draft-free spot for the dough to rise (around 75–78°F is ideal)
Bloom the yeast
- Pour the warmed milk (110°F / 43°C) into a small bowl or liquid measuring cup.
- Sprinkle the instant yeast over the surface and let sit for 5 minutes until foamy and slightly risen.
- This confirms the yeast is alive and active.
+ Show details− Hide details
Ready when: Yeast mixture is foamy and has risen slightly
Tip: If the yeast doesn't foam, it's dead and you'll need fresh yeast before proceeding.
Make the wet ingredients
- In a medium saucepan over low heat, warm the molasses with 6 tablespoons of softened butter until the butter is fully melted and the mixture is warm to the touch (about 110°F / 43°C).
- Stir in the brown sugar until fully dissolved.
- Remove from heat and let cool to about 100°F (37°C), then stir in the room-temperature egg.
- Whisk in the bloomed yeast mixture.
- Set aside.
+ Show details− Hide details
Ready when: Butter is melted, sugar is dissolved, and mixture is between 100–110°F
Tip: Don't let the mixture get hotter than 120°F or you'll kill the yeast. Use a thermometer to be sure.
Combine dry ingredients
- In a large bowl, whisk together 3.5 cups of flour, ground ginger (1.5 teaspoons), ground cinnamon (1 teaspoon), ground cloves (½ teaspoon), and fine sea salt (1 teaspoon).
- Make a small well in the center of the dry ingredients.
+ Show details− Hide details
Ready when: Dry ingredients are evenly combined and spices are distributed throughout
Tip: Whisk the spices with the flour to ensure they're evenly distributed, so no bite is overly spiced.
Mix the dough
- Pour the wet ingredient mixture into the well of the dry ingredients.
- Using a stand mixer with a dough hook on medium-low speed (or a wooden spoon and your hands), combine until a shaggy dough forms, about 2–3 minutes.
- The dough should be slightly sticky but hold together.
+ Show details− Hide details
Ready when: Dough is shaggy and just barely coming together, with no dry flour streaks
Tip: Don't overwork the dough at this stage; you'll knead it more in the next step.
Knead the dough
- Continue mixing on medium speed for 6–8 minutes until the dough becomes smooth, elastic, and pulls away from the sides of the bowl.
- If using your hands, knead on a lightly floured surface for 8–10 minutes until smooth and elastic.
- The dough should be slightly tacky but not wet; add a tiny pinch of flour only if it's too sticky to handle.
- The finished dough should feel warm to the touch (around 75–80°F / 24–27°C).
+ Show details− Hide details
Ready when: Dough is smooth, elastic, and springs back slowly when poked; no dry flour remains
Tip: If the dough is too dry, wet your fingertip with water and work it in a drop at a time rather than adding more flour.
First rise
- Shape the dough into a ball and place it in a lightly oiled bowl, turning it to coat all sides.
- Cover the bowl with a damp kitchen towel or plastic wrap.
- Place it in a warm, draft-free spot (75–78°F / 24–26°C) to rise until doubled in volume, about 45–60 minutes.
- You should see the dough puff up visibly and the top become smooth and puffy.
+ Show details− Hide details
Ready when: Dough has risen to about twice its original volume; a gentle poke leaves a small indent that doesn't spring back
Tip: If your kitchen is cold, turn on your oven for 30 seconds, turn it off, and place the bowl inside with the light on.
Shape the buns
- Turn the risen dough out onto a lightly floured work surface and gently press it into a rough rectangle about 9×12 inches (23×30 cm).
- Using a sharp knife or bench scraper, divide the dough into 12 equal pieces (cut 3 rows by 4 columns).
- Roll each piece into a smooth ball by tucking the edges underneath and rolling gently on the counter.
- Arrange the 12 buns seam-side down in a 9×13-inch (23×33 cm) baking pan lined with parchment paper, leaving about ½ inch (1.3 cm) between each bun.
+ Show details− Hide details
Ready when: Dough is divided into 12 even pieces and shaped into smooth balls
Tip: Don't pack the buns too tightly—they need a little room to expand without crushing each other.
Second rise
- Cover the pan loosely with a damp kitchen towel or plastic wrap.
- Return to the warm spot and let the buns rise until nearly doubled and they're touching or nearly touching each other, about 30–35 minutes.
- They should feel pillowy but still hold their shape when gently pressed.
+ Show details− Hide details
Ready when: Buns have nearly doubled and are touching or nearly touching; they feel pillowy and spring back slowly when poked
Tip: Don't let them rise too much or they'll merge together and be difficult to separate.
Preheat ovenOven 375°F / 190°C
- About 15 minutes before the second rise is complete, preheat your oven to 375°F (190°C).
- Ensure the oven rack is positioned in the center.
+ Show details− Hide details
Ready when: Oven reaches 375°F (190°C)
Tip: A preheated oven ensures the buns rise evenly and develop a golden crust.
Bake the bunsOven 375°F / 190°C
- Remove the covering from the pan and place it on the center oven rack.
- Bake at 375°F (190°C) for 16–18 minutes until the tops are golden brown and the buns spring back quickly when lightly touched.
- They should smell wonderfully spiced and warm.
- A toothpick inserted into the center of a middle bun should come out clean with no dough clinging to it.
+ Show details− Hide details
Ready when: Tops are golden brown; a light touch on top causes them to spring back quickly; a toothpick in the center comes out clean
Tip: If the tops brown too quickly but the centers still feel doughy, cover loosely with foil for the last 5 minutes.
Apply the glaze
- While the buns are still warm, prepare the cinnamon-sugar glaze by mixing 3 tablespoons of melted butter with 2 teaspoons of ground cinnamon and ¼ cup of granulated sugar in a small bowl until combined.
- Remove the pan from the oven and immediately brush the warm buns generously with the melted butter mixture, coating the tops and sides.
- The warmth of the buns will help the cinnamon-sugar adhere.
+ Show details− Hide details
Ready when: All buns are evenly coated with the cinnamon-sugar glaze
Tip: Work quickly while the buns are still hot so the glaze melts slightly and adheres to the tops.
Cool before serving
- Let the glazed buns cool in the pan for 5–10 minutes, then transfer to a wire cooling rack if desired.
- Serve warm or at room temperature.
- The buns are best enjoyed within a few hours of baking but will stay soft for up to 2 days when stored in an airtight container.
+ Show details− Hide details
Ready when: Buns are cool enough to handle but still warm inside
Tip: If you separate the buns while still very hot, they'll tear; wait the full 5–10 minutes for the structure to set.
Good to know
Tips
- For the best rise, keep the dough in a consistently warm spot—between 75–78°F (24–26°C). If your kitchen is cold, place the bowl inside a turned-off oven with the light on, or wrap the bowl in a heating pad set to low.
- These buns freeze beautifully and reheat well. Make a double batch and freeze half for a quick breakfast or snack later.
- If you want more spiced flavor, add ¼ teaspoon of allspice or nutmeg to the dry ingredients, but don't exceed the total spices or the buns will taste like gingerbread rather than tender molasses buns.
- Brush the warm buns with additional melted butter (without cinnamon-sugar) for a simpler, less sweet finish if you prefer to let the molasses and spices shine.
Make ahead
The dough can be made through the first rise the day before. After the first rise, cover and refrigerate for up to 12 hours. The next morning, remove from the fridge, let it come to room temperature (about 15 minutes), then shape and proceed with the second rise and baking.
Storage & reheating
Room temperature: Store in an airtight container for up to 2 days. Refrigerator: Place in an airtight container or zip-top bag for up to 4 days; reheat gently in a 300°F (150°C) oven for 5 minutes. Freezer: Wrap individual buns in plastic wrap and aluminum foil, then freeze for up to 2 months. Thaw overnight in the refrigerator and reheat at 300°F for 8–10 minutes.
Substitutions
- whole milk → half-and-half or full-fat coconut milk. Will add richness to the dough; the substitution won't significantly affect texture or rise.
- all-purpose flour → whole wheat flour for up to ½ of the flour amount. Will add nutty flavor and make the crumb slightly denser; start with 25% whole wheat and adjust to your preference.
- ground ginger → ¾ teaspoon of fresh ginger, finely minced. Fresh ginger will provide a more pungent, slightly spicy kick; reduce slightly to avoid overwhelming the molasses flavor.
- unsulfured molasses → dark honey or barley malt syrup. Will change flavor slightly; use equal volume (¾ cup). Dark honey will be less robust; barley malt will be closer to molasses but slightly maltier.
More rolls & buns
See all →
Find more like this
- Meal
- Breakfast
- Diet
- VegetarianHalal
- Method
- Oven
- Occasion
- Christmas