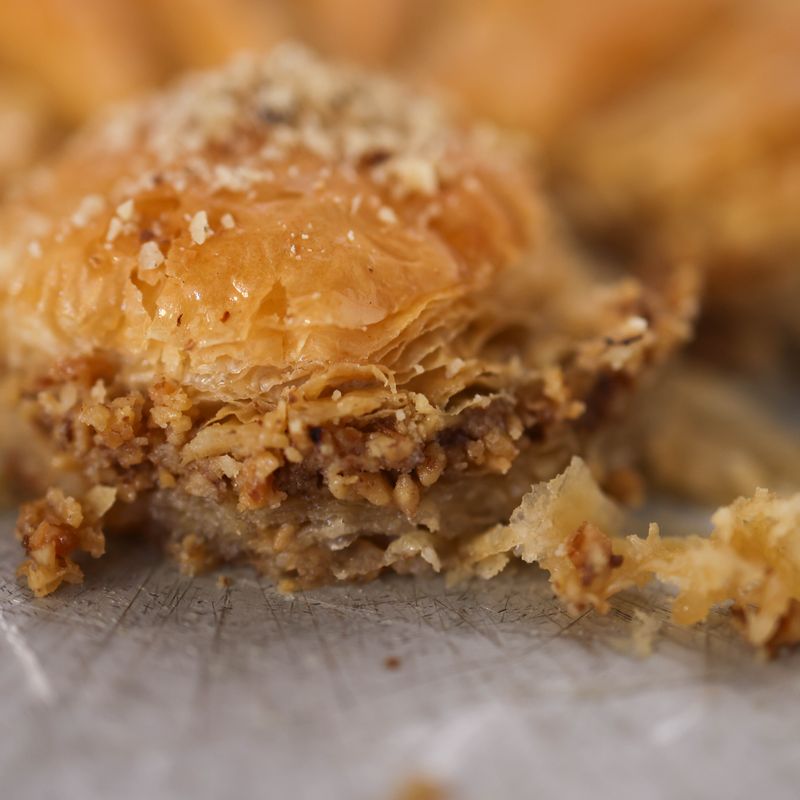
Greek Thiples: Honey-Dipped Fried Pastry Nests
Thiples are a treasured Greek fried pastry, hand-rolled into delicate spiral nests and dunked in warm honey syrup. Crispy yet tender, they're finished with crushed walnuts and cinnamon for a dessert that's both elegant and deeply satisfying. These can be made ahead and stored, making them ideal for special occasions or Greek celebrations.
- Prep
- 45 min
- Cook
- 25 min
- Wait
- 30 min
- Total
- 1 hr 40 min
- Makes
- 24 pastry nests
Steps
Before you start
- Prepare the honey syrup and let it cool completely before dipping—it must be at room temperature or the thiples will absorb it rather than stay crispy.
- Have a thiples roller (or clean wooden dowel, ½ inch diameter) ready; if unavailable, use a thin wooden spoon handle.
- Set up your frying station with paper towels nearby to drain the hot pastries.
- Toast and coarsely chop the walnuts ahead of time.
Make the honey syrup
- In a medium saucepan, combine water, sugar, and the cinnamon stick.
- Bring to a boil over medium heat, stirring until the sugar dissolves (about 3 minutes).
- Remove from heat, stir in honey and lemon zest if using.
- Let the syrup cool completely to room temperature—this is essential; a warm syrup will make the pastries soggy instead of crispy.
- You can make this up to 1 day ahead and refrigerate.
+ Show details− Hide details
Ready when: Syrup is clear and cooled completely; it should feel barely warm to the touch
Tip: If the syrup is warm when you dip the thiples, they'll absorb it and become soft rather than staying crispy—patience is key.
Prepare the dough
- In a large bowl, whisk together flour and salt.
- Create a well in the center and crack the eggs into it.
- Pour the milk and cooled melted butter around the eggs.
- Using a fork or whisk, gradually incorporate the flour from the sides into the wet ingredients, stirring until a soft, smooth batter forms.
- The consistency should resemble thick pancake batter—pourable but not runny.
- If too thick, add milk a tablespoon at a time; if too thin, add flour a tablespoon at a time.
+ Show details− Hide details
Ready when: Batter is smooth with no lumps and pours slowly from a spoon
Tip: Do not overmix; gentle stirring prevents tough pastries. A few small lumps will smooth out during resting and are fine to leave.
Rest the batter
- Let the batter rest at room temperature for 15 minutes.
- This allows the flour to fully hydrate and makes the dough easier to work with.
- You can prepare your frying setup during this time.
+ Show details− Hide details
Ready when: Batter is slightly thickened and very smooth
Heat the oilOven 350°F / 175°C
- Pour vegetable oil into a large heavy-bottomed pot (at least 4-quart / 4 L capacity) to a depth of about 2 inches (5 cm).
- Heat over medium-high heat to 350°F (175°C), checking with a deep-fry thermometer.
- The oil should be very hot but not smoking; if it smokes, reduce heat slightly.
- Maintain this temperature throughout frying—oil that's too cool makes greasy pastries; too hot and they brown before cooking through.
+ Show details− Hide details
Ready when: Oil reaches 350°F (175°C) on the thermometer
Tip: Use a reliable thermometer; guessing by appearance often leads to either greasy or burnt pastries.
Form the first pastry nest
- Pour about ¼ cup (60 ml) of batter into a small bowl for dipping.
- Hold a wooden skewer or thiples roller vertically in one hand.
- With the other hand, dip the skewer into the batter, coating it evenly about halfway up (roughly 4 inches / 10 cm of coverage).
- Immediately plunge the coated skewer into the hot oil.
- Hold it still for 2–3 seconds so the batter sets, then slowly rotate the skewer back and forth as the batter cooks, building up the spiral.
- After about 15–20 seconds total, the spiral should be partially cooked and firm enough that you can gently slide it off the skewer onto the oil's surface.
+ Show details− Hide details
Ready when: Batter on the skewer sets and becomes opaque; the spiral is firm enough to slide off
Tip: Work quickly but smoothly; jerky motions break the delicate spiral. If you hesitate, the batter on the skewer starts cooking and becomes hard to slide off.
Fry the first side
- Once the spiral nest is in the oil, let it fry undisturbed for 1½–2 minutes until the bottom is pale golden.
- Watch for bubbles to slow and the surface to look set.
- Do not turn it too early or it will fall apart.
+ Show details− Hide details
Ready when: Bottom is pale golden; bubbling slows significantly
Flip and finish frying
- Using a slotted spoon or two forks, gently flip the spiral nest and fry the other side for another 1–1½ minutes until both sides are an even deep golden brown.
- The entire pastry should be crispy and feel light when lifted.
- Remove to a paper towel–lined plate to drain.
+ Show details− Hide details
Ready when: Both sides are deep golden brown; the pastry is light and crispy to the touch
Tip: If the pastry is still pale or soft, it needs a few more seconds. If it's dark brown within 3 minutes total, your oil is too hot; reduce heat slightly.
Repeat to fry all nestsOven 350°F / 175°C
- Repeat the dipping, frying, and flipping process for the remaining batter, working one thiple at a time.
- You should be able to make about 24 nests from the batter.
- Keep the oil temperature steady at 350°F (175°C), adjusting heat as needed.
- Drain each finished nest on fresh paper towels.
- Work methodically; frying all nests takes about 15–20 minutes total.
+ Show details− Hide details
Ready when: All nests are golden brown and crispy
Tip: If the batter becomes too thick from flour settling, thin it slightly with a teaspoon or two of milk. Rotate between a clean skewer and a dirty one so you're not constantly re-dipping a messy tool.
Dip in cool honey syrup
- Once all thiples are fried and have cooled for a few minutes (they should still be warm but not hot to handle), pour the cooled honey syrup into a shallow bowl.
- Working with one thiple at a time, dip it entirely into the syrup, coating all sides, then remove with a fork and place on a serving platter.
- The syrup should coat the pastry but not soak into it; if it does, your syrup is too warm.
- Arrange the finished thiples on the platter.
+ Show details− Hide details
Ready when: All thiples are evenly coated with syrup
Tip: A cold syrup is crucial—it seals the pastry's crispy exterior rather than penetrating it. Drizzle any extra syrup over the platter after arranging.
Finish with walnuts and cinnamon
- In a small bowl, combine the toasted chopped walnuts with ground cinnamon.
- Sprinkle this mixture generously over all the honey-coated thiples while they are still warm and sticky.
- The nuts and cinnamon will adhere beautifully.
- Let the thiples rest on the platter for 5–10 minutes so the honey sets slightly.
+ Show details− Hide details
Ready when: Walnuts and cinnamon are distributed and lightly adhered
Good to know
Tips
- The dough is a batter, not a stiff dough—if it looks more like thick pancake batter than bread dough, you're on the right track. This makes rolling onto a skewer possible.
- Oil temperature is everything. A thermometer is not optional; thiples made in oil that's too cool are grease-soaked, and those made in oil that's too hot brown before cooking through. Hold 350°F (175°C) steady.
- The cooled honey syrup is critical. Warm honey will soak into the pastries, making them soggy. Patience at the cooling stage pays off tenfold in texture.
- Thiples are best served the same day they're dipped in honey, while the contrast between the crispy pastry and the syrupy coating is most pronounced. After 24 hours they soften slightly, though they're still delicious for 2 days.
Make ahead
You can make thiples up to 2 days in advance. Fry them as directed, cool completely without the honey coating, and store in an airtight container at room temperature. On the day of serving, dip them in cooled honey syrup and top with walnuts and cinnamon. The honey syrup can be made up to 3 days ahead and kept refrigerated; bring it to room temperature before use.
Storage & reheating
Room temperature (uncovered): up to 8 hours; best eaten the same day as dipping. The thiples will soften slightly over time as they absorb moisture from the honey. Refrigerator (airtight container, without honey): up to 3 days; re-crisp in a 300°F / 150°C oven for 5 minutes, then dip and top. Freezer (baked thiples only, without honey): up to 3 months; thaw at room temperature and re-crisp in a 300°F / 150°C oven for 5 minutes before dipping. Do not freeze after honey-dipping, as the texture becomes unpleasant upon thawing.
Substitutions
- raw walnuts → blanched almonds or pistachios, coarsely chopped and toasted. Almonds give a milder flavor and lighter color; pistachios add a subtle earthiness. Use the same amount.
- honey (preferably Greek thyme or wildflower) → light corn syrup mixed with 1 teaspoon vanilla extract, heated gently and cooled. Less traditional but works in a pinch; adds a subtle vanilla note and slightly less floral sweetness.
- ground cinnamon → ground cloves or a mixture of ground cloves and ground nutmeg (¾ teaspoon total). Cloves create a warmer, slightly spicier profile. Use half the amount of cloves if substituting entirely, as they are more potent.
- vegetable oil (canola or sunflower) → olive oil or peanut oil. Olive oil imparts a subtle fruity note (especially Greek); peanut oil is neutral. Both work well for frying at 350°F / 175°C.
More middle eastern sweets
See all →



Find more like this
- Meal
- Dessert
- Cuisine
- Greek
- Diet
- VegetarianHalal
- Method
- Grill & BBQ
- Quick & Easy
- Make Ahead
- Occasion
- PartiesFamily Gatherings