Greek Koriander Spiced Rolls
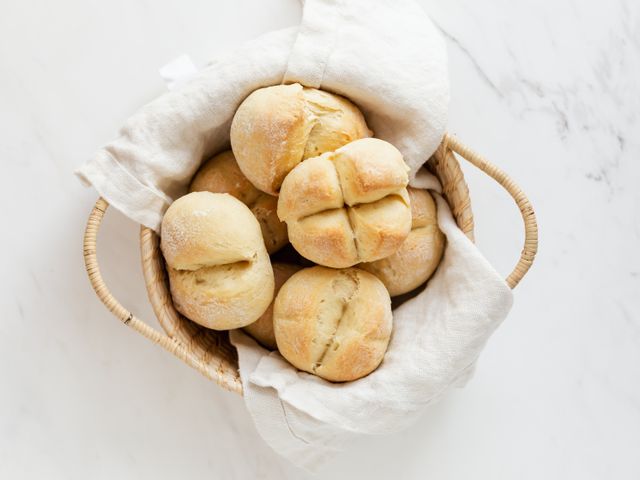
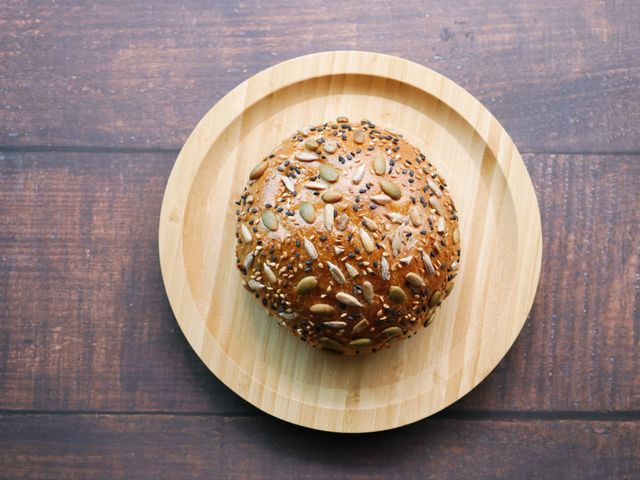
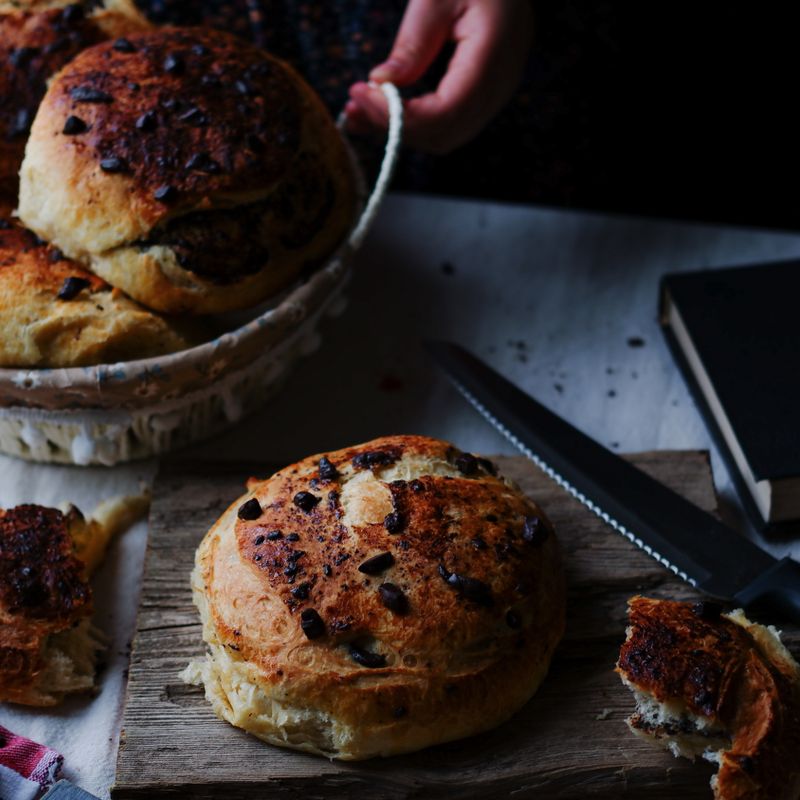
Soft, aromatic rolls infused with the warm, citrusy notes of coriander seeds and a whisper of anise. Inspired by traditional Greek spiced breads, these tender buns have a subtle, sophisticated flavor that pairs beautifully with cheese, cured meats, or olive oil for dipping. The seeds add gentle texture without overwhelming the delicate crumb.
- Prep
- 25 min
- Cook
- 25 min
- Wait
- 1 hr 45 min
- Total
- 2 hr 35 min
- Makes
- 12 rolls
Steps
Before you start
- Toast the coriander and anise seeds briefly (1–2 minutes in a dry skillet) to awaken their oils, then let cool completely before grinding
- Have all ingredients at room temperature (about 70°F/21°C) for even rising
- Preheat oven to 400°F (200°C) about 15 minutes before baking
Mix the dough
- In a large mixing bowl, combine 530 g (4¼ cups) bread flour, 8 g (2½ tsp) instant yeast, 13 g (2 tbsp) ground coriander seeds, 3 g (¾ tsp) ground anise seeds, and 9 g (1½ tsp) fine sea salt.
- Whisk until the spices and yeast are evenly distributed throughout the flour.
- Pour in 355 ml (1½ cups) warm water (90–95°F/32–35°C), 30 ml (2 tbsp) olive oil, and 21 g (1 tbsp) honey.
- Stir with a wooden spoon until a shaggy dough forms and no dry flour remains.
+ Show details− Hide details
Ready when: All flour is moistened and dough is cohesive but rough
Tip: Whisk the dry ingredients first to ensure the yeast and spices are evenly mixed, preventing yeast clumps and uneven spice distribution.
Knead the dough
- Transfer the dough to a lightly oiled work surface (or use a stand mixer with a dough hook on medium speed).
- Knead by hand for 10–12 minutes, or use the mixer for 8–9 minutes, until the dough becomes smooth, elastic, and slightly tacky but not sticky.
- It should spring back slowly when you poke it.
- The dough is ready when it clears the work surface and holds together.
+ Show details− Hide details
Ready when: Dough is smooth, elastic, and springs back slowly when poked; no longer sticky
Tip: If kneading by hand, use the heel of your hand to push the dough away, then fold it back. Keep your work surface lightly oiled to prevent sticking without adding too much flour, which would toughen the rolls.
First rise
- Shape the kneaded dough into a smooth ball and place it in a lightly oiled bowl.
- Turn it over to coat lightly with oil.
- Cover the bowl with a damp kitchen towel or plastic wrap.
- Let it rise at room temperature (about 70°F/21°C) for 60 minutes, until the dough has increased by about 50% and feels puffy when gently pressed (it should not double completely—you want a slightly under-risen dough for better oven spring).
+ Show details− Hide details
Ready when: Dough is visibly puffy and springs back slowly when poked
Tip: A slightly under-risen dough will rise more dramatically in the oven, giving you better color and texture. Avoid over-proofing, which leads to a dense crumb.
Divide and shape rolls
- Turn the risen dough onto a lightly oiled work surface.
- Gently deflate it by folding it onto itself a few times.
- Using a bench scraper or knife, cut the dough into 12 equal pieces (weigh them if precision matters: each should be about 75 g).
- Working with one piece at a time, gently cup your hand over the dough and roll it on the work surface in small circles to build surface tension, creating a smooth ball.
- Tension in the dough helps it rise evenly and hold its shape.
- Place each shaped roll seam-side down on a parchment-lined baking sheet.
+ Show details− Hide details
Ready when: 12 smooth, round balls arranged on baking sheets with slight spacing between them
Tip: Dividing into 12 equal portions ensures even baking. Handle the dough gently so you don't deflate it too much—you want to preserve the gas bubbles for a light crumb.
Second rise and prep for bakingOven 400°F / 205°C
- Cover the baking sheets with damp towels or plastic wrap.
- Let the shaped rolls rise at room temperature for 40–45 minutes.
- They should look puffy and increase by about 25–30% in volume.
- About 15 minutes before they finish rising, preheat your oven to 400°F (200°C).
+ Show details− Hide details
Ready when: Rolls are noticeably puffy and feel light when gently touched
Tip: Don't let the rolls over-proof (they should not fill out completely or touch each other). A light touch to the top should leave a slight indentation that slowly springs back.
Brush and top rolls
- Just before baking, lightly brush each roll with a thin coating of olive oil (about 1 tsp total divided among 12 rolls).
- If using the optional coriander seed topping, sprinkle a few whole seeds on each roll, pressing them gently to adhere.
- This adds visual appeal and a subtle crunch.
+ Show details− Hide details
Ready when: All rolls are lightly oiled with seeds adhered
Tip: A light hand with the oil prevents greasy rolls. The seeds should be pressed gently so they don't fall off in the oven.
Bake until goldenOven 400°F / 205°C
- Place the baking sheets in the preheated 400°F (200°C) oven.
- Bake for 23–26 minutes, until the rolls are deep golden brown on top and sound hollow when tapped on the bottom (an internal temperature of about 205–210°F/96–99°C is ideal, though checking visually and by sound works perfectly well).
- The rolls should smell fragrant and slightly sweet.
+ Show details− Hide details
Ready when: Deep golden-brown color on top, hollow sound when tapped on the bottom, fragrant aroma
Tip: If your rolls are browning too quickly, tent them loosely with foil for the last 5–8 minutes. Every oven is different, so start checking at 20 minutes.
Cool before serving
- Remove the baking sheets from the oven and transfer the rolls to a wire cooling rack (or simply place them on a clean, dry surface).
- Let them cool for at least 10–15 minutes before eating.
- They are still setting as they cool, and eating them too hot will make them feel gummy inside.
- They can be served warm or at room temperature.
+ Show details− Hide details
Ready when: Rolls are warm to cool and feel firm on the outside
Tip: Resist the urge to tear into them immediately—a short rest improves the texture and makes them easier to handle without burning your fingers.
Good to know
Tips
- Toast your coriander and anise seeds just before grinding to maximize their aromatic oils. Stale, pre-ground spices will give a dull flavor—fresh spice is the key to these rolls' character.
- Keep the dough slightly under-proofed on the first rise. You want it to rise about 50%, not double. This gives you better oven spring and a lighter, airier final texture.
- These rolls pair wonderfully with whipped feta, Greek olive paste (tapenade), or simply brushed with more olive oil and served warm alongside soup or stew.
- If you don't have a stand mixer, the hand-kneading method is very doable here—it takes about 10–12 minutes and is actually quite meditative. The dough is forgiving and not overly sticky.
Make ahead
You can prepare the dough up to 8 hours ahead. After kneading, place it in an oiled bowl, cover, and refrigerate. In the morning or when ready to bake, let it come to room temperature (about 2 hours) before shaping and proceeding with the second rise.
Storage & reheating
Store cooled rolls in an airtight container or zip-top bag at room temperature for up to 3 days. Reheat wrapped in foil at 350°F (175°C) for 8–10 minutes. Freeze for up to 2 months in a freezer-safe bag; thaw at room temperature for 2–3 hours or reheat from frozen, wrapped in foil, at 375°F (190°C) for 15–18 minutes.
Substitutions
- bread flour → all-purpose flour. All-purpose flour will work but produces a slightly less chewy texture. Use the same weight (530 g / 4¼ cups).
- coriander seeds → ground coriander. Use 1½ tablespoons (9 g) pre-ground coriander instead of toasting and grinding fresh seeds. The flavor will be slightly milder, so consider adding a pinch of extra for depth.
- anise seeds → fennel seeds. Fennel has a similar warm, slightly licorice flavor. Use the same amount (¾ tsp / 3 g).
- honey → sugar or agave nectar. Use 2 teaspoons (8 g) granulated sugar or agave nectar in place of honey. It will not add the subtle floral sweetness, but the rolls will still rise well.