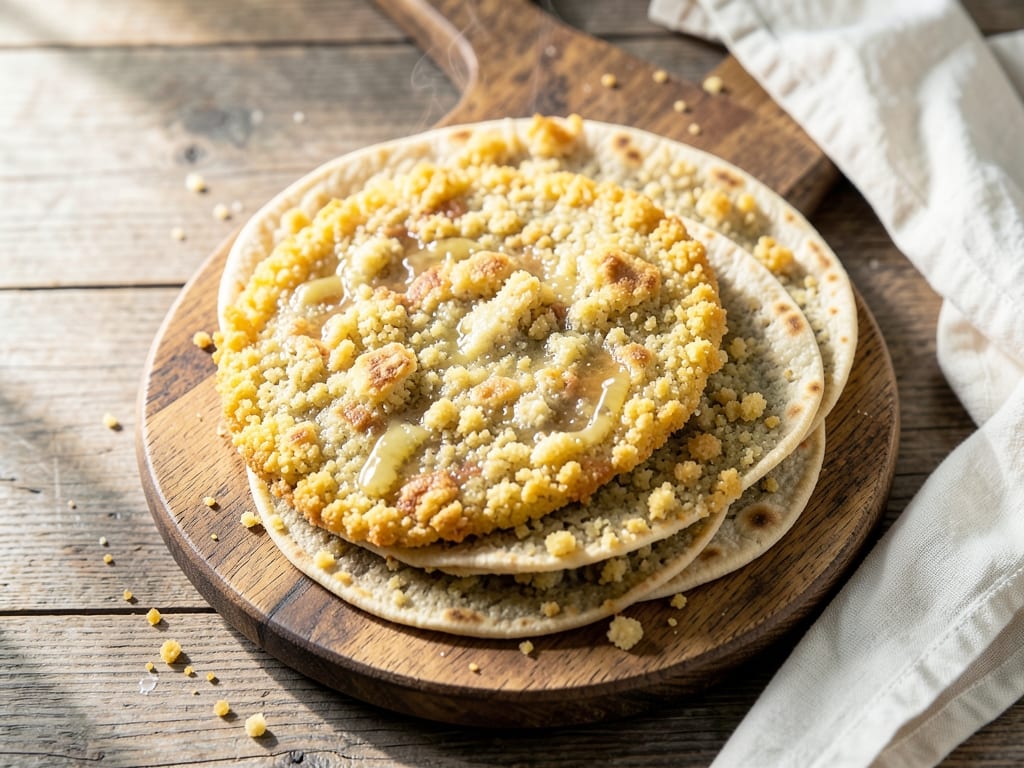
Classic Venezuelan Arepas
Golden, crisp-crusted cornmeal cakes with a steamy, tender interior, made from just pre-cooked cornmeal, warm water, salt and a little butter. Griddled to set the crust, then baked to cook through, they are ready to split and stuff with your favorite fillings.
- Prep
- 20 min
- Cook
- 35 min
- Wait
- 10 min
- Total
- 1 hr 5 min
- Makes
- 8 arepas (about 4 inches / 10 cm wide)
Steps
Before you start
- Use pre-cooked cornmeal labeled 'masarepa' or 'harina precocida' (such as P.A.N. or Goya). Regular cornmeal and masa harina will not work.
- Melt the butter and warm the water to about 100–110°F (38–43°C), comfortably warm to the touch, before you begin.
- Keep a small bowl of water nearby to wet your hands while shaping, which prevents sticking and cracked edges.
- Arrange an oven rack in the center and preheat the oven to 400°F (200°C) while you mix the dough.
Preheat the ovenOven 400°F / 205°C
- Position a rack in the center of the oven and heat to 400°F (200°C).
- Lightly brush a rimmed baking sheet with about ½ teaspoon of the oil.
+ Show details− Hide details
Ready when: Oven reaches 400°F (200°C)
Season the water
- In a large mixing bowl, stir the warm water, salt and melted butter together until the salt dissolves, about 20 seconds.
+ Show details− Hide details
Ready when: No salt granules are visible at the bottom of the bowl
Tip: Make sure the butter has cooled a little so it does not clump or scald the cornmeal.
Add the masarepa
- Gradually sprinkle the masarepa into the water in a steady stream with one hand while stirring with the other, so no dry pockets form.
- Stir until the mixture looks like a very loose, thick porridge with no dry clumps.
+ Show details− Hide details
Ready when: The mixture is wet, lumpy-free and no dry cornmeal is visible
Tip: Adding the cornmeal all at once creates dry lumps that are hard to break up.
Rest the dough
- Cover the bowl with a kitchen towel and let the dough rest for 5 minutes so the cornmeal fully absorbs the water and thickens.
+ Show details− Hide details
Ready when: Dough is thick and no longer sticky-wet
Knead until smooth
- Wet your hands and knead the dough in the bowl for 1 minute until it is soft, smooth and moist like Play-Doh.
- It should hold together without cracking when pressed.
- If it feels dry or cracks, knead in warm water 1 tablespoon at a time.
- If sticky, knead in masarepa 1 tablespoon at a time.
- Cover again and rest 5 minutes.
+ Show details− Hide details
Ready when: A pinch of dough pressed flat has smooth edges with no cracks
Tip: Properly hydrated dough is the secret to arepas that do not crack at the edges.
Shape the arepas
- With wet hands, divide the dough into 8 equal portions of about 120 g (4¼ oz) each, roughly the size of a large egg.
- Roll each into a ball, then flatten between your palms into a smooth disc about 4 inches (10 cm) wide and ¾ inch (2 cm) thick.
- Smooth any cracked edges with a wet fingertip.
- Keep shaped arepas covered with a towel.
+ Show details− Hide details
Ready when: Discs are uniform in thickness with smooth, crack-free edges
Tip: Keep your hands wet throughout; dry hands drag and crack the dough.
Griddle the first side
- Heat a 12-inch (30 cm) skillet or griddle over medium heat for 2 minutes, then brush lightly with oil.
- Cook 4 arepas at a time, leaving space between them, for 5–6 minutes without moving them, until the underside has a pale golden crust with brown spots.
- Flip and cook the second side 5–6 minutes more.
+ Show details− Hide details
Ready when: Both sides are golden with light brown spots and the crust feels firm when pressed
Tip: Don't flip too early. If an arepa sticks, the crust has not formed yet; give it another minute.
Griddle the second batch
- Transfer the first 4 arepas to the oiled baking sheet.
- Wipe the skillet with a paper towel if there are burnt bits, re-oil lightly, and griddle the remaining 4 arepas the same way, 5–6 minutes per side.
+ Show details− Hide details
Ready when: Same golden, firm crust on both sides
Bake to finishOven 400°F / 205°C
- Move the second batch to the baking sheet as well.
- Bake in the 400°F (200°C) oven for 15–18 minutes, until the arepas are puffed slightly, the crust is crisp and they sound hollow when tapped on the bottom.
+ Show details− Hide details
Ready when: Hollow sound when tapped; center feels light and a knife-tip test shows no raw, wet dough
Tip: Underbaked arepas are gummy inside, so err on the longer side.
Rest and serve
- Let the arepas rest on the pan for 3–5 minutes.
- Slice each open along one side with a serrated knife, leaving the opposite edge attached, and fill with your choice of fillings while still warm.
+ Show details− Hide details
Ready when: Arepas are warm, firm and split cleanly
Good to know
Tips
- Always add the cornmeal to the water, not the other way around, to avoid lumps.
- Dough that cracks at the edges needs more water; dough that sticks to your hands needs more masarepa.
- For extra-crisp crusts, griddle an extra minute per side before baking.
- For a cheesy variation, knead ½ cup (50 g) finely grated mozzarella or queso blanco into the dough.
Make ahead
"Shape the arepas up to 4 hours ahead, cover with plastic wrap and refrigerate on a plate. Alternatively, griddle them, cool completely, and refrigerate; bake just before serving, adding 3–5 minutes."
Storage & reheating
"Room temperature: up to 2 hours. Fridge: cooled arepas in an airtight container up to 4 days. Freezer: wrap individually and freeze up to 3 months. Reheat from fridge or frozen in a 375°F (190°C) oven for 10–15 minutes (20 minutes from frozen), or toast in a toaster until crisp outside and hot inside."
Substitutions
- pre-cooked white cornmeal (masarepa) → yellow pre-cooked cornmeal. Gives a slightly sweeter, more corn-forward flavor; use the same weight.
- unsalted butter → extra-virgin olive oil or vegetable oil. Use the same amount for a dairy-free dough.
- neutral oil such as canola or vegetable oil → melted butter or nonstick spray. For greasing the skillet and pan.
- fine sea salt → kosher salt (Diamond Crystal). Use 2 teaspoons since it is less dense.
More flatbreads
See all →
Find more like this
- Meal
- Breakfast
- Quick & Easy
- 5 Ingredients or LessEasy