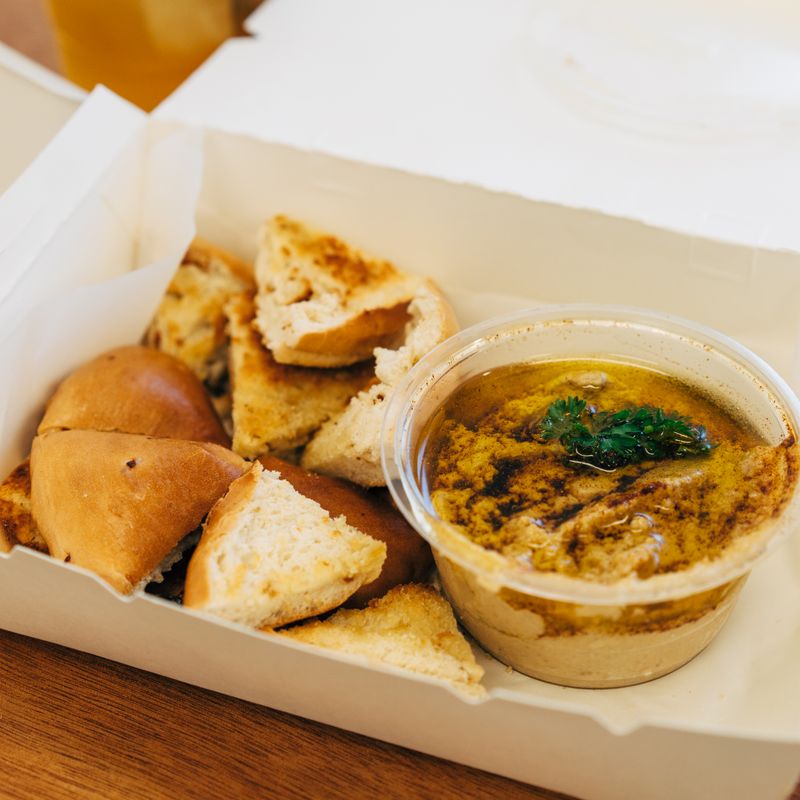
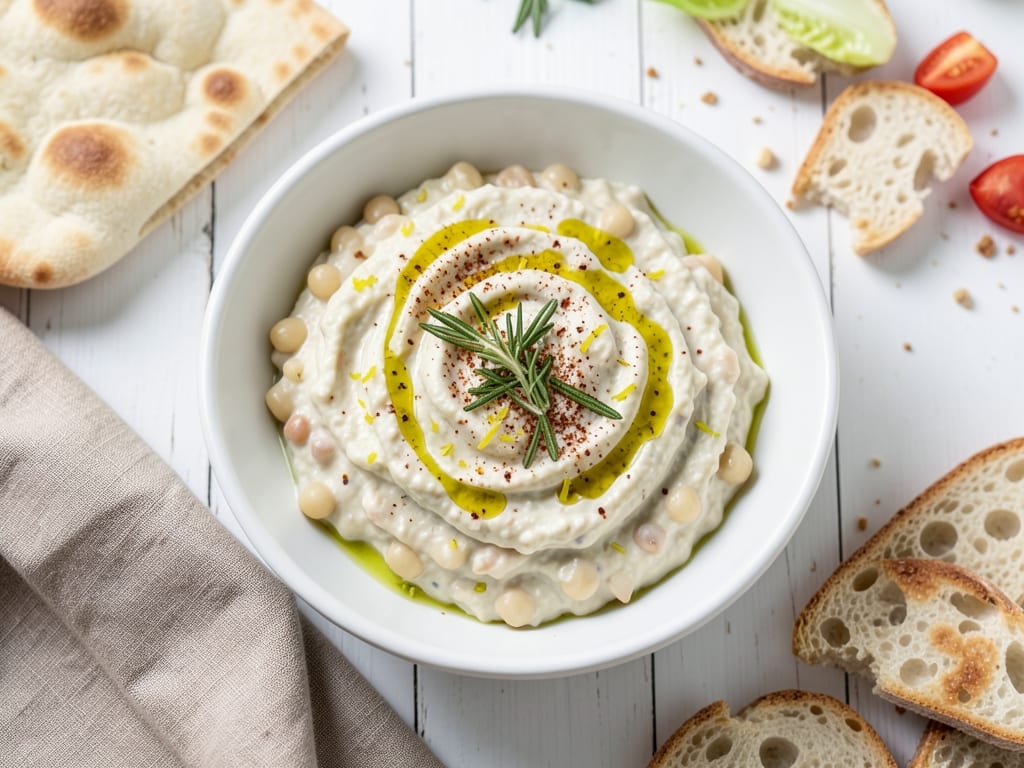
White Bean and Roasted Garlic Dip
A silky Mediterranean dip blending creamy white beans with sweet roasted garlic, bright lemon juice, and fruity olive oil. Flavored with cumin and fresh herbs, it's naturally vegan, makes ahead beautifully, and comes together in minutes if using jarred roasted garlic. Perfect for parties or an easy healthy appetizer.
- Prep
- 12 min
- Cook
- —
- Total
- 12 min
- Makes
- about 2 cups (serves 10 as an appetizer dip)
Steps
Before you start
- Decide whether to use jarred roasted garlic (quickest) or roast fresh garlic ahead of time (optional step 1, takes 40 minutes)
- Drain and rinse the canned white beans thoroughly—this step is crucial for a smooth, creamy dip
- Measure out your olive oil and have fresh lemon juice ready
- Gather and finely chop your fresh parsley and any other herbs
Roast fresh garlic (optional)Oven 400°F / 205°C
- If using fresh garlic instead of jarred, preheat the oven to 400°F (200°C).
- Cut 2 medium garlic bulbs in half horizontally.
- Drizzle the cut sides with 1 tablespoon olive oil and season with a pinch of salt and pepper.
- Place the bulbs cut-side down on a baking sheet and roast for 35-40 minutes, until the cloves are deep golden brown, very soft, and easily squeezed from their skins.
- Remove from the oven and let cool for a few minutes until comfortable to handle.
- Squeeze the roasted cloves from their skins into a small bowl—you should have about 1/3 cup of soft roasted garlic.
- If using jarred roasted garlic, skip this step and begin at step 2.
+ Show details− Hide details
Ready when: Garlic cloves are deep golden brown, very soft, and easily extracted from their skins with gentle pressure
Tip: Roast garlic up to 2 days ahead for convenience—store the cooled cloves in an airtight container in the refrigerator
Drain and rinse beans
- Open the two cans of white beans and drain them into a colander.
- Rinse the beans under cold running water for about 30 seconds, gently stirring with your hand to remove excess liquid, starch, and any floating skins.
- This step is essential—rinsing prevents the finished dip from becoming gummy or starchy.
- Transfer the rinsed beans to the bowl of your food processor.
+ Show details− Hide details
Ready when: Beans are drained and water runs mostly clear
Tip: Don't skip rinsing—this single step makes the difference between a light, creamy dip and one that's dense and starchy
Combine all ingredients
- To the food processor with the rinsed beans, add the roasted garlic cloves, 3 tablespoons of the extra virgin olive oil, fresh lemon juice, ground cumin, 2 tablespoons of the chopped fresh parsley (reserve the remaining 2 tablespoons for garnish), kosher salt, and black pepper.
- If using tahini for extra richness and creaminess or fresh thyme for additional herbal depth, add those now as well.
+ Show details− Hide details
Ready when: All ingredients are in the food processor bowl
Blend until smooth
- Secure the lid on the food processor and pulse 3-4 times to break up and combine the beans.
- Then run the processor continuously for 1-2 minutes, stopping halfway through to scrape down the sides of the bowl with a rubber spatula.
- Continue blending until the mixture is completely smooth, creamy, and light in texture—it should resemble whipped hummus with no visible bean pieces.
+ Show details− Hide details
Ready when: Mixture is smooth, creamy, and light in texture with no visible bean pieces
Tip: Blend longer if you prefer an ultra-silky, hummus-like texture, or blend less if you enjoy a bit of bean texture
Adjust and taste
- If the dip seems too thick for easy dipping, add water one tablespoon at a time while blending, until you reach a scoopable consistency (thick enough to hold its shape on a spoon but with a slight flow).
- Taste the dip and adjust the seasoning—add more salt, lemon juice, or cumin to your preference.
- Remember that flavors are more muted when cold, so if chilling the dip, season it slightly more boldly while warm.
+ Show details− Hide details
Ready when: Dip is the desired consistency and well-seasoned to your taste
Tip: Add water slowly and sparingly—it's easy to over-thin the dip. You can always add more, but you cannot remove it once added
Finish and serve
- Transfer the finished dip to a shallow serving bowl or platter.
- Drizzle the remaining 1 tablespoon of olive oil over the surface in a decorative spiral or pattern.
- Sprinkle the reserved 2 tablespoons of fresh parsley over the top, and optionally add a pinch of ground cumin or freshly ground black pepper for color and extra flavor.
- Serve immediately at room temperature with pita chips, warm pita bread, fresh vegetable crudités (carrot sticks, cucumber rounds, bell pepper strips, radish slices), crackers, or sliced baguette.
+ Show details− Hide details
Ready when: Dip is beautifully plated and garnished
Tip: Garnishing with olive oil and fresh herbs isn't merely decorative—it adds significant flavor and richness to each bite
Good to know
Tips
- Rinsing the beans is non-negotiable: The starchy liquid coating canned beans makes the dip dense and gluey if not thoroughly rinsed. A proper cold-water rinse is the difference between a light, creamy dip and a heavy one
- For deeper, more complex cumin flavor, lightly toast the ground cumin in a dry pan over low heat for about 30 seconds before adding it to the food processor, then let it cool completely. This blooms the spice and intensifies its flavor profile
- Use good-quality extra virgin olive oil—since it's a main flavor component, the quality is noticeable. Save cheaper oil for cooking; this dip deserves the real thing
- Consistency is entirely flexible: make it thicker for spreading on crostini or crackers, or add more water for a scoopable dip that flows smoothly for chips. Add liquid gradually and taste as you go
Make ahead
The dip can be made up to 3 days ahead. Prepare through step 5 and store in an airtight container in the refrigerator. Add the final olive oil drizzle and fresh herb garnish just before serving for best appearance. Fresh garlic can be roasted up to 2 days ahead and stored separately in an airtight container. If making ahead, let the dip come to room temperature for 15-20 minutes before serving for the best flavor and texture, or serve it straight from the refrigerator if you prefer it chilled.
Storage & reheating
Room temperature: up to 2 hours (ideal for parties). Refrigerator: up to 3 days in an airtight container. Freezer: up to 3 months in a freezer-safe container. Thaw overnight in the refrigerator; texture will be slightly grainier after freezing. Reheating: serve chilled or at room temperature. If frozen, thaw and serve cold, or gently warm in a small saucepan over low heat, stirring occasionally, until just warmed through (about 5 minutes).
Substitutions
- roasted garlic cloves (jarred or freshly roasted) → 1/2 cup jarred roasted garlic (about 12 cloves worth). Using jarred roasted garlic skips the 40-minute roasting time and works beautifully. Choose a brand without heavy oil packaging to avoid making the dip greasy. Jarred garlic is often milder, so you may want to use slightly more
- fresh flat-leaf parsley → Fresh basil, fresh mint, fresh dill, or fresh thyme in any combination (use 1/4 cup total). Each herb brings a different Mediterranean flavor. Basil adds peppery notes, mint brings brightness, dill adds earthiness, and thyme adds subtle floral quality. Mix and match freely to suit your preference
- fresh lemon juice → 2 tablespoons white wine vinegar or 1 tablespoon sherry vinegar. Vinegar provides the needed acidity and brightness. The flavor will differ—vinegar is sharper and more assertive, while lemon is brighter and more floral—but equally delicious. Use less vinegar because it is more concentrated
- canned white beans (cannellini or great northern) → Cannellini beans (large white beans), great northern beans, or 1.5 cans freshly cooked white beans (about 2 cups cooked). Canned beans are convenient and yield consistent results. Freshly cooked beans work well if tender and well-drained. Avoid baked beans or beans in tomato sauce, which change the flavor profile entirely
More dips & spreads
See all →


Find more like this
- Meal
- Snack
- Cuisine
- Mediterranean
- Main ingredient
- White Beans
- Method
- No-Cook
- Quick & Easy
- 15-Minute30-MinuteEasyBeginnerMake Ahead
- Occasion
- Parties