Vegan Sourdough Discard Pancakes
Fluffy, golden pancakes with crisp edges and a gentle sourdough tang, made with unfed starter discard, oat milk and pantry staples. No eggs or dairy needed.
- Prep
- 10 min
- Cook
- 18 min
- Wait
- 5 min
- Total
- 33 min
- Makes
- About 10 pancakes (4 inches/10 cm each)
Steps
Before you start
- Use discard at about 100% hydration (equal weights flour and water), straight from the fridge or at room temperature. If yours is much thicker or thinner, adjust the oat milk by a tablespoon or two at the end.
- Measure the flour by weight, or spoon it into the cup and level it. Scooping packs the flour and makes dense pancakes.
- Check that your baking powder and baking soda are fresh (they should fizz in hot water and vinegar respectively), since they are the only leavening here.
- Have a baking sheet and wire rack ready if you want to keep finished pancakes warm in the oven.
Whisk dry ingredients
- In a large bowl, whisk together the flour, baking powder, baking soda and salt for about 20 seconds, until evenly combined with no clumps of baking soda.
+ Show details− Hide details
Ready when: The mixture looks uniform and uniformly pale.
Tip: Baking soda must be evenly distributed, or you may get bitter or soapy-tasting spots.
Whisk wet ingredients
- In a medium bowl, whisk the sourdough discard, oat milk, 2 tbsp maple syrup, 3 tbsp oil and vanilla until smooth and no lumps of starter remain, about 1 minute.
+ Show details− Hide details
Ready when: The mixture is smooth, beige and slightly frothy, with no stringy bits of starter.
Tip: Room-temperature oat milk keeps the oil from clumping up.
Combine gently
- Pour the wet mixture into the dry ingredients.
- Fold with a spatula or whisk just until no dry flour is visible, about 15 strokes.
- The batter will be thick but pourable, and it will bubble a little as the soda reacts with the starter.
- A few small lumps are fine.
+ Show details− Hide details
Ready when: No dry flour pockets remain, and the batter slowly drips off the spatula in a thick ribbon.
Tip: Overmixing develops gluten and makes tough, rubbery pancakes.
Rest the batter
- Let the batter sit undisturbed for 5 minutes.
- This allows the flour to hydrate and the leavening to begin working.
+ Show details− Hide details
Ready when: The surface looks puffier and shows small bubbles.
Tip: Don't stir the batter after resting, or you'll knock out the bubbles.
Heat the pan
- Place a large nonstick skillet or griddle over medium heat for about 3 minutes.
- Brush or wipe with a thin film of oil (about ½ tsp).
- Test with a few drops of water: they should sizzle and skitter across the surface.
+ Show details− Hide details
Ready when: Water droplets sizzle and dance before evaporating.
Tip: If the pan is too hot, the outside browns before the center cooks; if the first pancake burns, lower the heat slightly.
Cook first side
- Pour ¼ cup (60 ml) batter per pancake, leaving about 1 inch (2.5 cm) between them.
- Cook 2 to 3 minutes, until the edges look set and matte and bubbles appear across the surface and stay open after they pop.
+ Show details− Hide details
Ready when: The edges look dry and set, and bubbles on top stay open when they pop. The underside is golden brown when peeked at.
Tip: Don't press down on the pancakes while they cook; that squeezes out the air and makes them dense.
Flip and finish
- Slide a thin spatula under each pancake and flip in one confident motion.
- Cook the second side for 1 to 2 minutes, until golden and the pancake springs back when lightly touched in the center.
+ Show details− Hide details
Ready when: Both sides are golden brown, and the center springs back when gently pressed.
Tip: Vegan batters can stay a little gummy if flipped early, so wait for those open bubbles.
Repeat and keep warmOven 200°F / 95°C
- Transfer finished pancakes to a wire rack set over a baking sheet in a 200°F (95°C) oven.
- Wipe the pan with a little more oil as needed and cook the remaining batter in batches, adjusting the heat between medium-low and medium so each batch cooks for the same time.
- You should have about 10 pancakes in total.
+ Show details− Hide details
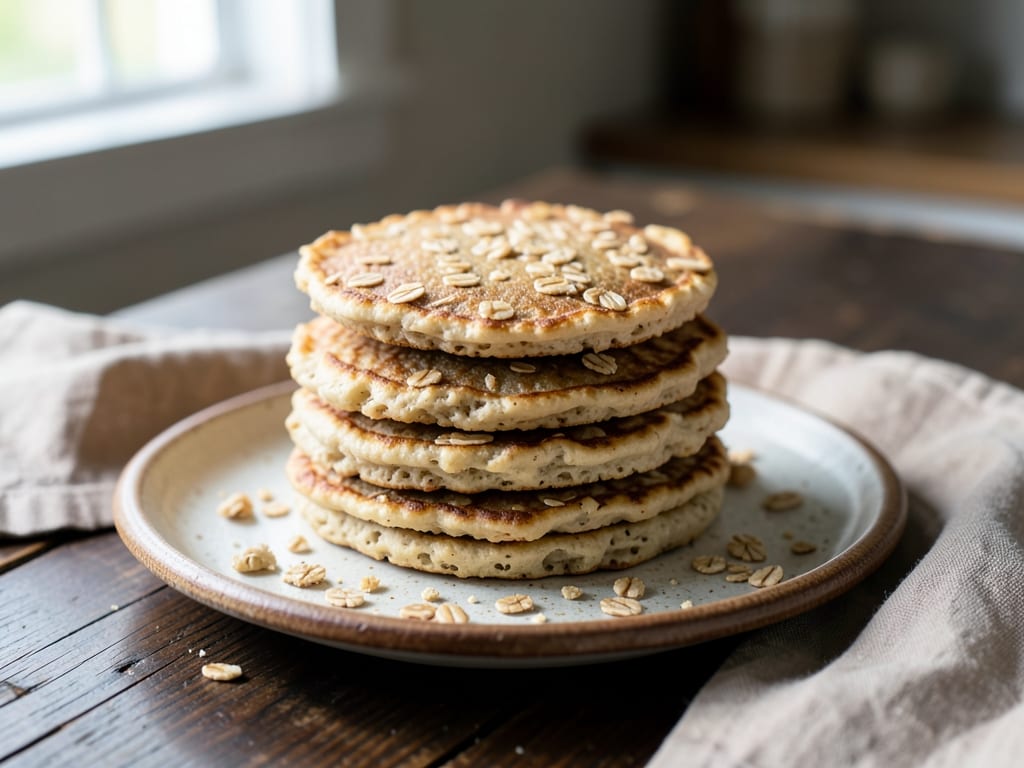
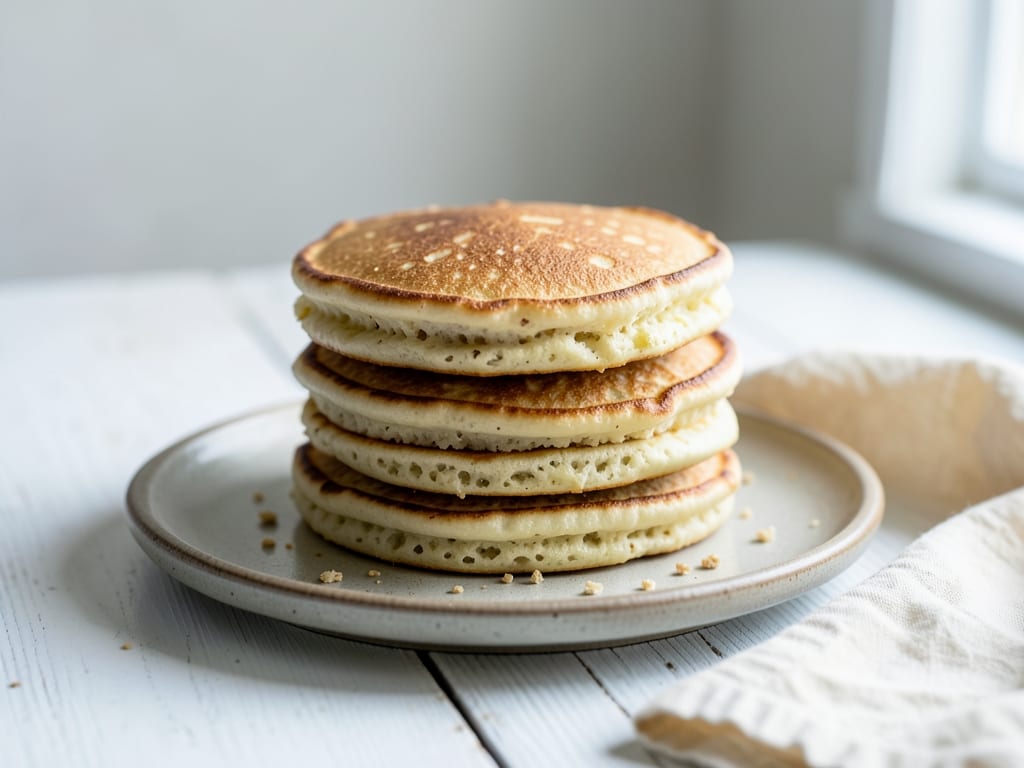
Ready when: Every pancake is evenly golden brown with a fluffy, cooked-through center.
Tip: Keep pancakes in a single layer on a rack, not stacked, so steam doesn't make them soggy.
Serve
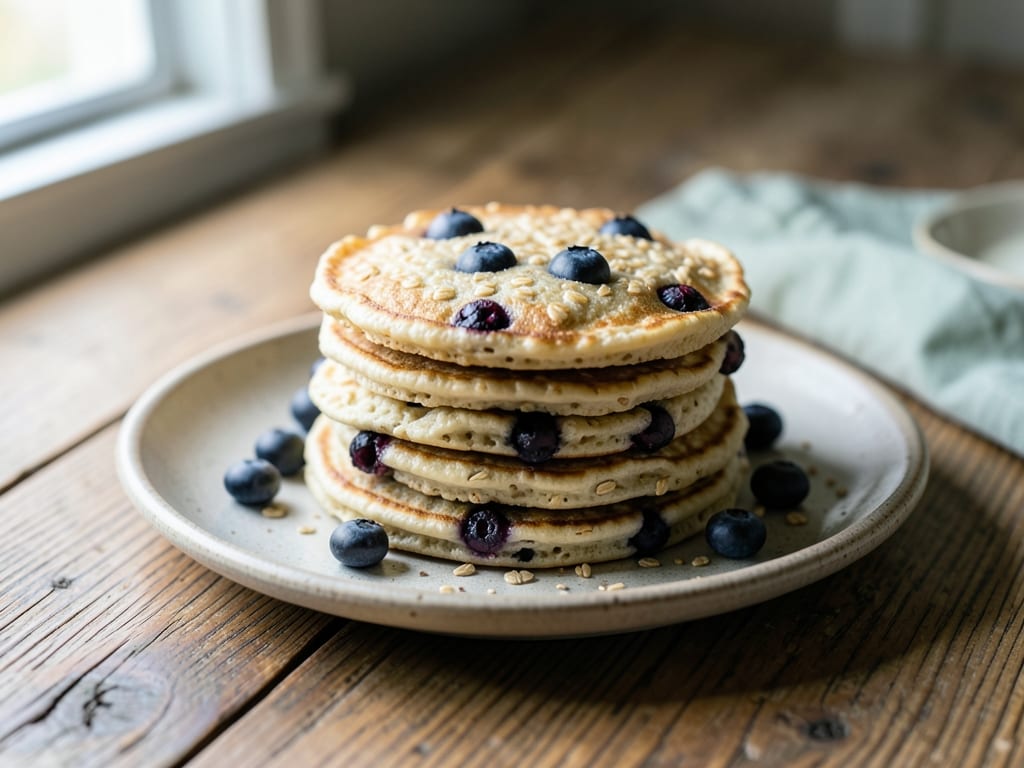
- Stack 2 to 3 pancakes per plate and drizzle with the warmed maple syrup.
- Serve right away while the edges are still crisp.
+ Show details− Hide details
Tip: Top with fresh berries, sliced banana, or toasted nuts if you like.
Good to know
Tips
- Measure your discard by weight (240 g) for the most consistent batter, since discard thickness varies.
- Cook on medium rather than high; sourdough batter has natural sugars and browns quickly.
- Make a test pancake first and adjust the heat and batter thickness before cooking the rest.
- For a tangier flavor, use discard that has been in the fridge for 1 to 2 weeks; for a milder one, use fresher discard.
Make ahead
Whisk the dry ingredients together up to 1 week ahead and store airtight. The wet mixture can be combined and refrigerated up to 12 hours, but add the dry mixture just before cooking.
Storage & reheating
Room temperature: up to 2 hours. Refrigerator: cool completely, then store in an airtight container for up to 4 days. Freezer: freeze in a single layer on a tray, then bag with parchment between pancakes for up to 2 months. Reheat in a toaster or a 350°F (175°C) oven for 5 to 8 minutes, or microwave for 20 to 30 seconds from refrigerated.
Substitutions
- unsweetened oat milk → unsweetened soy or almond milk. Soy milk gives the most similar browning and structure; use the same amount.
- all-purpose flour → half white whole wheat flour. Replace up to 60 g of the flour. The pancakes will be slightly heartier, and you may need 1 to 2 extra tbsp oat milk.
- pure maple syrup → agave nectar or light brown sugar. Use the same amount of agave, or 2 tbsp (25 g) sugar; flavor will be slightly less complex.
- neutral oil (such as sunflower or canola) → melted vegan butter or coconut oil. Cool it slightly before whisking in so it doesn't clump.