
Strawberry Shortcake Fingers
Delicate sponge cake fingers layered with whipped cream and macerated strawberries. These elegant, bite-sized treats capture all the charm of strawberry shortcake in a form that's easy to hold and serve. The tender crumb and bright berry flavor make them perfect for afternoon tea or a special gathering.
- Prep
- 30 min
- Cook
- 18 min
- Wait
- 45 min
- Total
- 1 hr 33 min
- Makes
- 12 shortcake fingers (or 24 petit fours)
Steps
Before you start
- Preheat oven to 350°F (175°C) and line a 9×13-inch (23×33 cm) baking sheet with parchment paper
- Bring eggs to room temperature for best volume when whipped
- Hull and halve strawberries at least 30 minutes before assembling so they release their juice
- Have all equipment and ingredients measured and ready before starting the sponge
Macerate the strawberries
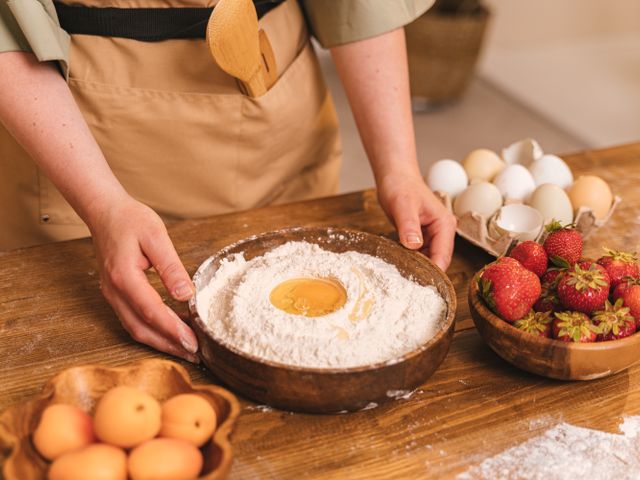
- Place the hulled and halved strawberries in a shallow dish and sprinkle with 2 tablespoons (25 g) of granulated sugar.
- Toss gently and let sit at room temperature for at least 30 minutes.
- The berries will release their juice, creating a light syrup.
+ Show details− Hide details
Ready when: Berries are glossy and surrounded by pink liquid
Tip: Do this while preparing other components so everything comes together smoothly
Whip egg whites
- In a very clean, dry bowl of a stand mixer (or using a hand mixer), beat 4 egg whites on medium-high speed for about 2 minutes until foamy.
- Gradually add half the caster sugar (about 6 tablespoons / 75 g) while beating.
- Continue beating for 3–4 minutes until the whites hold stiff, glossy peaks.
- Set aside.
+ Show details− Hide details
Ready when: Whites are bright white, form stiff peaks that don't bend, and look glossy
Tip: Even a tiny bit of yolk or grease will prevent the whites from reaching full volume, so use impeccably clean equipment
Make the yolk mixture
- In another bowl, whisk together 4 egg yolks and the remaining caster sugar (about 6 tablespoons / 75 g) for 2–3 minutes until pale and thick.
- The mixture should fall in a ribbon from the whisk.
- Stir in 1 teaspoon (5 ml) of vanilla extract.
+ Show details− Hide details
Ready when: Yolk mixture is pale yellow, thickened, and drops from the whisk in a steady ribbon
Tip: Whisking the yolks and sugar thoroughly incorporates air and ensures a light crumb
Fold in flour and sift it
- Sift together 0.75 cup (90 g) of cake flour and 0.25 teaspoon (1.5 g) of salt.
- Working in two additions, gently fold the flour mixture into the yolk mixture using a rubber spatula, being careful not to deflate the mixture.
- Fold until no dry flour streaks remain.
+ Show details− Hide details
Ready when: Flour is fully incorporated and no white streaks remain; batter is smooth and thick
Tip: Gentle folding preserves the air in the yolks and eggs, which is what makes the cake light
Fold in the egg whites
- In three additions, gently fold the reserved egg white foam into the yolk-flour mixture.
- Use a rubber spatula to cut down the center, sweep across the bottom, and fold up and over, rotating the bowl as you go.
- Do not stir or overmix; folding stops when white streaks just disappear.
+ Show details− Hide details
Ready when: No large white lumps remain; the batter is pale, fluffy, and mousse-like
Tip: Overmixing will knock air out of the whites and result in a dense, flat cake, so be patient and gentle
Add melted butter
- Pour the 3 tablespoons (45 g) of slightly cooled melted butter around the edge of the bowl and fold it in gently using the same folding technique, making sure not to streak the batter or compress the foam.
- The batter should be smooth and uniform.
+ Show details− Hide details
Ready when: Butter is completely incorporated; no streaks or separated liquid remain
Tip: Cooling the butter slightly prevents it from cooking the egg whites; if the batter looks slightly separated after folding in butter, it will come together during baking
Spread and bake the spongeOven 350°F / 175°C
- Pour the batter onto the prepared 9×13-inch (23×33 cm) baking sheet and spread evenly to the corners using a spatula.
- Bake at 350°F (175°C) for 16–18 minutes.
- The cake is done when a toothpick inserted in the center comes out with just a few moist crumbs and the top springs back when lightly touched.
+ Show details− Hide details
Ready when: Top is pale golden, springs back when gently pressed, and a toothpick has just a few moist crumbs
Tip: Do not overbake; a slightly underbaked sponge is more tender than one that is dry. Check at 16 minutes if your oven runs hot
Cool the sponge completely
- Let the baked sponge cool in the pan for 5 minutes, then turn it out onto a wire rack or clean counter to cool completely, about 15–20 minutes.
- Once cool, trim the edges if needed for even thickness, then place the sponge back on a clean cutting board.
+ Show details− Hide details
Ready when: Cake is cool to the touch and feels firm but tender
Tip: Cooling completely is essential; a warm cake is fragile and will crumble when cut
Cut the cake into fingers
- Using a serrated knife dipped in hot water and wiped clean between cuts, trim the cooled sponge into a neat rectangle if needed, then cut it into 12 equal fingers (each roughly 3×2 inches / 7.5×5 cm).
- If making petit fours, cut into 24 smaller pieces about 2×1.5 inches (5×4 cm).
- Place fingers on a clean cutting board.
+ Show details− Hide details
Ready when: All fingers are cut evenly and cleanly without crushing the crumb
Tip: A hot, wet knife cuts through delicate sponge cleanly without tearing; warm water between cuts melts residual crumbs so the blade glides smoothly
Whip the cream
- In a chilled bowl with chilled beaters, whip 1 cup (240 ml) of cold heavy cream with 2 tablespoons (25 g) of caster sugar and 0.5 teaspoon (2.5 ml) of vanilla extract on medium-high speed for 2–3 minutes until medium-stiff peaks form.
- The cream should be thick but still spreadable, not grainy or over-whipped.
+ Show details− Hide details
Ready when: Cream holds soft peaks that gently fold over and remains smooth and glossy
Tip: Stop whipping at medium-stiff peaks; over-whipping turns cream grainy and begins to separate into butter. Cold bowl and beaters help you whip without overworking
Assemble the shortcakes
- Place a sponge finger on a serving plate or board.
- Top with a spoonful (about 1.5 tablespoons / 22 ml) of whipped cream, then scatter some of the macerated strawberries and a bit of their juice over the cream.
- Top with a second sponge finger.
- Garnish the top with another spoonful of whipped cream and a few thin strawberry slices if desired.
- Repeat with remaining fingers and components.
+ Show details− Hide details
Ready when: All 12 shortcakes are assembled with cream and berries visible
Tip: If making these more than 1 hour ahead, hold components separately and assemble just before serving to keep the sponge from absorbing too much moisture and becoming soggy
Good to know
Tips
- Use fresh, ripe strawberries—they will have the best flavor and will release more juice when macerated. If berries are very large, quarter them instead of halving so the pieces are more delicate.
- The sponge cake will be more tender if you do not open the oven door during baking. Even a quick peek lets heat escape and can cause the cake to sink slightly.
- For a richer assembly, thin a few tablespoons of the macerated strawberry syrup with a teaspoon of water and brush it onto each sponge finger before topping with cream. This adds moisture and berry flavor.
- If the sponge is crumbly or breaks during cutting, it may have been overbaked or cooled on a rack that was too warm. Let the next batch cool completely at room temperature before handling.
Make ahead
Bake and cool the sponge cake layers up to 1 day ahead; wrap tightly in plastic wrap and store at room temperature. Macerate the strawberries up to 2 hours ahead. Assemble just before serving to keep the sponge tender and avoid sogginess.
Storage & reheating
Store assembled shortcakes covered loosely (not airtight) in the refrigerator for up to 4 hours. The sponge will gradually absorb moisture from the cream and berries. Store unfrosted, cooled sponge cake wrapped in plastic wrap at room temperature for up to 2 days, or frozen for up to 2 weeks. Thaw frozen cake at room temperature for 30 minutes before assembling. Do not freeze assembled shortcakes as the cream and berries will not thaw evenly.
Substitutions
- cake flour → 0.75 cup (90 g) of all-purpose flour mixed with 1 tablespoon (8 g) of cornstarch. All-purpose flour has more gluten and will yield a slightly denser, chewier crumb than cake flour, but the result is still good. The cornstarch helps keep the cake tender.
- heavy cream, cold → 1 cup (240 ml) of coconut cream (the thick part from a can of full-fat coconut milk), chilled. Whip coconut cream the same way as dairy cream. It will have a subtle coconut flavor and a slightly lighter color. Chill the can overnight to separate the cream from the liquid.
- fresh strawberries, ripe → 1.25 lb (570 g) of fresh raspberries, blackberries, or a mix of soft berries. Softer berries like raspberries do not need to be halved and will release juice quickly. Macerate for 15–20 minutes instead. Their flavor pairs beautifully with the tender sponge.
- vanilla extract → 0.5 teaspoon (2.5 ml) of almond extract or the seeds from 0.5 vanilla bean, scraped. Almond extract gives a subtle nod to the flavor of fruit tarts. Fresh vanilla bean seeds provide elegant specks and a floral note.
More cakes
See all →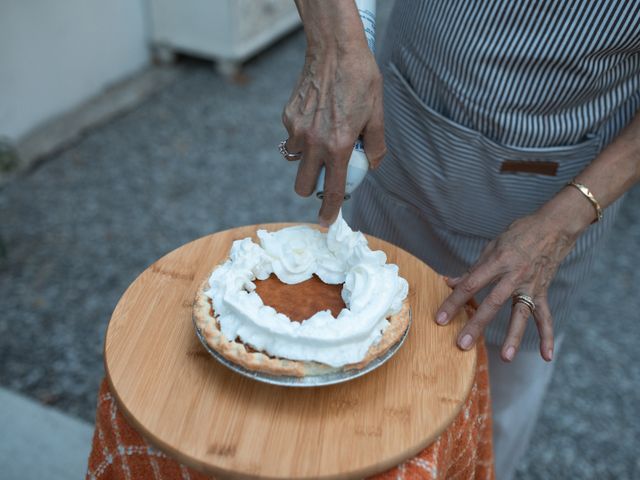


Find more like this
- Meal
- Dessert
- Diet
- VegetarianHalal
- Method
- Oven