
Sourdough Ramadan Savory Meat Stuffed Flatbread
Rustic, filling flatbreads made with active sourdough starter and stuffed with spiced ground lamb or beef, caramelized onions, and fresh herbs. Cooked on the stovetop until golden and crispy, they're perfect for breaking the Ramadan fast with their warm, tender dough and aromatic, savory filling.
- Prep
- 40 min
- Cook
- 20 min
- Wait
- 2 hr 5 min
- Total
- 3 hr 5 min
- Makes
- 8 flatbreads (serves 4; 2 per person)
Steps
Before you start
- Ensure your sourdough starter is active and bubbly (feed 4–8 hours before you begin)
- Measure all ingredients before starting
- Have a 12-inch skillet or cast iron griddle ready for cooking
- Plan on about 3 hours from start to finish, with most time being passive rising and resting
Brown the meat and aromatics
- Heat a large skillet over medium-high heat.
- Add the ground lamb or beef, breaking it apart with a spoon, and cook for 5–7 minutes until fully browned and no pink remains.
- Drain excess fat if the skillet is greasy.
- Add the diced onion and cook, stirring occasionally, for 5–8 minutes until softened and lightly golden at the edges.
- Add the minced garlic and cook for 1 minute more until fragrant.
- Stir in the cumin, cinnamon, black pepper, and salt.
- Cook for 1 minute to toast the spices.
- Remove from heat and let cool slightly.
- Once cooled to warm, fold in the parsley, mint, pomegranate molasses (if using), and pine nuts (if using).
- Taste and adjust seasoning as needed.
- Set aside to cool completely.
+ Show details− Hide details
Ready when: Meat fully cooked with no pink; onions softened and golden; spices fragrant
Tip: Drain excess fat after browning the meat so the filling isn't greasy. Some fat adds flavor, but too much will make the flatbreads soggy.
Mix the sourdough dough
- In a large mixing bowl, combine the active sourdough starter, flour, water, salt, and olive oil.
- Stir with a wooden spoon until a shaggy dough forms (all flour should be incorporated, but don't overmix).
- Turn the dough onto a lightly floured surface and knead by hand for 8–10 minutes until smooth and elastic.
- The dough should be soft but not sticky; add a small pinch more flour if too wet, or a splash of water if too dry.
- Shape the dough into a tight ball and return it to an oiled bowl.
+ Show details− Hide details
Ready when: Dough is smooth, elastic, and springs back gently when poked
Tip: Don't overknead or the dough becomes tough. Stop as soon as it feels smooth and holds together. The sourdough starter adds structure, so you need less kneading than yeasted bread.
Let the dough rise
- Cover the bowl with a damp kitchen towel or plastic wrap.
- Let the dough rise at room temperature (ideally 70–75°F / 21–24°C) for about 1.5 hours until it is puffy and has roughly doubled in volume.
- The surface may have small bubbles or a slightly dimpled look.
+ Show details− Hide details
Ready when: Dough is puffy and roughly doubled in volume; poke test shows it springs back slowly
Tip: If your kitchen is cool (below 70°F / 21°C), the dough may take 2+ hours to rise. That's fine—patience rewards you with better flavor. Don't rush by raising the temperature.
Divide the dough into pieces
- Turn the risen dough onto a lightly floured surface.
- Gently deflate it by folding it in on itself a few times (don't punch it hard or you'll lose the gas).
- Divide the dough into 8 equal pieces (about 2 oz / 55 g each).
- Roll each piece into a tight ball, tucking the edges underneath to create tension.
- Arrange on a clean plate or parchment paper.
+ Show details− Hide details
Ready when: Dough is divided into 8 equal, smooth round balls
Rest the dough balls
- Cover the dough balls with a damp towel and let them rest at room temperature for 15–20 minutes.
- This relaxes the gluten and makes the balls easier to flatten and fill without shrinking back.
+ Show details− Hide details
Ready when: Dough balls look slightly softer and more relaxed
Fill and seal the flatbreads
- Working with one dough ball at a time, gently flatten it by hand into a 4-inch disc.
- Place 1.5–2 oz (40–55 g) of the cooled meat filling in the center—about 2–3 tablespoons.
- Fold the edges of the dough up and over the filling, pinching them to seal.
- Flip the flatbread seam-side down and gently press it into a 5-inch round about ½ inch thick.
- Place each sealed flatbread on a parchment-lined plate or baking sheet, seam-side down, and cover with a damp towel as you work.
+ Show details− Hide details
Ready when: All 8 flatbreads are filled, sealed, and resting on the plate
Tip: Don't overfill—too much filling will leak out during cooking and prevent sealing. 1.5–2 oz per flatbread is ideal. Make sure the dough is fully sealed so filling doesn't escape.
Final rest before cooking
- Let the sealed flatbreads rest, covered with the damp towel, for 15 minutes at room temperature.
- This gives the dough a final gentle rise and makes the flatbreads puff slightly when they hit the hot pan.
Cook on the stovetop
- Heat a 12-inch skillet or griddle over medium heat for 2 minutes until hot but not smoking.
- You should be able to hold your hand above the pan for only 2–3 seconds.
- Working in batches of 2–3 flatbreads (don't overcrowd), carefully place one flatbread in the pan.
- Cook for 2.5–3 minutes on the first side until golden brown with slight charring in spots.
- The dough should look dry on top and be easy to flip.
- Carefully flip using a spatula and cook the second side for another 2.5–3 minutes until golden brown.
- Insert an instant-read thermometer into the thickest part of the flatbread to confirm the internal meat temperature reaches 160°F (71°C).
- If the outside is brown but the inside still feels soft or raw, lower heat slightly and cook another 1–2 minutes.
- Transfer cooked flatbreads to a warm plate or basket, covered with a clean towel to keep them warm.
- Repeat with remaining flatbreads.
- Serve warm.
+ Show details− Hide details
Ready when: Both sides are deep golden brown with slight char; internal meat temperature reaches 160°F (71°C); dough is cooked through and no longer doughy
Tip: Don't overcrowd the skillet or the flatbreads won't brown—the pan temperature drops and they steam instead of searing. Cook 2–3 at a time. Medium heat is crucial: high heat burns the outside before the inside cooks; low heat won't give you that golden crust.
Good to know
Tips
- Ensure your sourdough starter is active and bubbly before you begin. If it's sluggish (doesn't double in 6–8 hours after feeding), feed it again and wait before starting. A weak starter means a weak rise.
- Don't overfill the flatbreads. 1.5–2 oz (40–55 g) per flatbread is the sweet spot. Excess filling leaks out and prevents the dough from sealing properly.
- Cook over medium heat, not high. High heat burns the exterior while leaving the center undercooked. Medium heat gives you a golden, crispy flatbread with a hot, fully cooked filling throughout.
- Serve these warm, ideally within 30 minutes of cooking, alongside yogurt, fresh vegetables, sliced tomatoes, cucumbers, and a simple salad. They're also delicious with zhug (green cilantro sauce) or a drizzle of pomegranate molasses on the side.
Make ahead
The filling can be made up to 1 day ahead and refrigerated in an airtight container. The dough can be mixed and refrigerated overnight for a cold rise (this improves flavor). Assemble and fill the flatbreads up to 4 hours before cooking; keep them covered at room temperature. Uncooked filled flatbreads freeze beautifully for up to 3 months; cook from frozen without thawing (add 1–2 minutes per side).
Storage & reheating
Room temperature: Store in a covered container or wrapped in foil for up to 2 hours. Refrigerator: Store in an airtight container for up to 4 days. Reheat in a skillet over medium heat for 1–2 minutes per side until warmed through. Freezer: Freeze cooked flatbreads in an airtight container for up to 3 months. Reheat in a skillet over medium heat for 2–3 minutes per side. Alternatively, freeze uncooked filled flatbreads and cook from frozen (add 1–2 extra minutes per side).
Substitutions
- ground lamb or beef → Ground beef (85/15 lean-to-fat ratio). Beef works beautifully; the flavor is less aromatic than lamb but still delicious. You may want to add an extra pinch of cumin to compensate.
- fresh flat-leaf parsley → Dried flat-leaf parsley (1 tbsp). Add dried parsley with the spices in step 1 to allow the flavor to bloom. Dried herbs are less bright but work well in the filling.
- pomegranate molasses or lemon juice → Fresh lemon juice (1 tbsp) or omit entirely. Lemon juice adds brightness; omitting it creates a more purely savory profile. Both are authentic depending on the region.
- toasted pine nuts → Toasted sunflower seeds or crushed walnuts (¼ cup). Pine nuts are traditional but can be expensive. Seeds or nuts add similar texture and nuttiness at lower cost.
More flatbreads
See all →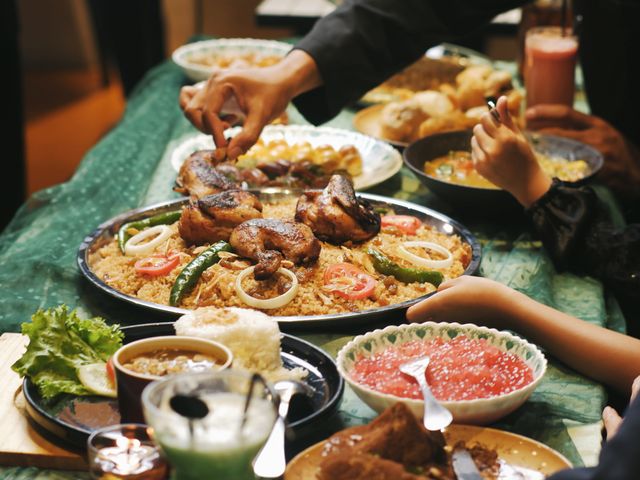
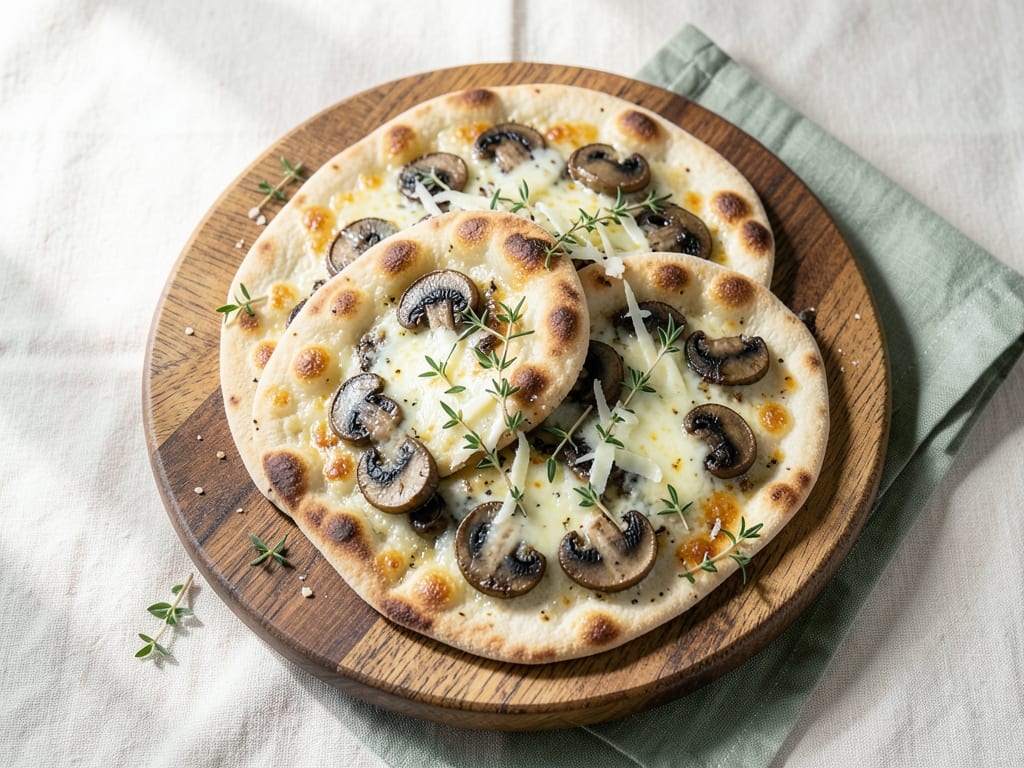
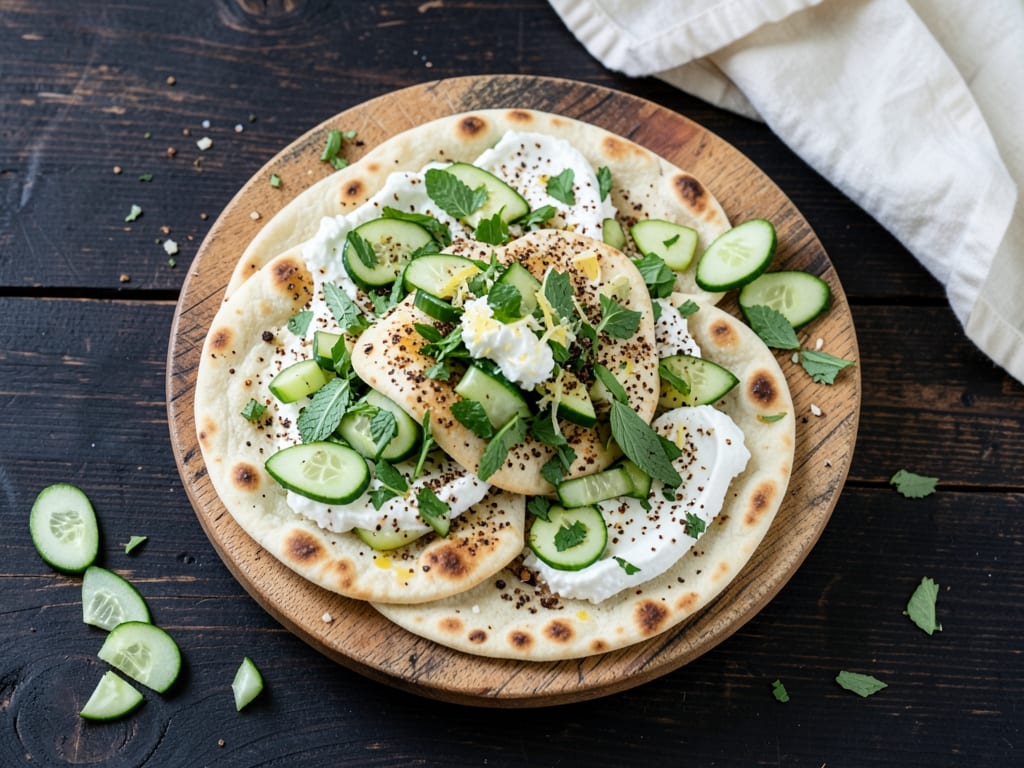
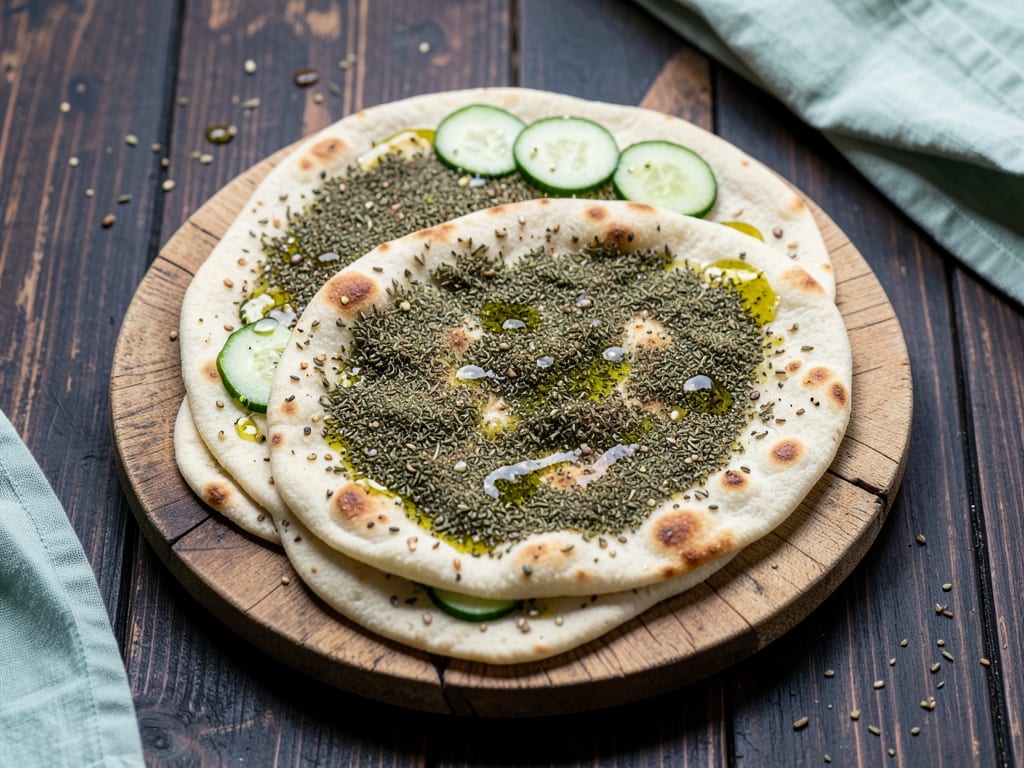
Find more like this
- Meal
- Dinner
- Cuisine
- Middle Eastern
- Main ingredient
- Ground BeefGround Lamb
- Diet
- Dairy-FreeHalal
- Method
- Stovetop
- Occasion
- Ramadan