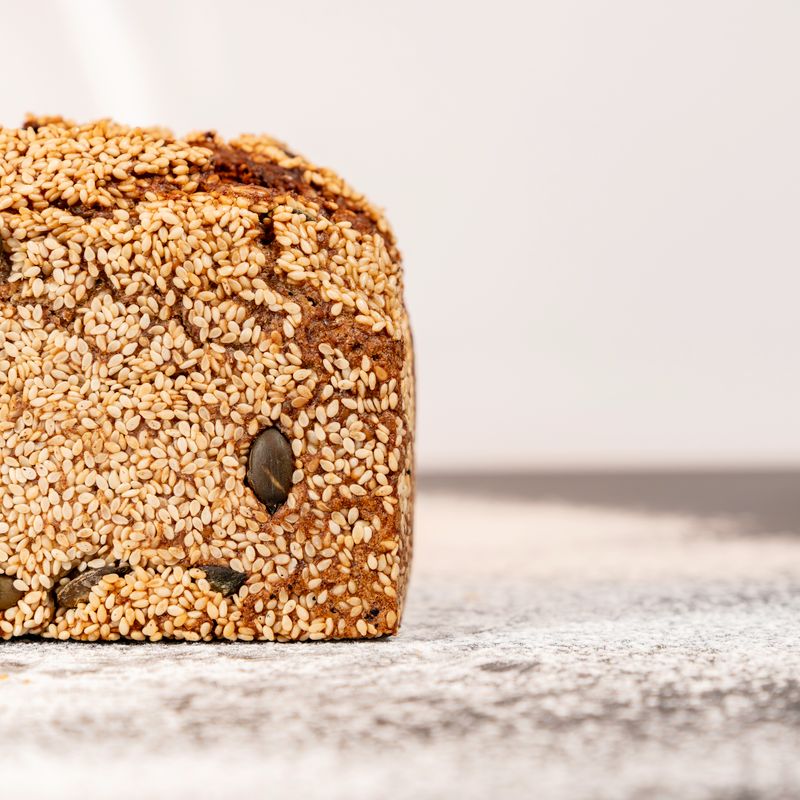
Sourdough Japanese Wasabi and Sesame Seed Crisps
Crispy, thin sourdough crisps infused with wasabi heat and nutty sesame seeds. These are perfect for snacking, serving alongside soup, or as a crunchy topping for salads. Made from sourdough discard, they're a flavorful zero-waste way to use your starter. The wasabi and soy sauce create an umami-rich, spicy bite balanced by the delicate sesame flavor.
- Prep
- 12 min
- Cook
- 18 min
- Wait
- 15 min
- Total
- 45 min
- Makes
- 24 crisps (about 2 per serving)
Steps
Before you start
- Preheat your oven to 425°F (220°C) and position racks in the upper and lower thirds
- Line two baking sheets with parchment paper
- Have your sourdough discard at room temperature (it should be bubbly but doesn't need to be freshly fed)
Mix the seasoning blend
- In a small bowl, whisk together the wasabi powder, salt, and white sesame seeds.
- Set aside.
- This ensures even distribution of wasabi so you don't get pockets of intense heat.
+ Show details− Hide details
Ready when: Ingredients are combined evenly
Tip: Sift the wasabi powder into the bowl if it clumps—you want no lumps in the final mixture
Prepare the sourdough mixture
- In another bowl, stir together the sourdough discard, soy sauce, and olive oil until well combined and smooth.
- The mixture should be the consistency of thick pancake batter.
- If it's too thick, thin with 1 tablespoon water; if too thin, let it sit 5 minutes to absorb moisture from the soy sauce.
+ Show details− Hide details
Ready when: Mixture is smooth and pourable
Tip: Don't overmix—gentle folding is enough to combine
Spread the dough thin
- Pour half the sourdough mixture onto one prepared baking sheet.
- Using an offset spatula or the back of a spoon, spread it in a very thin, even layer covering most of the sheet (about ⅛ inch thick).
- The thinner you spread, the crispier the crisps will be.
- Repeat with the remaining mixture on the second sheet.
+ Show details− Hide details
Ready when: Layer is thin, even, and covers the sheet uniformly
Tip: Dip your spatula in water to help spread the sticky dough without dragging
Apply the seasoning
- Sprinkle the wasabi-sesame mixture evenly over both sheets, then lightly press it into the dough with your fingertips or the spatula so the seeds adhere.
- If using black sesame seeds for garnish, scatter them over the top now.
+ Show details− Hide details
Ready when: Seasoning is visibly distributed and pressed in
Tip: Don't over-press—you want the seeds to stick but the dough to remain thin
Bake until golden and crispOven 425°F / 220°C
- Place both sheets in the preheated 425°F (220°C) oven, one on the upper rack and one on the lower.
- Bake for 15–18 minutes, rotating the sheets halfway through, until the crisps are deep golden brown and feel completely dry and crispy to the touch.
- The edges will brown faster than the center, which is fine.
- Watch carefully in the last few minutes—they go from perfect to burnt quickly.
+ Show details− Hide details
Ready when: Edges are deep golden, center is light golden, and crisps snap cleanly when bent
Tip: If your oven has hot spots, rotate the sheets both front-to-back and top-to-bottom at the halfway mark
Cool and break into crispsOven 400°F / 205°C
- Remove the sheets from the oven and let cool on the baking sheets for 5 minutes (they'll continue to firm up as they cool).
- While still warm, use your hands or a knife to break the sourdough into irregular crisp-sized pieces (roughly 2–3 inches).
- Once completely cooled, they'll snap cleanly.
- If any soft spots remain after cooling, return to the oven for 2–3 minutes at 400°F.
+ Show details− Hide details
Ready when: Pieces are completely crisp and snap when broken; no soft center
Tip: Breaking them while still warm is easiest, but wait until they're cool enough to handle comfortably
Optional final seasoning touch
- If desired, sprinkle a tiny pinch of additional salt or wasabi powder on the crisps while they're still warm to intensify the seasoning.
- This step is optional but recommended for maximum flavor.
+ Show details− Hide details
Ready when: Seasoning adheres to the warm crisps
Tip: Less is more—a light touch prevents overwhelming heat
Good to know
Tips
- Sourdough discard is the key to zero-waste baking—if your starter is new or very active, use it at any stage (bubbly or not); the flour and tang are what matter here.
- For even crispness, spread the dough as thin as possible. Thinner crisps are more forgiving during baking because they dry out faster and brown more evenly.
- Wasabi powder's heat mellows slightly during baking. If you like intense spice, add an extra pinch to the mix; if you're sensitive to heat, start with ½ teaspoon and taste the first batch.
- These crisps are addictive on their own, but also exceptional crumbled over miso soup, scattered on top of a sesame-ginger noodle salad, or served alongside sashimi as a contrast snack.
Storage & reheating
Store in an airtight container at room temperature for up to 1 week. They'll stay crispiest for the first 2–3 days but remain pleasant longer. If they soften after a few days, spread them on a baking sheet and crisp in a 300°F (150°C) oven for 3–4 minutes. Do not refrigerate or freeze, as moisture will soften them.
Substitutions
- wasabi powder → aji shichimi (Japanese seven-spice blend). Use the same amount for a milder, more complex heat profile with additional aromatics. You may lose some of the sharp wasabi bite but gain depth.
- white sesame seeds → furikake (Japanese seasoning blend) minus any salt already in it. Furikake adds seaweed, nori, and bonito flavors. Use 2 tablespoons and reduce added salt to ⅛ teaspoon to avoid over-salting. Mix and taste before baking.
- soy sauce → tamari or coconut aminos. Tamari offers a similar umami depth; coconut aminos are lighter and slightly sweeter. Both work equally well here.
- sourdough starter discard, at room temperature → active sourdough starter (fed 2–3 hours prior). Use the same volume. Feed your starter and let it become bubbly and rise slightly before using, so it has better rise in the oven and better flavor.