Crispy Garlic Shrimp Tempura
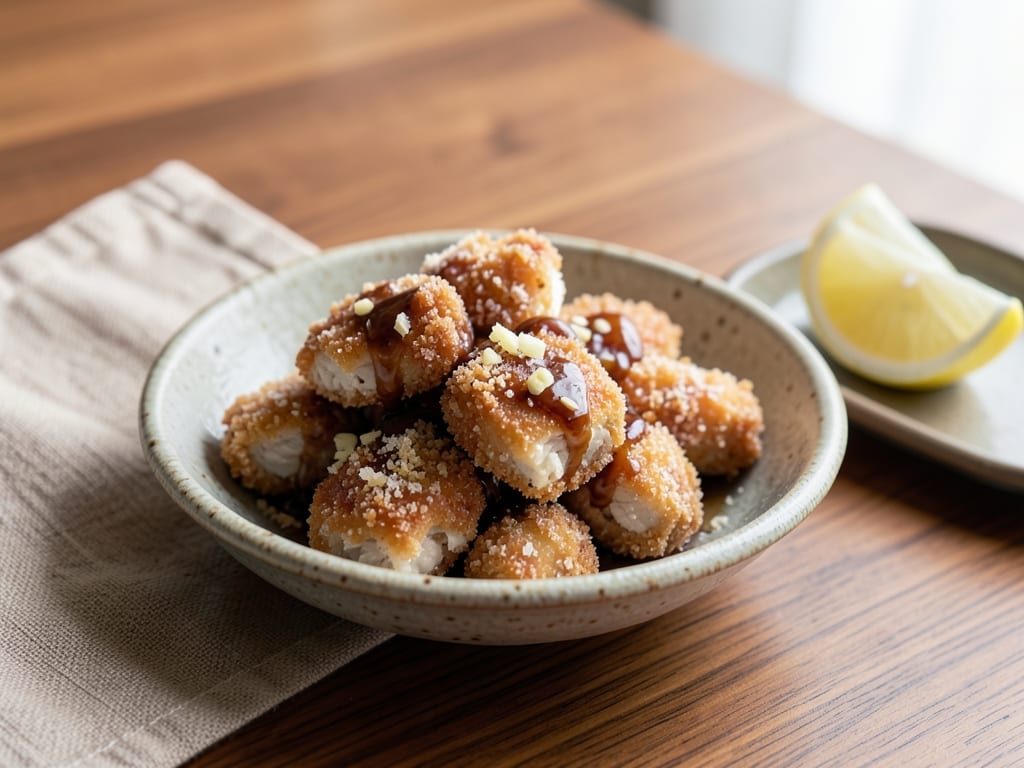
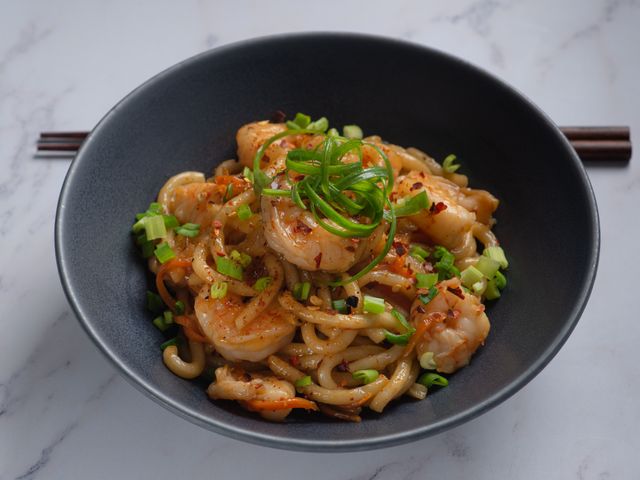
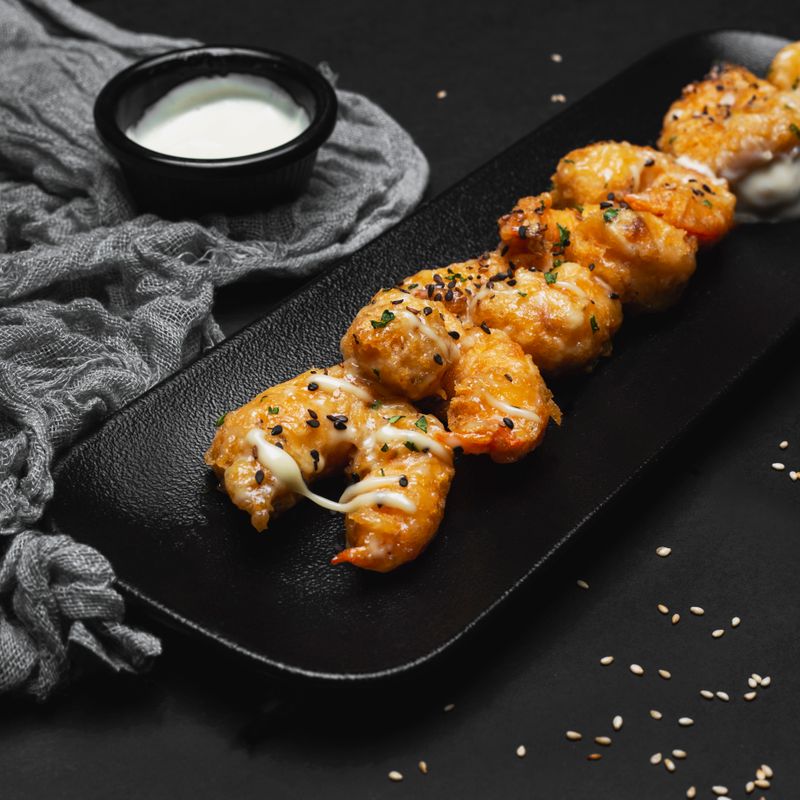
A Japanese-style fried appetizer featuring large shrimp coated in a crispy panko crust infused with garlic. The golden-brown shrimp are served with a tangy garlic-ponzu dipping sauce—perfect for parties, game day, or any gathering.
- Prep
- 15 min
- Cook
- 10 min
- Wait
- 5 min
- Total
- 30 min
- Makes
- 12–16 fried shrimp (about 1 lb)
Steps
Before you start
- Peel and devein the shrimp ahead of time if desired (they can be prepped up to 8 hours in advance).
- Read through the entire recipe and have a deep-fry or instant-read thermometer ready—maintaining the correct oil temperature is key to success.
- Gather all ingredients and equipment before you start (mise en place).
- Prepare a paper-towel-lined plate for draining the fried shrimp immediately after cooking.
Set Up Breading Station
- In three shallow bowls, create a breading station.
- In the first bowl, whisk together the flour and cornstarch with ½ teaspoon of salt.
- In the second bowl, place the beaten eggs.
- In the third bowl, combine the panko breadcrumbs with about ¾ of the minced garlic (about 4–5 cloves), another ½ teaspoon of salt, and ¼ teaspoon of black pepper.
+ Show details− Hide details
Tip: Organize your station from left to right (flour, egg, panko) to avoid cross-contamination and make breading faster.
Prepare and Dry Shrimp
- Pat the shrimp dry thoroughly with paper towels—moisture prevents oil splattering and ensures a crispier coating.
- Arrange the dried shrimp on a clean plate and season lightly with a tiny pinch of salt and pepper.
+ Show details− Hide details
Ready when: Shrimp are completely dry to the touch
Tip: Moisture is the enemy of crispiness; don't skip the drying step.
Coat Shrimp in Breadcrumb Mixture
- Working with one shrimp at a time, coat it fully in the flour-cornstarch mixture, shaking off any excess.
- Dip it immediately into the beaten egg, then roll it in the garlic-panko mixture, pressing gently so the coating clings evenly.
- Place each breaded shrimp on a clean plate.
- Repeat with the remaining shrimp.
- Let the coated shrimp rest on the plate for 3–5 minutes while you prepare to heat the oil; this allows the coating to set slightly, which helps it adhere better during frying.
+ Show details− Hide details
Ready when: Each shrimp is completely and evenly coated with breadcrumbs
Tip: Press gently when rolling in panko so the breadcrumbs stick without crushing them.
Heat Oil to Frying TemperatureOven 350°F / 175°C
- Fill a heavy-bottomed pot, Dutch oven, or deep skillet with about 2 inches (5 cm) of vegetable oil.
- Insert a deep-fry or instant-read thermometer and heat the oil over medium-high heat to 350°F (175°C).
- This temperature is crucial—too cool and the shrimp will be greasy; too hot and they'll brown before cooking through.
+ Show details− Hide details
Ready when: Thermometer reads 350°F (175°C); a small piece of panko dropped into the oil sizzles immediately
Tip: Use a thermometer, not guesswork, for consistent results every time.
Fry Shrimp Until Golden and CrispyOven 350°F / 175°C
- Carefully lower 4–5 coated shrimp into the hot oil, working in batches.
- Avoid overcrowding, which lowers the oil temperature and results in soggy shrimp.
- Fry for 2–3 minutes, stirring gently once halfway through with a slotted spoon, until the coating turns deep golden brown and crispy.
- Remove each batch with the slotted spoon and transfer to a paper-towel-lined plate to drain.
- Maintain the oil temperature at 350°F (175°C) between batches, adjusting the heat as needed.
+ Show details− Hide details
Ready when: Coating is deep golden brown and crispy; shrimp are cooked through and curled slightly
Tip: Don't crowd the pan; it's better to fry in 3–4 batches for even cooking and maximum crispiness.
Prepare Garlic-Ponzu Dipping Sauce
- While the shrimp fry, whisk together the soy sauce, rice vinegar, and mirin in a small bowl.
- Stir in the sesame oil and the remaining minced garlic (about 1–2 cloves).
- Finish with the fresh lemon juice.
- Taste and adjust seasoning—add more soy sauce for saltiness, more vinegar for tang, or more lemon for brightness.
+ Show details− Hide details
Tip: Make the sauce while you fry so it's fresh and ready when the shrimp finish cooking.
Plate and Serve Hot
- Arrange the fried shrimp on a serving plate or small platter.
- Serve immediately while still warm and crispy, with the garlic-ponzu dipping sauce in a small bowl on the side.
- Optionally garnish with sesame seeds.
+ Show details− Hide details
Tip: Serve immediately—crispy tempura gets softer as it cools.
Good to know
Tips
- For extra-crispy shrimp, add a pinch of baking soda (about ⅛ teaspoon) to the panko mixture; it raises the pH and promotes browning and crispiness.
- Keep the oil temperature steady at 350°F (175°C) by using a thermometer and adjusting the heat between batches—too low and the shrimp absorb oil; too high and they brown too fast.
- If the shrimp curl very tightly while cooking, that's a sign they're cooked through and the proteins have tightened; they're still tender inside.
- Serve with additional Asian condiments like sriracha mayo, sweet chili sauce, hot mustard, or fresh lime wedges for extra flavor options.
Make ahead
The shrimp can be peeled and deveined up to 8 hours ahead and refrigerated. The breaded shrimp can be prepared up to 4 hours ahead, covered, and refrigerated. Fry just before serving for maximum crispiness.
Storage & reheating
Fried shrimp are best enjoyed immediately but can be stored in an airtight container in the refrigerator for up to 2 days. Reheat in a 350°F (175°C) oven for 5–7 minutes to re-crisp. They do not freeze well due to the breading becoming soggy upon thawing.
Substitutions
- panko breadcrumbs → Regular breadcrumbs. The tempura will still be crispy but slightly less so, as regular breadcrumbs are finer than panko and don't brown as visibly.
- vegetable oil for frying → Canola oil or peanut oil. Any neutral-flavored oil with a high smoke point works; peanut oil is traditional for tempura.
- mirin → Brown sugar or honey dissolved in water. Dissolve ½ tablespoon brown sugar or honey in a tablespoon of water to replace 1 tablespoon mirin for a similar sweet-savory balance.
- soy sauce → Tamari. Use tamari for a gluten-free version with similar umami flavor and depth.