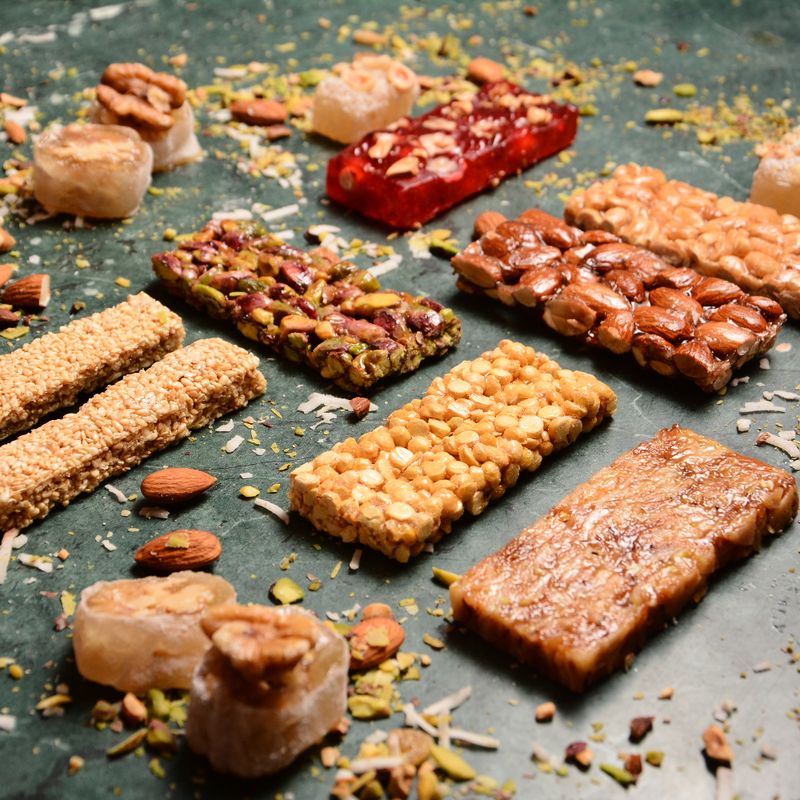
Simple Beet and Walnut Energy Bars
No-bake energy bars that combine roasted beets, walnuts, and dates for a naturally sweet, chewy texture with an earthy undertone. These bars are packed with fiber and healthy fats, making them perfect for breakfast or an afternoon snack. The beets add moisture and vibrant color while keeping the bars tender without any baking required.
- Prep
- 15 min
- Cook
- —
- Wait
- 2 hr
- Total
- 2 hr 15 min
- Makes
- 12 bars (one 8×8-inch pan)
Steps
Before you start
- Line an 8×8-inch (20×20 cm) square baking pan with parchment paper, leaving an overhang on two sides for easy removal
- If using fresh beets, roast and cool them ahead of time (store-bought roasted beets work great)
- Have all ingredients measured and ready before you start processing
Process beets and dates
- Add the chopped roasted beets and pitted dates to a food processor.
- Pulse until the mixture becomes a chunky paste, about 1–2 minutes, scraping down the sides as needed.
- You want some texture remaining, not a completely smooth purée.
+ Show details− Hide details
Ready when: Mixture is chunky and holds together when squeezed
Tip: Don't over-process—you want texture in the final bars for better mouthfeel
Add walnuts and oats
- Add the chopped walnuts and rolled oats to the food processor.
- Pulse another 8–10 times until the mixture is combined but still has visible pieces of walnut and oat throughout.
- Do not blend smooth.
+ Show details− Hide details
Ready when: Mixture is crumbly and chunky with no visible dry streaks
Tip: Pulse gently; over-mixing will turn the bars into a dense, muddy texture
Mix in binding ingredients
- Transfer the mixture to a large bowl.
- Add the almond butter, vanilla extract, fine sea salt, and maple syrup (if using).
- Stir vigorously with a sturdy spoon or your hands until everything is evenly combined and the mixture holds together when squeezed.
- It should feel like wet sand, not crumbly.
+ Show details− Hide details
Ready when: Mixture is moist and sticky, holding together when compressed in your palm
Tip: If the mixture feels too dry, add a tablespoon of water or additional almond butter to bring it together
Press into pan
- Transfer the mixture to the lined 8×8-inch pan.
- Press firmly and evenly with your hands or an offset spatula, working from the center outward.
- Use the heel of your hand to compress the mixture into a compact, even layer about ½ inch thick.
- Make sure there are no air pockets and the top is flat.
+ Show details− Hide details
Ready when: Top is smooth, flat, and well-compacted with no gaps
Tip: Wet your hands or the spatula lightly if the mixture sticks; this makes pressing easier
Chill until firm
- Cover the pan loosely with parchment paper or plastic wrap and refrigerate for at least 2 hours, or until the bars are completely firm and hold their shape when removed from the pan.
- For best results, chill overnight.
+ Show details− Hide details
Ready when: Bars are firm and no longer tacky to the touch; knife cuts through easily without crumbling
Tip: Chilling in the fridge rather than at room temperature ensures they stay firm and don't separate during cutting
Cut and serve
- Remove the bars from the refrigerator.
- Using the parchment overhang, lift the entire slab onto a cutting board.
- Using a sharp knife dipped in warm water (wipe between cuts), cut into 12 equal bars: cut the slab in half lengthwise, then cut each half into 6 pieces, creating bars about 1×4 inches (2.5×10 cm).
- Dip and wipe the knife between each cut to prevent sticking.
+ Show details− Hide details
Ready when: Bars are cleanly cut with no crumbling
Tip: A warm, damp knife prevents the bars from cracking or breaking during cutting
Good to know
Tips
- For roasted beets from fresh: wash, trim, wrap individually in foil, roast at 400°F (200°C) for 45–60 minutes until a fork pierces easily, then cool completely and rub off the skin.
- The natural sugar from dates and beets means these bars are quite sweet on their own; the maple syrup is optional but adds binding power and richness.
- If your bars crumble when cutting, they weren't chilled long enough—return to the refrigerator for another hour.
- For chocolate-covered bars, melt 4 oz (115 g) dark chocolate with 1 tablespoon coconut oil, then dip the top of each chilled bar and let set on parchment paper.
Make ahead
Bars can be made up to 5 days ahead. Prepare through step 5, then cover and refrigerate. Cut when ready to serve.
Storage & reheating
Room temperature (in an airtight container): up to 2 days. Refrigerator: up to 5 days in an airtight container. Freezer: up to 1 month in a freezer bag. Thaw at room temperature for 30 minutes before serving.
Substitutions
- natural almond butter (or tahini) → tahini, peanut butter, or sunflower seed butter. Use the same amount (¼ cup / 65 g). Tahini will add a slightly earthy note; peanut butter will be more savory.
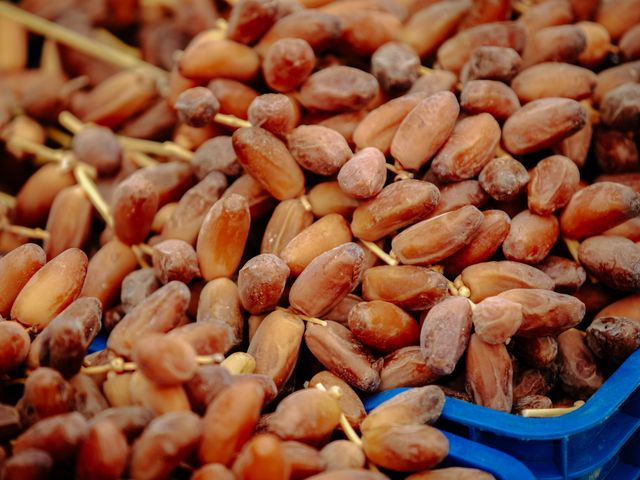
- pitted Medjool dates → unsulfured dried figs or Deglet Noor dates. Use the same amount. Figs will be slightly less sweet; Deglet Noor dates will be firmer and less sticky.
- raw walnuts → raw almonds, pecans, or sunflower seeds. Use the same amount (1¼ cups / 150 g). Almonds will add crunch; pecans will be richer; sunflower seeds will be lighter.
- pure maple syrup → honey, coconut nectar, or agave syrup. Use the same amount (2 tablespoons / 30 ml). Honey adds floral notes; coconut nectar is milder; agave is less thick.