Pantry Staple Date and Nut Bars
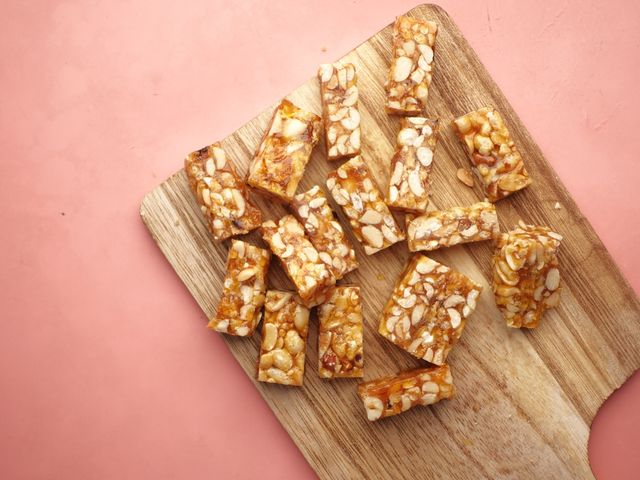
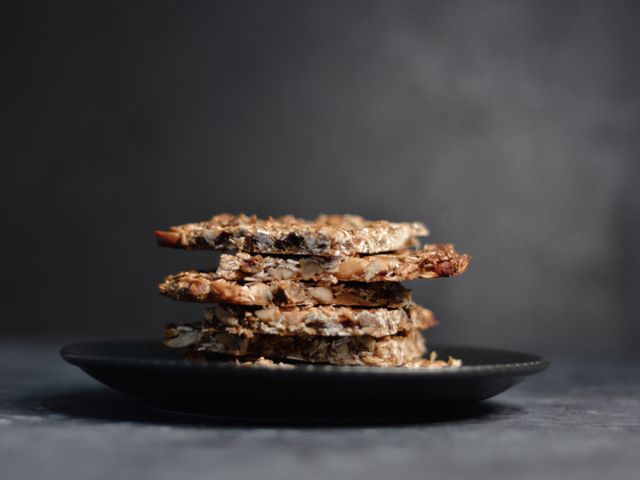
Chewy, nutty bars sweetened entirely by dates and honey, with a crispy oat base and golden date-walnut filling. No added sugar needed—the natural sweetness of Medjool dates and a touch of honey create a rich, satisfying texture that's as close to candy as wholesome gets. Perfect for lunchboxes, afternoon snacks, or gifting.
Steps
Before you start
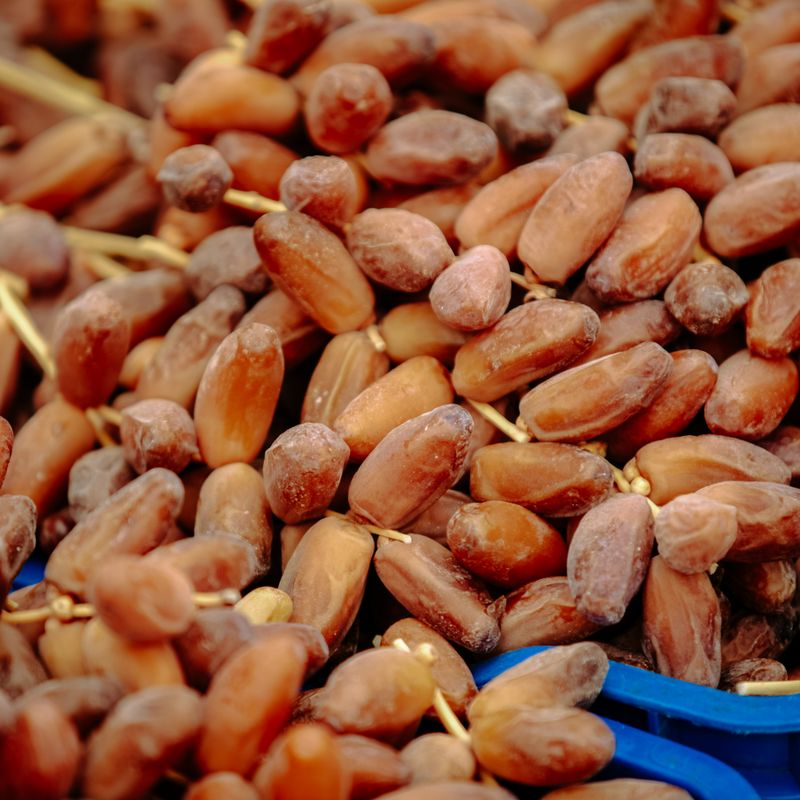
- Pit and chop the dates while they're still whole (pit them first if unpitted)
- Line the 9×13-inch pan with parchment paper, letting it overhang 2 inches on two sides for easy removal
- Preheat oven to 350°F (175°C)
Make the date-walnut filling
- In a small saucepan over medium-low heat, combine the chopped Medjool dates, walnuts, 2 tablespoons honey, vanilla extract, ¼ teaspoon sea salt, and cinnamon.
- Stir frequently for 5–7 minutes, until the dates soften and the mixture comes together into a thick, chunky paste.
- If it seems too dry, add 1 tablespoon water at a time until it's cohesive but still holds its shape.
- Remove from heat and let cool for 5 minutes while you prepare the base.
+ Show details− Hide details
Ready when: Filling is thick, chunky, and holds together; dates are very soft
Tip: Don't over-cook the dates or they'll turn to mush. Stir gently to preserve some texture.
Layer the base
- In a large bowl, stir together the rolled oats, melted butter, ¼ cup honey, and ½ teaspoon sea salt until every oat cluster is coated.
- Press two-thirds of this mixture firmly into the bottom of your prepared 9×13-inch pan, using the bottom of a measuring cup to compress it into an even layer.
+ Show details− Hide details
Ready when: Base is evenly pressed into the pan and feels firm
Tip: A slightly damp measuring cup won't stick to the oats and gives better compression.
Spread the filling
- Spoon the cooled date-walnut filling over the pressed oat base.
- Using a spatula or the back of a spoon, spread it gently and evenly to the edges, pressing down slightly so it adheres to the base.
- The filling layer should be about ½ inch thick.
+ Show details− Hide details
Ready when: Filling is spread evenly and covers the entire base
Tip: If the filling is too warm, it may spread unevenly. A few minutes of cooling makes it easier to control.
Add the top crust
- Sprinkle and gently press the reserved oat mixture over the date layer, covering it as much as possible.
- You don't need total coverage—this creates a rustic top that will be partly crispy, partly chewy.
+ Show details− Hide details
Ready when: Oat topping is distributed and gently pressed down
Tip: A light touch keeps the oat clusters texture crispy; don't pack the top too hard.
Bake the barsOven 350°F / 175°C
- Bake in a preheated 350°F (175°C) oven for 25–30 minutes, until the oat topping is golden brown and feels set to a light touch.
- The filling will bubble slightly at the edges.
- Don't overbake or the oats will become brittle.
+ Show details− Hide details
Ready when: Oat topping is golden brown; edges bubble slightly; top feels set when gently pressed
Tip: If the top starts browning too fast, tent loosely with foil for the last 5 minutes.
Cool and cut
- Remove from the oven and let the pan rest on a wire rack for 15 minutes.
- Using a sharp knife, cut into 12 bars (3 across, 4 down), making clean downward cuts rather than sawing motions.
- Let cool to room temperature in the pan before lifting out using the parchment overhang.
+ Show details− Hide details
Ready when: Bars are cool enough to cut cleanly; they hold together without crumbling
Tip: Dip your knife in hot water and wipe it clean between cuts for neat edges and to prevent sticking.
Good to know
Tips
- These bars are naturally gluten-free if you use certified GF rolled oats (check your brand). The texture and flavor are identical.
- For chewier bars, underbake slightly (25 minutes) and store in an airtight container with a small piece of apple or bread to hold moisture.
- A food processor can speed up the date-walnut filling: pulse pitted dates and walnuts together until chunky, then warm gently in a saucepan with honey and spices rather than cooking from raw.
- These bars are perfect for gifting wrapped in parchment and tied with twine. They feel homemade and are shelf-stable for several days, making them ideal for holiday or thank-you gifts.
Make ahead
Prepare the date-walnut filling up to 1 day ahead and store it in an airtight container in the refrigerator. Bring to room temperature before spreading on the base. The finished bars can be baked 2 days ahead and stored covered.
Storage & reheating
Store in an airtight container at room temperature for up to 5 days. For longer storage, refrigerate for up to 1 week or freeze in a single layer (then stacked in a freezer bag) for up to 3 months. Thaw at room temperature for 1–2 hours. To refresh, wrap loosely in foil and warm in a 300°F (150°C) oven for 10 minutes.
Substitutions
- raw walnuts → raw almonds, pistachios, or hazelnuts. Use the same weight. Almonds and hazelnuts give a milder flavor; pistachios add brightness. Chop them to similar size as walnuts.
- Medjool dates, pitted and roughly chopped → dried figs or a 50–50 mix of dates and raisins. Figs will make the filling slightly less sweet and more earthy. Soak figs in 1 tablespoon water for 5 minutes before cooking to soften them quickly.
- honey → additional melted unsalted butter or coconut oil. If omitting honey entirely, use ⅓ cup (75 g) melted butter or coconut oil and add ½ teaspoon vanilla extract to the base for richness.
- ground cinnamon → ground cardamom, ground ginger, or ground cloves. Cardamom (½ teaspoon) is closest in flavor profile; ginger and cloves are spicier. Use only ¼ teaspoon of cloves as it can overpower.