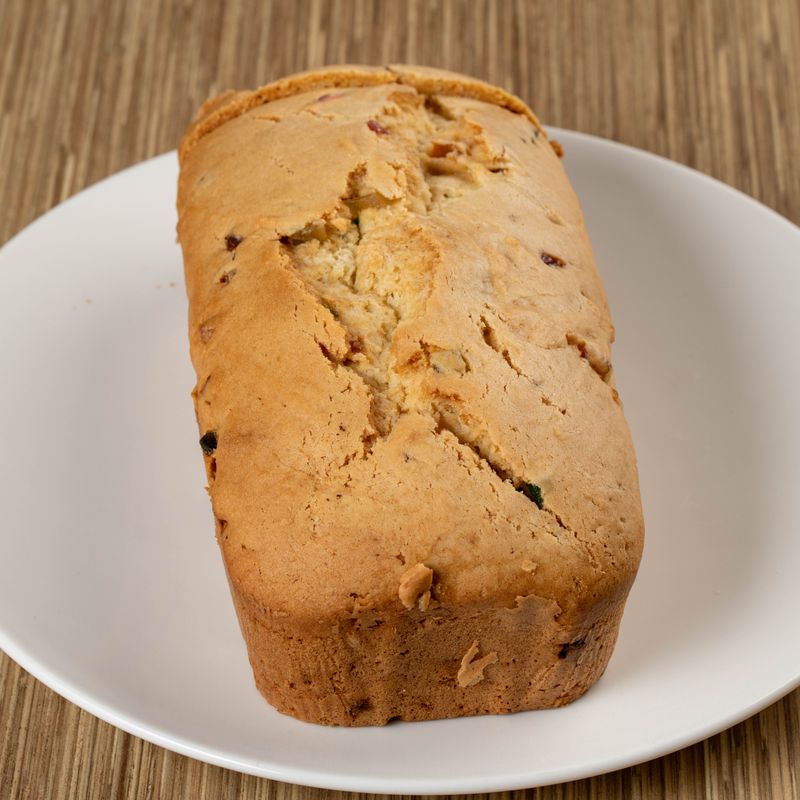
Rye Molasses Breakfast Loaf
A sturdy, subtly sweet quick bread with deep rye grain flavor and molasses richness. This loaf is dense and moist—perfect for breakfast with butter and jam, or alongside morning coffee. The combination of rye flour and molasses creates an earthy sweetness that balances the slight tang of buttermilk and the bite of baking soda.
- Prep
- 10 min
- Cook
- 55 min
- Wait
- 15 min
- Total
- 1 hr 20 min
- Makes
- 1 loaf (8 slices)
Steps
Before you start
- Preheat your oven to 350°F (175°C) and place a rack in the center position.
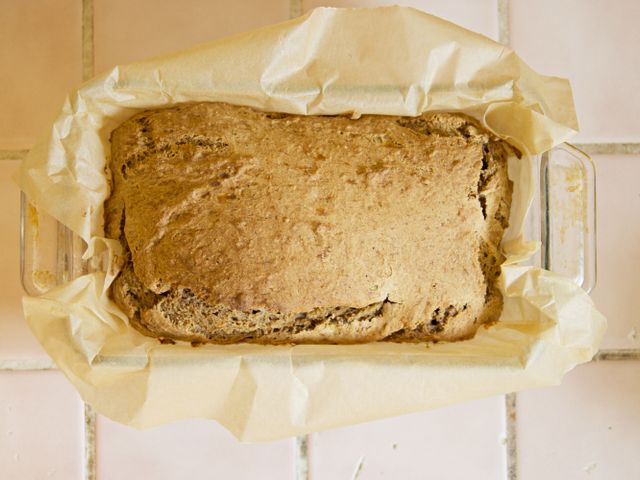
- Grease a 9×5-inch (23×13 cm) loaf pan and line the bottom with parchment paper for easy removal.
- Have all ingredients at room temperature—cold buttermilk won't mix as smoothly with the molasses.
Combine dry ingredients
- In a medium bowl, whisk together the all-purpose flour, rye flour, baking soda, and fine sea salt.
- Set aside.
+ Show details− Hide details
Ready when: Ingredients are evenly combined with no streaks of flour.
Tip: Whisking aerates the dry ingredients and ensures the baking soda is evenly distributed, so the loaf rises uniformly.
Mix wet ingredients
- In a large bowl, whisk together the melted butter, molasses, buttermilk, and egg until smooth and well blended, about 1 minute.
- The mixture should be glossy and free of lumps.
+ Show details− Hide details
Ready when: The mixture is homogeneous and glossy with no streaks of molasses or butter.
Tip: Molasses can be thick; whisking vigorously ensures it fully combines with the buttermilk for an even crumb.
Combine wet and dry
- Pour the dry ingredients into the wet ingredients and gently fold together with a rubber spatula until just combined—about 10 to 12 strokes.
- The batter should look slightly lumpy and rough; do not overmix.
+ Show details− Hide details
Ready when: No visible streaks of dry flour remain; the batter is thick but slightly lumpy.
Tip: Overmixing develops gluten and makes the loaf tough and dense. Stop as soon as you don't see dry flour.
Fill and level
- Pour the batter into the prepared 9×5-inch loaf pan.
- Smooth the top with a spatula to level it, pressing gently.
- The pan should be about three-quarters full.
+ Show details− Hide details
Ready when: The batter is level and fills the pan evenly.
Tip: Leveling the top prevents one side from doming and the other from sinking during baking.
Bake the loafOven 350°F / 175°C
- Place the loaf pan in the preheated 350°F (175°C) oven on the center rack.
- Bake for 50 to 55 minutes, until a skewer or toothpick inserted into the center comes out with just a few moist crumbs clinging to it.
- The top should be firm to the touch and deep golden brown.
+ Show details− Hide details
Ready when: A skewer inserted in the center comes out with a few moist crumbs; the top is golden brown and firm.
Tip: If the top browns too quickly, loosely tent the pan with aluminum foil after 35 minutes. The loaf is done when moist crumbs remain—not a completely clean skewer, as that means it's slightly overcooked.
Cool in pan
- Remove the loaf pan from the oven and let it cool in the pan for 10 minutes.
- This allows the structure to set and makes removal easier.
+ Show details− Hide details
Ready when: The loaf is no longer steaming and pulls slightly from the sides of the pan.
Tip: Don't skip this resting time; removing the loaf too early may cause it to crack or crumble.
Turn out and cool completely
- Run a thin knife around the edges of the loaf to loosen it from the pan.
- Turn the loaf out onto a wire cooling rack, parchment-side up if using, and let it cool completely—about 5 minutes—before slicing.
+ Show details− Hide details
Ready when: The loaf is no longer warm to the touch and the crumb is firm.
Tip: Cooling completely on a rack allows steam to escape from the bottom, preventing a soggy, dense crumb.
Good to know
Tips
- This loaf is naturally moist and dense—that's the style. It slices best after a full day of cooling, so bake it the day before you plan to serve it.
- Molasses crystallizes if it gets cold; warm it gently in the microwave (10 to 15 seconds) if it's too thick to pour and mix.
- Buttermilk gives this loaf tang and helps activate the baking soda for a better rise. Don't substitute milk or dairy-free alternatives without adjusting the baking soda ratio.
- Slice with a serrated bread knife using a gentle sawing motion to prevent compressing the crumb.
Storage & reheating
Store the cooled loaf wrapped tightly in plastic wrap or in an airtight container at room temperature for up to 2 days. Refrigerate for up to 4 days. Freeze, wrapped well, for up to 3 months; thaw at room temperature for 2 to 3 hours before serving. Reheat a slice by toasting it or warming it in a 300°F (150°C) oven for 5 to 8 minutes.
Substitutions
- buttermilk → Greek yogurt thinned with water (½ cup Greek yogurt + ¼ cup water). Creates a slightly tangier crumb with a marginally denser texture. Mix the yogurt and water until smooth before using.
- unsulfured molasses → dark honey or sorghum syrup (same amount). Honey produces a milder, more delicate sweetness; sorghum adds earthiness. Both work well but won't darken the loaf as much as molasses.
- rye flour → whole wheat flour or barley flour (same amount). Whole wheat adds nuttiness and slight dryness (add 1 extra tablespoon of buttermilk). Barley is milder and slightly sweet.
- all-purpose flour → bread flour (1 cup + 2 tbsp / 165 g). Bread flour has more protein and will yield a slightly chewier, taller loaf. Reduce by about 2 tablespoons for the same texture.
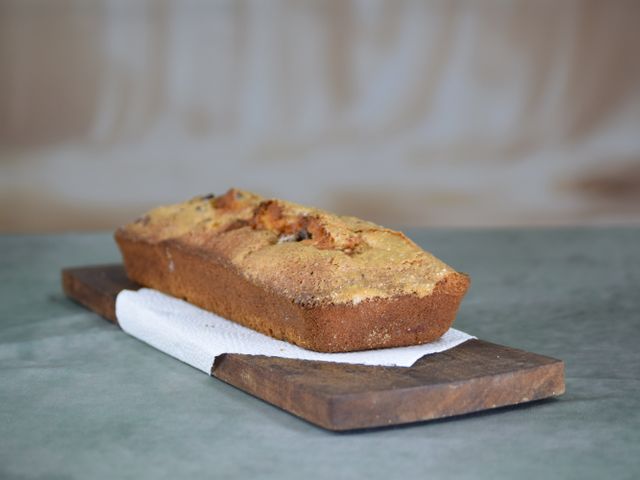
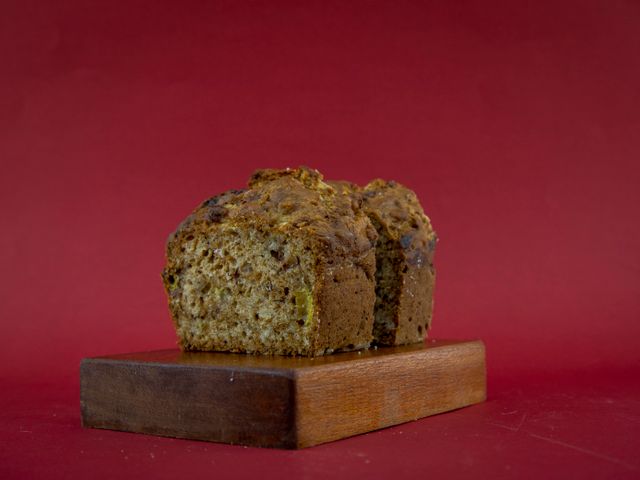
More quick breads
See all →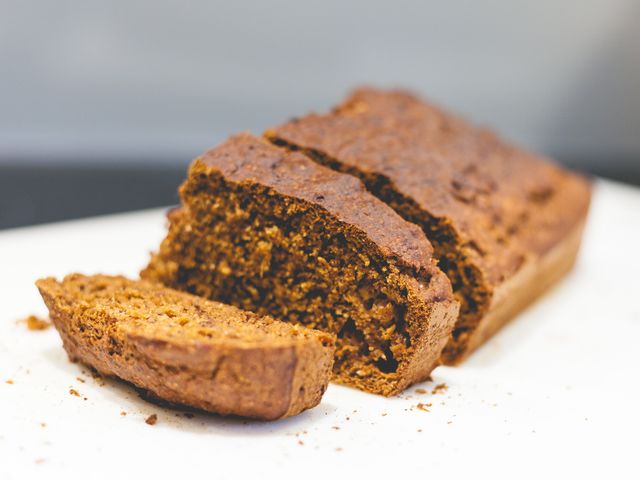

Find more like this
- Meal
- Breakfast
- Diet
- VegetarianHalal
- Method
- Oven
- Quick & Easy
- Easy