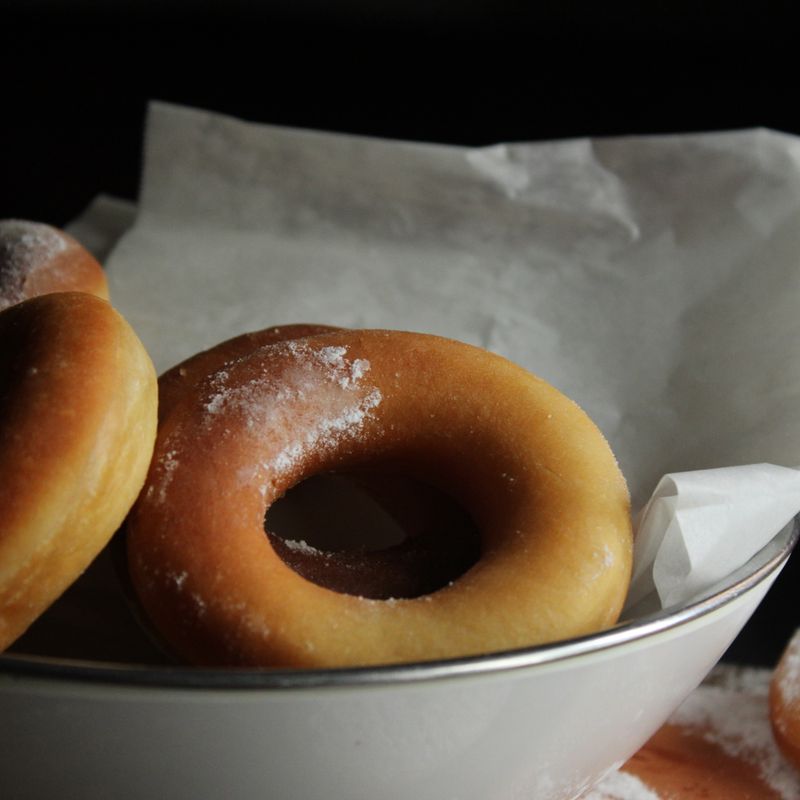
Overnight Yeasted Waffles
A yeasted batter mixed the night before ferments slowly in the fridge. By morning it gives waffles with shatteringly crisp edges, a light, airy middle, and a subtle malty, bread-like flavor. Only a quick finish stands between you and breakfast.
- Prep
- 20 min
- Cook
- 40 min
- Wait
- 8 hr 10 min
- Total
- 9 hr 10 min
- Makes
- 8 to 10 waffles (7-inch / 18 cm round), serves 5 at about 2 waffles each
Steps
Before you start
- Mix the batter 8 to 14 hours before you want to eat. The night before takes about 12 minutes of hands-on work; the morning takes about 5 minutes before cooking starts. Times above use the 8-hour minimum.
- Use a large bowl (4-quart / 4-liter or bigger). The batter starts about one-third full and roughly doubles overnight, so a smaller bowl will overflow.
- Check that your yeast is within its date. Old yeast is the most common reason the batter doesn't bubble.
- Cooking takes about 40 minutes on a single iron (4 to 5 minutes per waffle), so plan to keep the first waffles warm in the oven.
- Waffle irons vary in size. Check the manual for how much batter yours takes. This recipe assumes about ½ cup (120 ml) per 7-inch round.
Warm liquids, melt butter
- Melt the butter in a small saucepan over low heat (or in the microwave in 20-second bursts) and set aside to cool until just warm, not hot.
- Warm the milk in a saucepan or the microwave to about 100°F (38°C); it should feel barely warm on your wrist.
- Measure the ½ cup (120 ml) water so it is warm, 105–110°F (40–43°C).
+ Show details− Hide details
Ready when: Butter is fully liquid and only warm to the touch; milk reads about 100°F (38°C).
Tip: Hot liquid kills yeast. If anything feels hot on your wrist, let it cool a few minutes.
Proof the yeast
- Pour the warm water into the large bowl.
- Sprinkle in the yeast and the sugar and stir gently with a fork.
- Leave it undisturbed for 10 minutes.
+ Show details− Hide details
Ready when: The surface is covered with a creamy, foamy layer about ¼ inch (6 mm) thick and smells yeasty.
Tip: If there is no foam after 10 minutes, the yeast is dead. Start again with fresh yeast.
Mix the batter
- Whisk the warmed milk, cooled melted butter, salt, and vanilla (if using) into the yeast mixture.
- Add the flour all at once and whisk for about 1 minute, scraping the bottom and sides of the bowl.
- The batter should be thick but pourable, like a thin pancake batter that falls from the whisk in a ribbon, with only a few small lumps.
- It will measure about 5 cups (1.2 liters).
- Don't add the eggs, baking soda or soda water yet.
+ Show details− Hide details
Ready when: No dry flour pockets remain; the batter is smooth apart from a few tiny lumps, which will relax overnight.
Tip: In a 4-quart (4-liter) bowl the batter will be about one-third full and will roughly double overnight, so don't use a smaller bowl.
Chill overnight
- Cover the bowl tightly with plastic wrap or a lid and refrigerate for at least 8 hours and up to 14 hours.
- Slow fermentation builds flavor and the texture will be airy.
+ Show details− Hide details
Ready when: The batter is bubbly and puffed, roughly doubled, with a frothy, slightly domed surface and a pleasant yeasty, tangy smell.
Tip: Don't leave the batter at room temperature overnight. It contains milk and will over-ferment.
Heat oven and waffle ironOven 200°F / 95°C
- Set a wire rack on a baking sheet and put it in the oven.
- Heat the oven to 200°F (95°C) so you can keep finished waffles warm and crisp.
- Plug in the waffle iron and heat it to a medium-high setting, usually the middle to upper-middle of the dial.
- Grease it lightly if your manual says to.
+ Show details− Hide details
Ready when: The waffle iron's indicator light shows it is ready.
Tip: A properly hot iron is the key to crisp waffles, so let it fully preheat.
Finish the batter
- Remove the batter from the fridge.
- Stir the baking soda into the 1 tsp (5 ml) room-temperature water in a small cup until fully dissolved and cloudy with no grains.
- In a small bowl, whisk the eggs until no streaks of white remain, then whisk in the dissolved soda.
- Pour into the batter and stir with a whisk or spatula for about 30 seconds, just until no egg streaks remain.
- The batter will deflate somewhat and still be thick enough to fall in a ribbon.
+ Show details− Hide details
Ready when: The batter is evenly colored with no streaks of egg or soda, and still has some bubbles.
Tip: Stop at about 30 seconds. Stirring much longer knocks out the bubbles that give lift.
Cook the wafflesOven 200°F / 95°C
- Ladle about ½ cup (120 ml) of batter into the center of the hot iron, or the amount your manual recommends, leaving a little room for it to spread.
- Close the lid and cook for 4 to 5 minutes.
- Lift the waffle out with a fork or tongs and place it on the rack in the oven.
- Repeat with the remaining batter, which makes 8 to 10 waffles and takes about 40 minutes in total, giving the batter a brief stir between waffles.
+ Show details− Hide details
Ready when: Steam slows to a thin wisp, and the waffle is deep golden brown and releases easily from the iron without sticking.
Tip: Don't stack waffles on a plate or they steam and go soft. Keep them in a single layer on the rack.
Serve right away
- Serve the waffles hot from the oven with warmed maple syrup, or with butter and fruit if you prefer.
Good to know
Tips
- Stir the batter gently between waffles. It settles as it sits, and the first ones are thinner than the last if you don't.
- If your iron sticks, it's usually not hot enough or not greased. Let it reheat for a minute between waffles and grease lightly.
- Wait until the steam nearly stops before opening the iron. Opening early tears the waffle in half.
- For extra crunch, leave the waffle on the rack for a minute or two before serving. Steam escapes and the surface firms up.
Make ahead
The batter base is the make-ahead step: mix it up to 14 hours before cooking and keep it covered in the fridge. Add the eggs and dissolved baking soda only just before cooking. Cooked waffles can also be made ahead (see storage).
Storage & reheating
Room temperature: cooked waffles stay crisp on a rack in a 200°F (95°C) oven for up to 45 minutes. Fridge: cool completely, then store in an airtight container for up to 3 days. Freezer: freeze cooled waffles in a single layer on a tray until solid, then bag them for up to 2 months. Reheat from the fridge or freezer in a toaster or in a 350°F (175°C) oven on a rack for 5 to 8 minutes, until hot and crisp. Don't microwave them, as they turn soft and chewy.
Substitutions
- active dry yeast → instant yeast, 1 tsp (3 g). Stir it directly into the flour and skip the 10-minute proof; whisk the warm water into the batter with the milk. Results are the same.
- whole milk → 2% milk or an unsweetened plain plant milk such as oat or soy. Waffles will be slightly less rich and tender, and browning may be lighter.
- unsalted butter → neutral oil such as canola, ½ cup (120 ml). Waffles will be crisp but will lack buttery flavor.
- all-purpose flour → bread flour, 3 cups (400 g). Gives a slightly chewier, crisper waffle. Bread flour is heavier per cup, so use the gram weight.
More pancakes & waffles
See all →


Find more like this
- Meal
- Breakfast
- Cuisine
- American
- Diet
- VegetarianHalal
- Quick & Easy
- EasyMake Ahead